-

- Dollar Store!
-
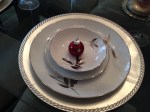
- Christmas Table
-
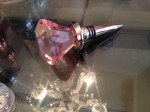
- Bling Bottle Stopper
-

- The One that Got Away
-
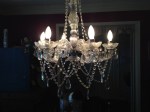
- My Chandy
-
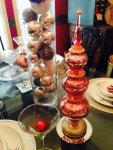
- Love Christmas
-
- Mom’s China


This weekend I created a simple shelf. Actually it was a lesson in how to use a router. I’ve been wanting to learn how so I could add to my power tool repertoire and was fortunate enough to have a friend loan one so that I could try it out. So off to Home Depot where I bought a one by four and then I went to routing. I only needed a five foot length for the shelf I wanted, so I used the piece I cut off the end to practice and get used to the tool. That was a good idea by my hubby (thanks honey!). So after a little practice, I went right on to my board. I routered (is that a word?) the three sides and left the back side flat to go against the wall. I used four L brackets to mount it to the wall with help from the hubby. Here are a couple pics; one showing my router skills and one showing my shelf in place above my scrap/craft table. It was really simple and fun, so if you ever wanted to give it a try, go ahead. It wasn’t scary at all. I used the FolkArt Chalk paint in white which was great for the raw board because it didn’t require any priming. Enjoy!


The board in the background is the next project I’ll share. Have a great afternoon!
Good snowy afternoon! Today I’m sharing a project that I actually did a little while ago, but is one of my all-time favorites. If you’re like me, spending countless minutes, okay hours, pouring over those Pinterest photos of all those awesome projects that are being made from wood pallets, I just had to get in there and try one. I had been battling with my coffee table for a while any way, so this seemed like the project for me. I have a little experience with some light upholstery and I own a staple gun, so I was game. It actually turned out to be quite easy. The most difficult part was dealing with the cumbersome size of the pallet and working around having to flip it over and center it and such. I enlisted the help of my daughter who, on occasion, is game to help old mom out with a project or two.
So here are the before and after photos.


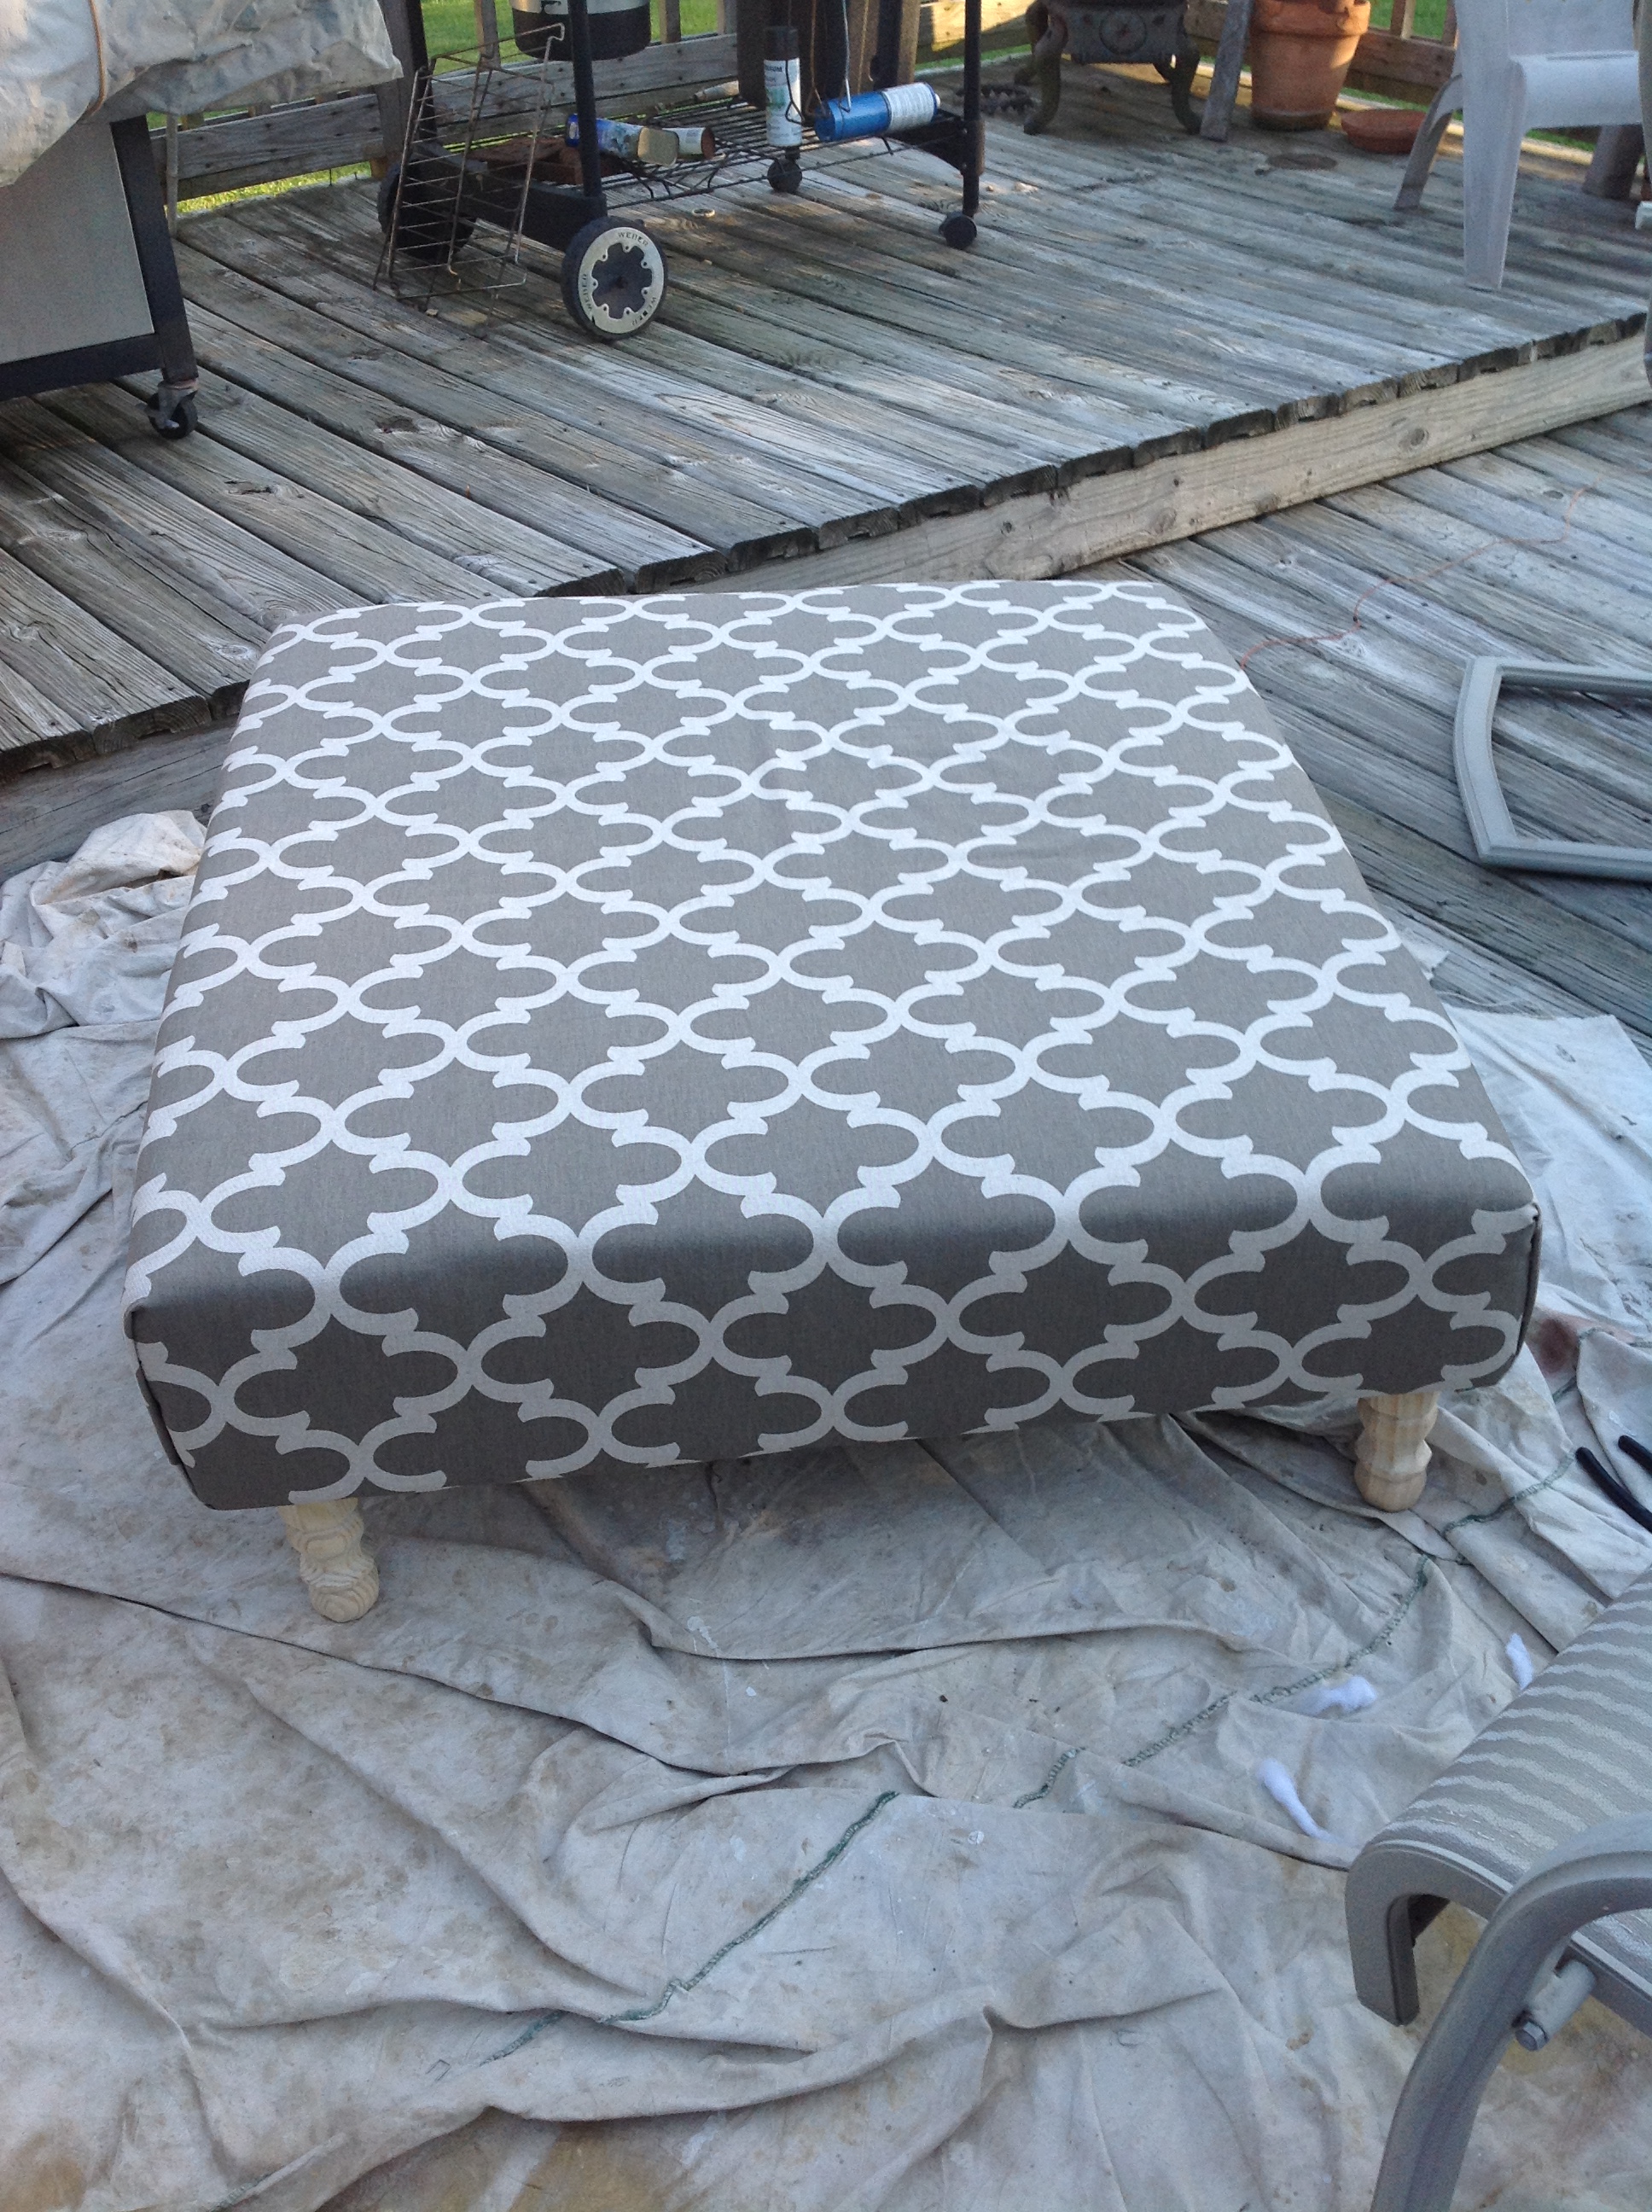
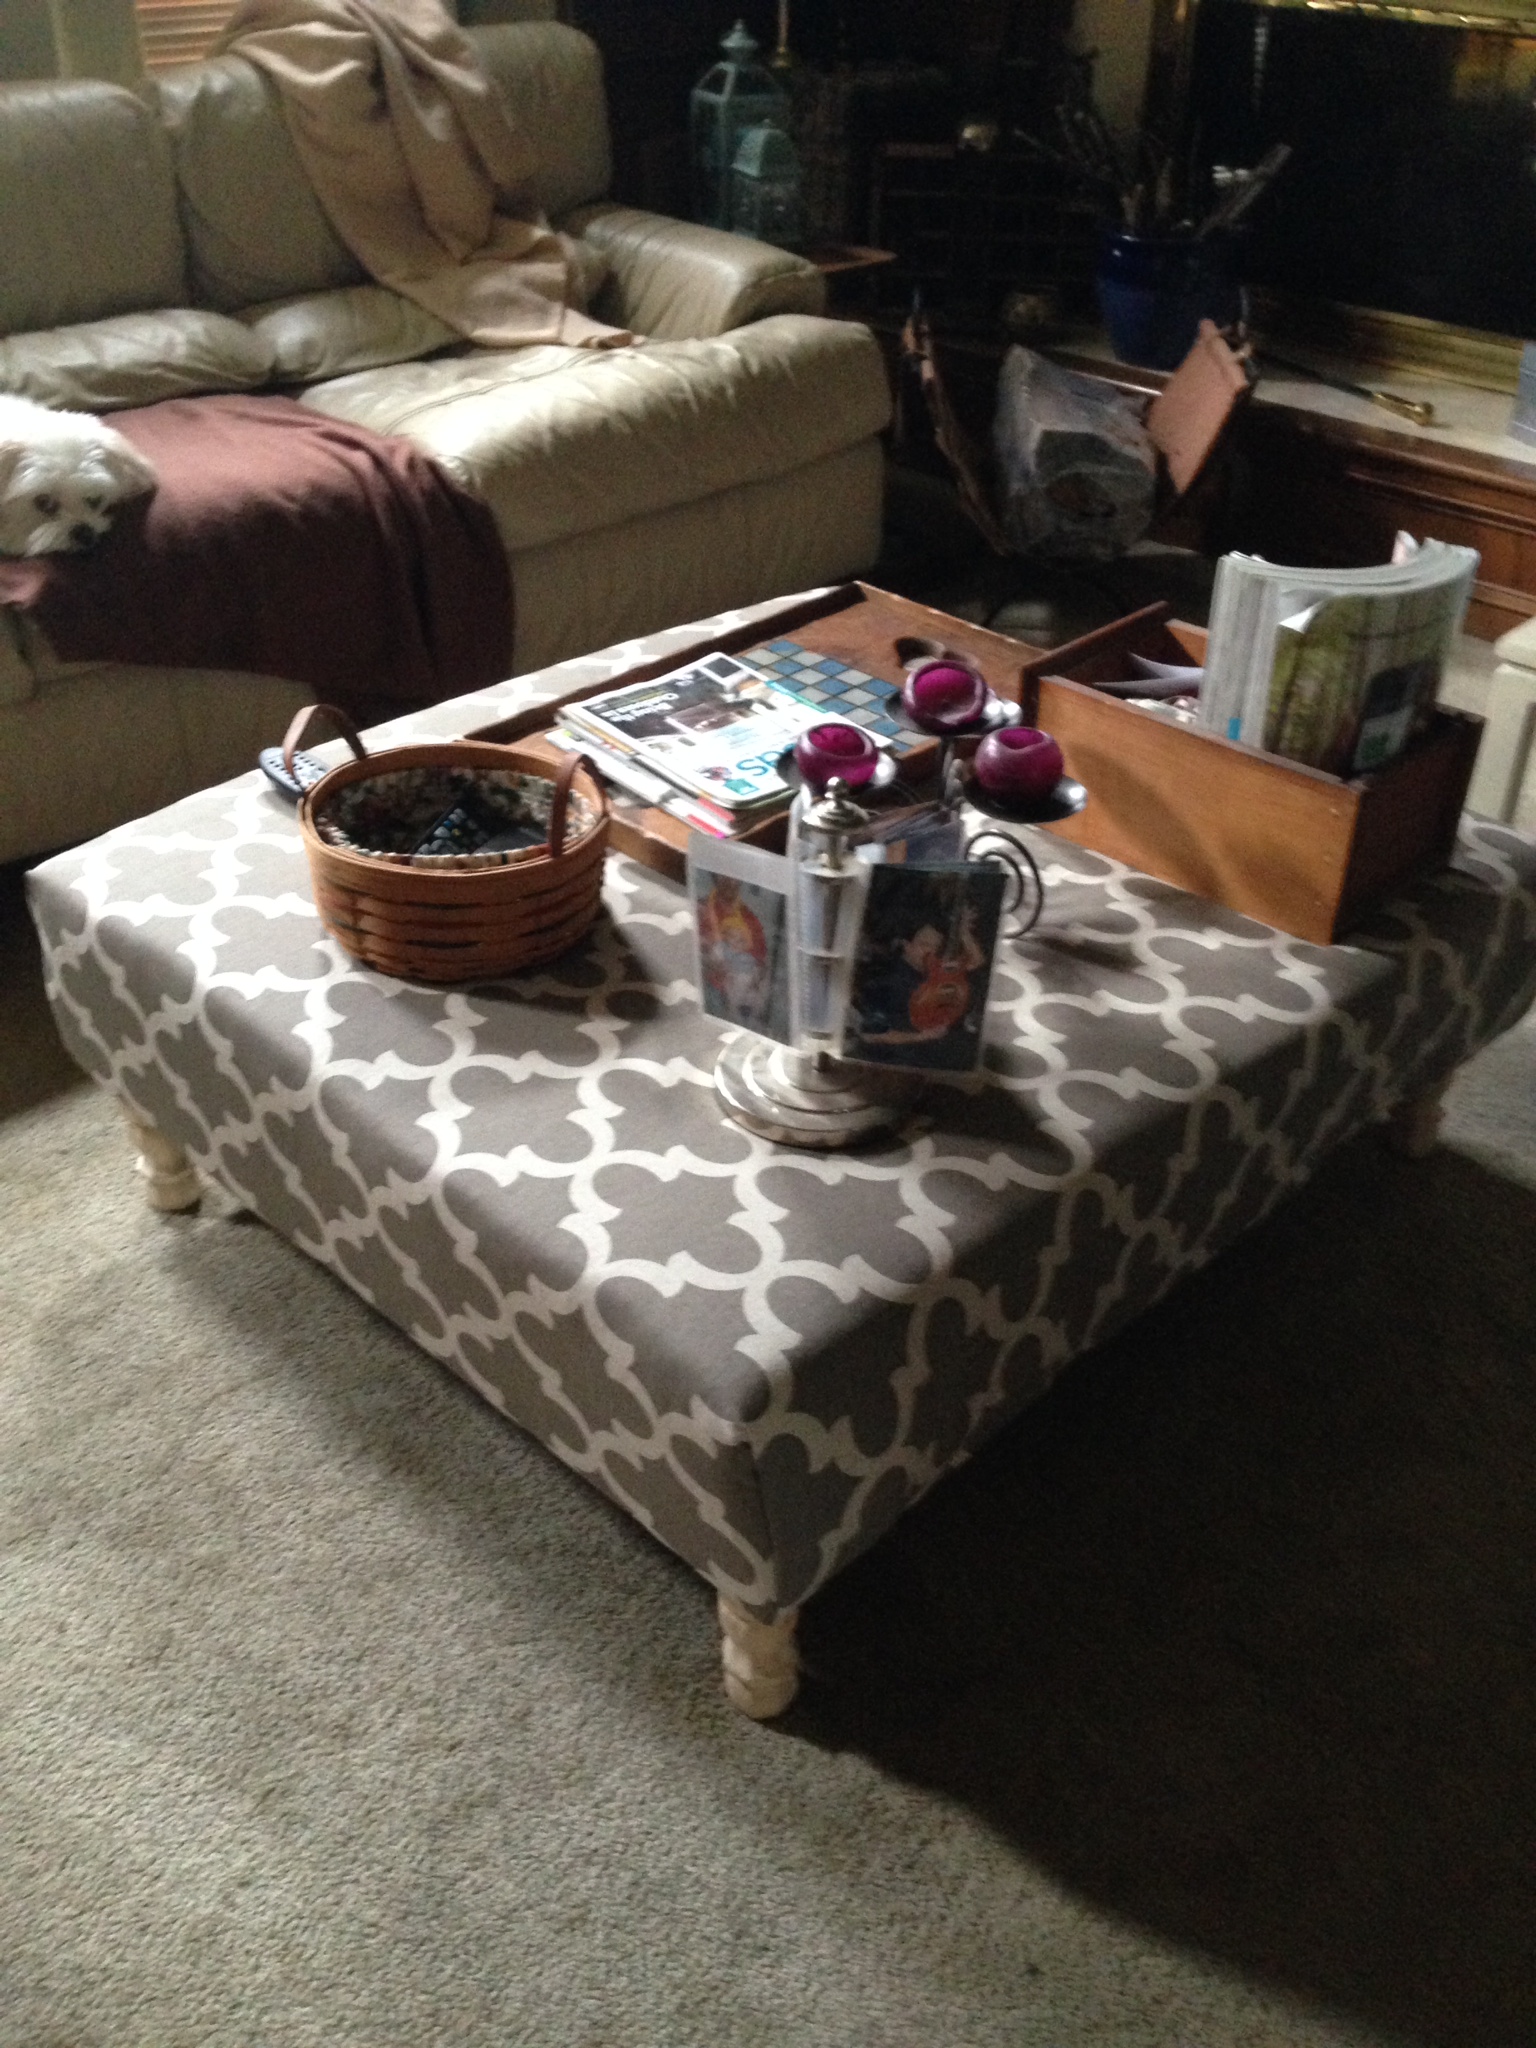
The total cost of the project was about $100 dollars. The most expensive part was the foam padding. I was surprised how expensive it was, so if you can find a good source for inexpensive foam, definitely go that route and you can save a lot of money. The pallet was free. I got the fabric at Hobby Lobby when their home décor fabric was on sale at 50% off so only spent about $12 for that. I purchased the legs at Home Depot for about $3 each. I also bought a package of quilt batting to smooth out the corners and that was about $10 for the size I needed. So as you can see, the foam was the biggest expense. If you know of a good source for cheap foam, please do share! I even got it on a 50% sale at Hancock Fabrics, but it must contain gold 🙂 I am thrilled with it and it has been the best addition to my living room in years. I have a couple of smaller pallets that I am going to try some more projects with soon as well, now that I got my feet wet. So stay tuned!
Happy Friday, TGIF, and all of that! It’s been a very strangely busy week for me, but not in a good “accomplished a lot” kind of way. I think I’ve been a little distracted, tried catching a bit of a cold, and on top of it, the weather was gorgeous for January, so I did a little running here and there. I certainly feel for those out east who are getting the brunt of the bad weather.
So for today’s post, I’m going to share a couple of ideas of what you can do with those leftover jars from candles. I love to burn scented candles, but am always left with a lot of glassware when the candle is gone. Those darn things seem to multiply like bunnies when you’re not looking. It’s kind of like the glass vases that you collect over time from flower arrangements. Before you know it, you have a herd of them!
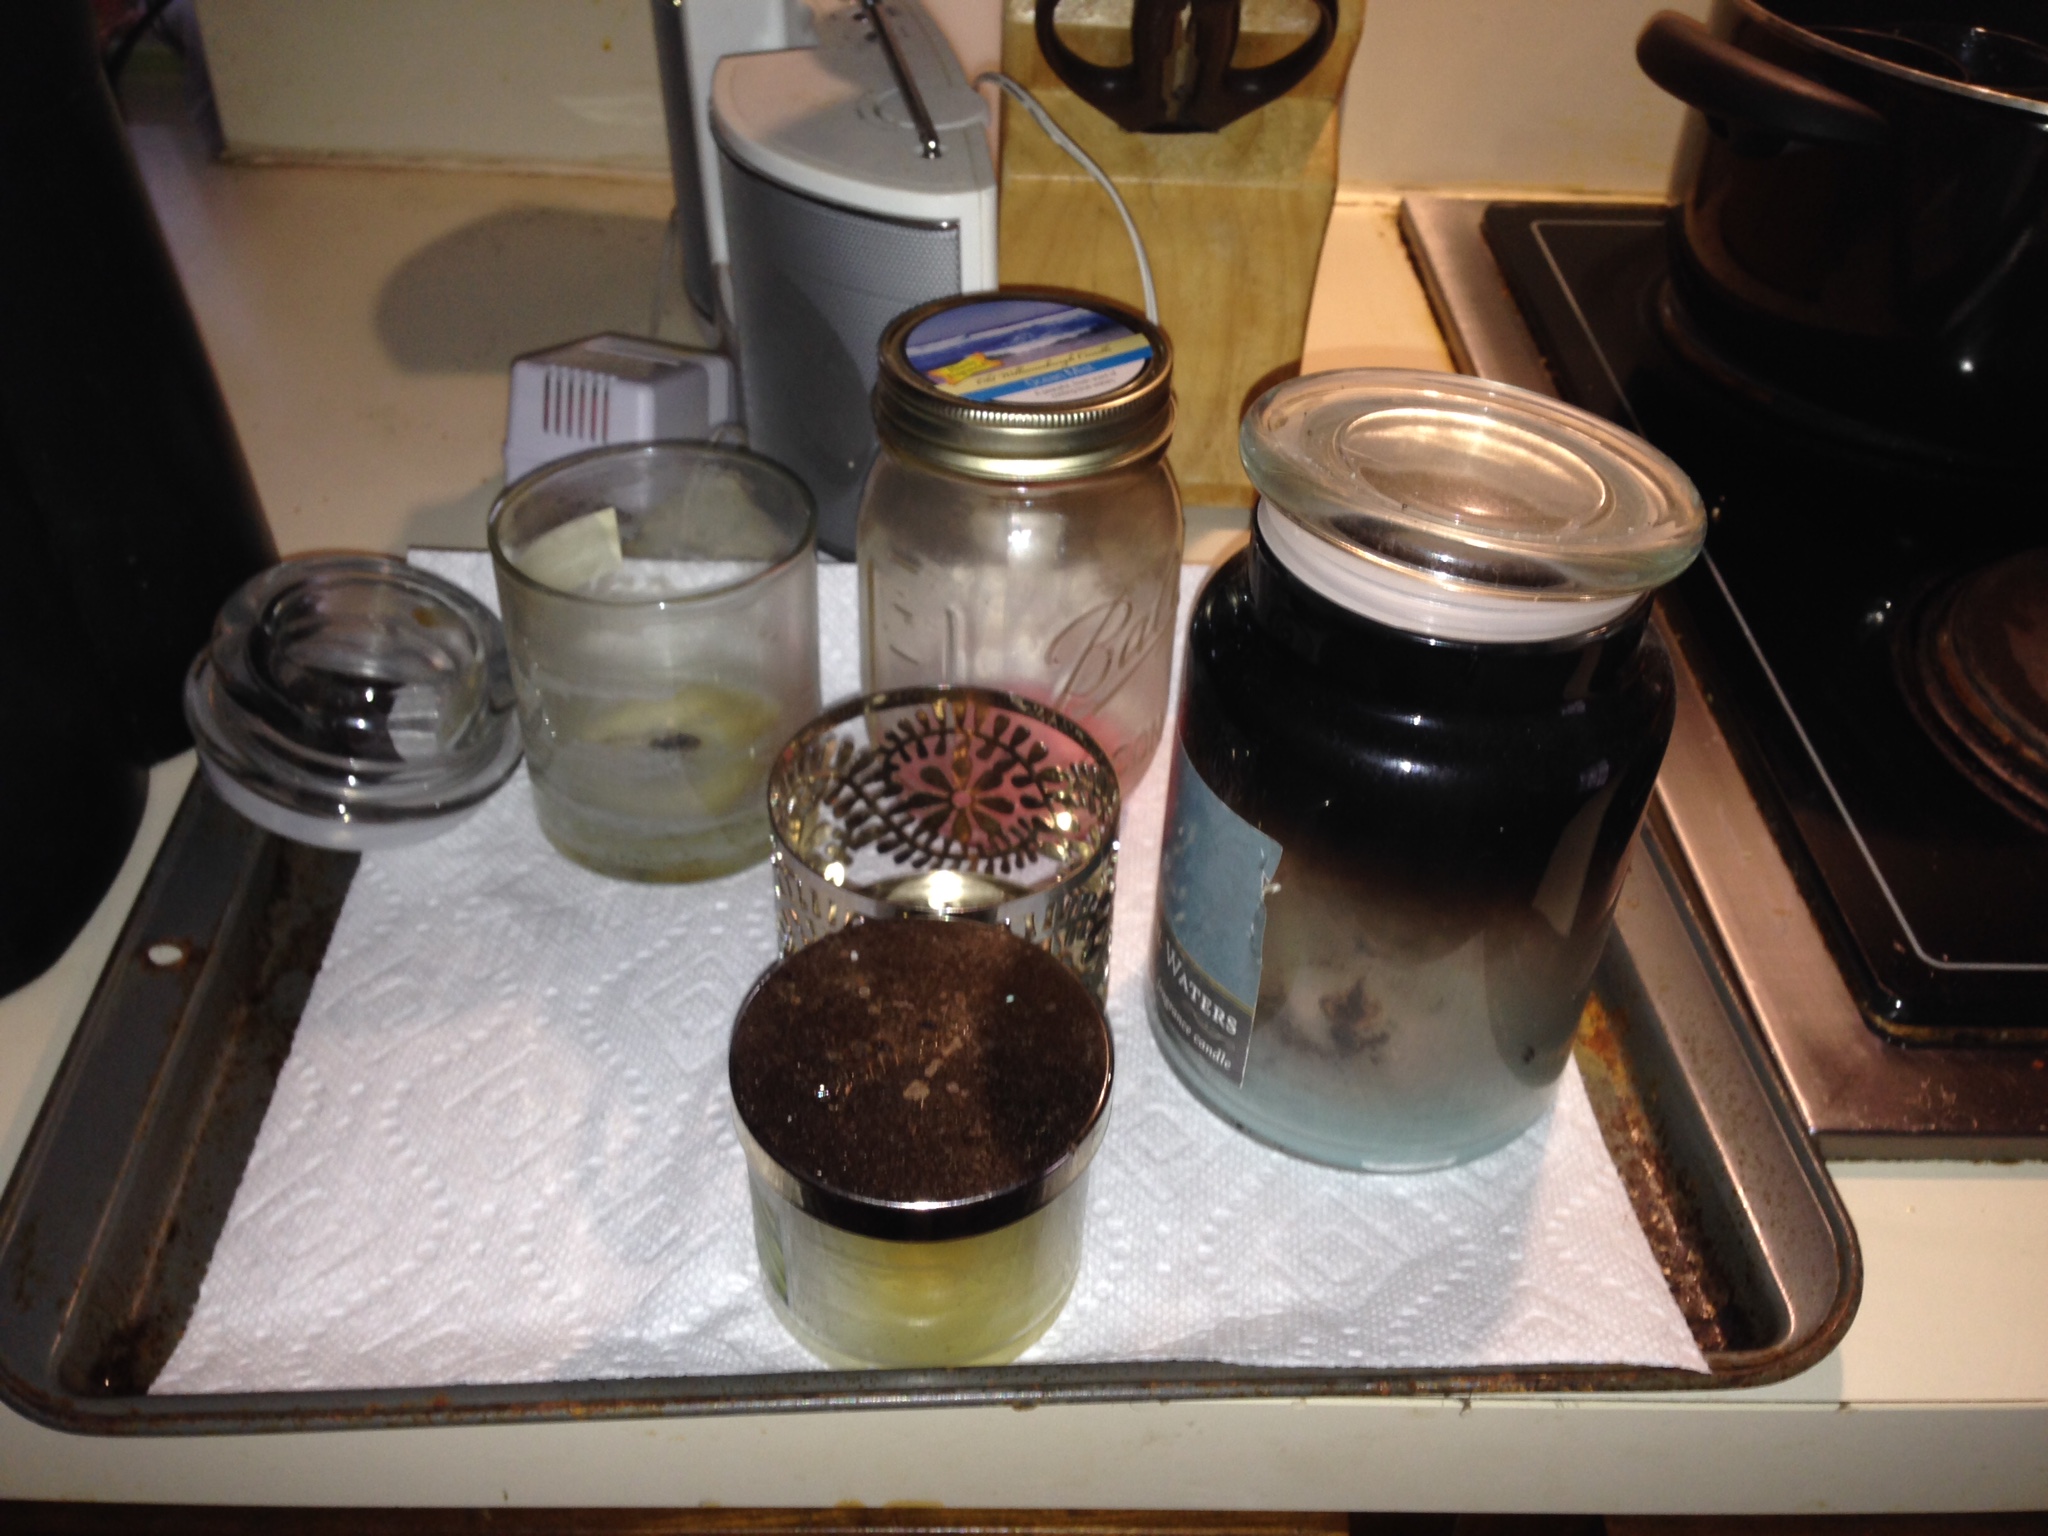
First get a large pot and boil some water on your stove top. Now the first two disclaimers here, are 1) I use an electric cook top, so consider the difference in the direct heat of a gas flame if that is what you have, and adjust accordingly; and 2) there is some chance of some wax seeping into the water, and therefore your pan, if you’re not extra careful, so if you prefer not to have to watch it that closely, use an old pot that you no longer cook with, or maybe pick up a cheap one at the dollar store or thrift store. Okay, so now to continue…place your candle containers into the pan with boiling water (should only go up the side of your container about halfway). I usually will do a few a time, but if it’s your first try, just do one so you can test it and see how it all works with your stove, pan, etc. The remaining wax will melt, as will the small dab of adhesive they use to hold the wick base at the bottom of the jar.

Now at this point we will remove the jars but they are VERY HOT, so use some type of mitt or glove to hold the jar and wipe clean with paper toweling. Even the black soot part wipes clean quite easily. Your hands can get a little dirty through this process, so you can wear some rubber gloves if you like. So as you see in this next pic, the first run gets the majority of the wax and yuck removed, but there can still be a little wax glaze feel to the glass. 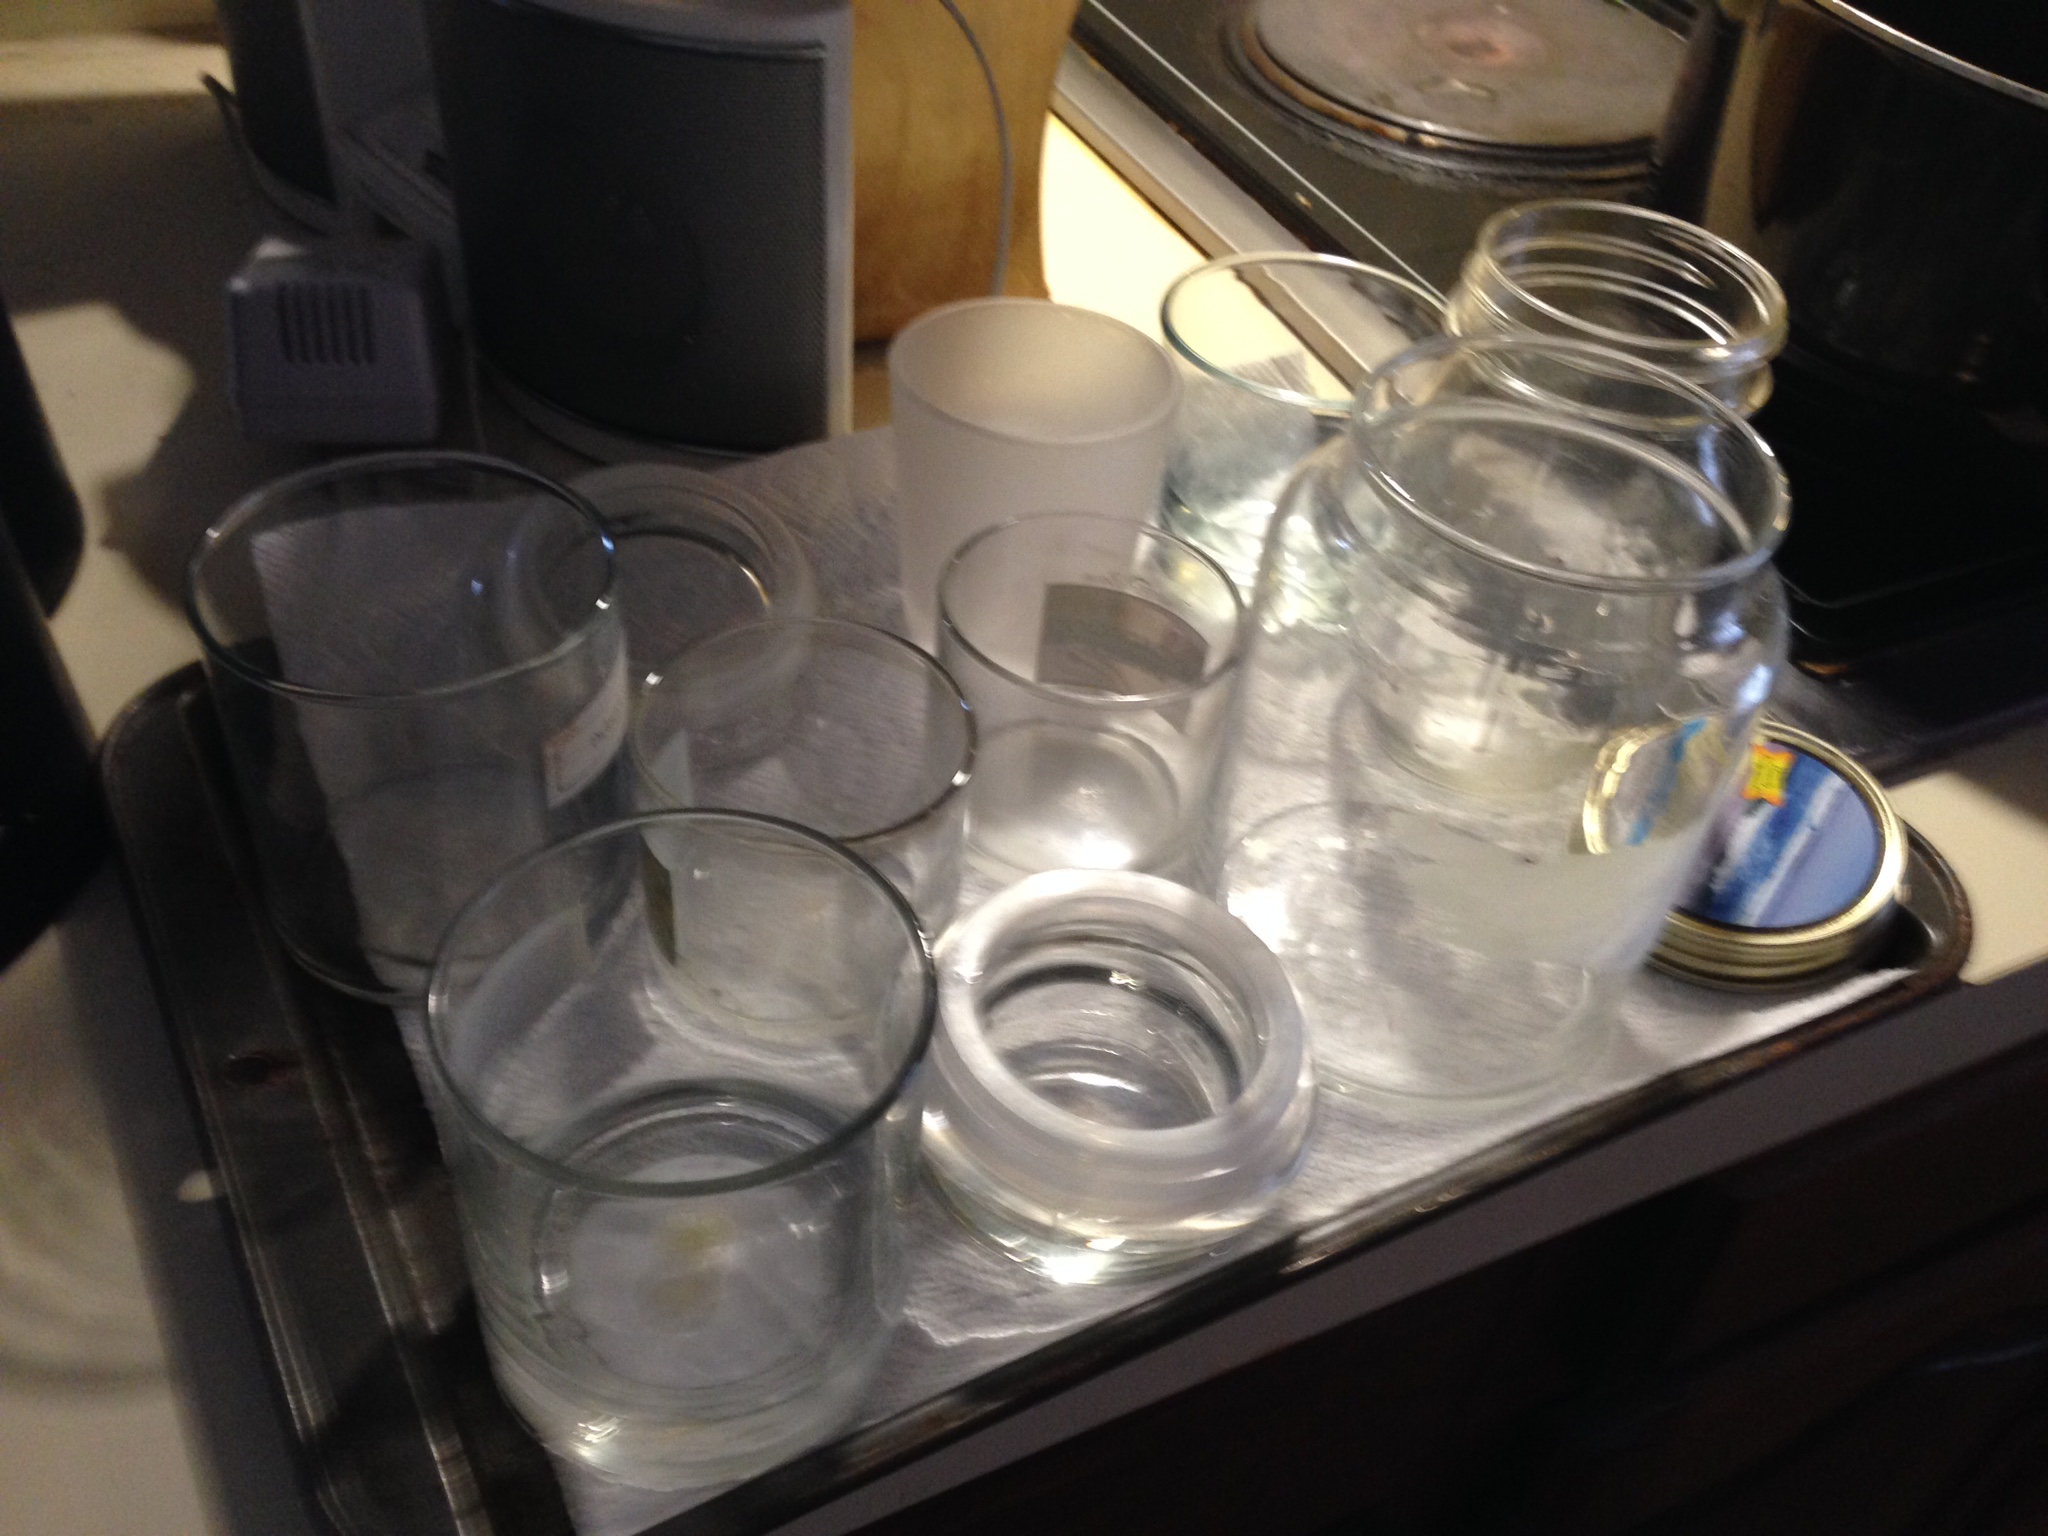 So I will usually repeat the process again with setting them into the water bath one more time and it helps to then melt down that last little glaze that is left. Here they are after the second bath.
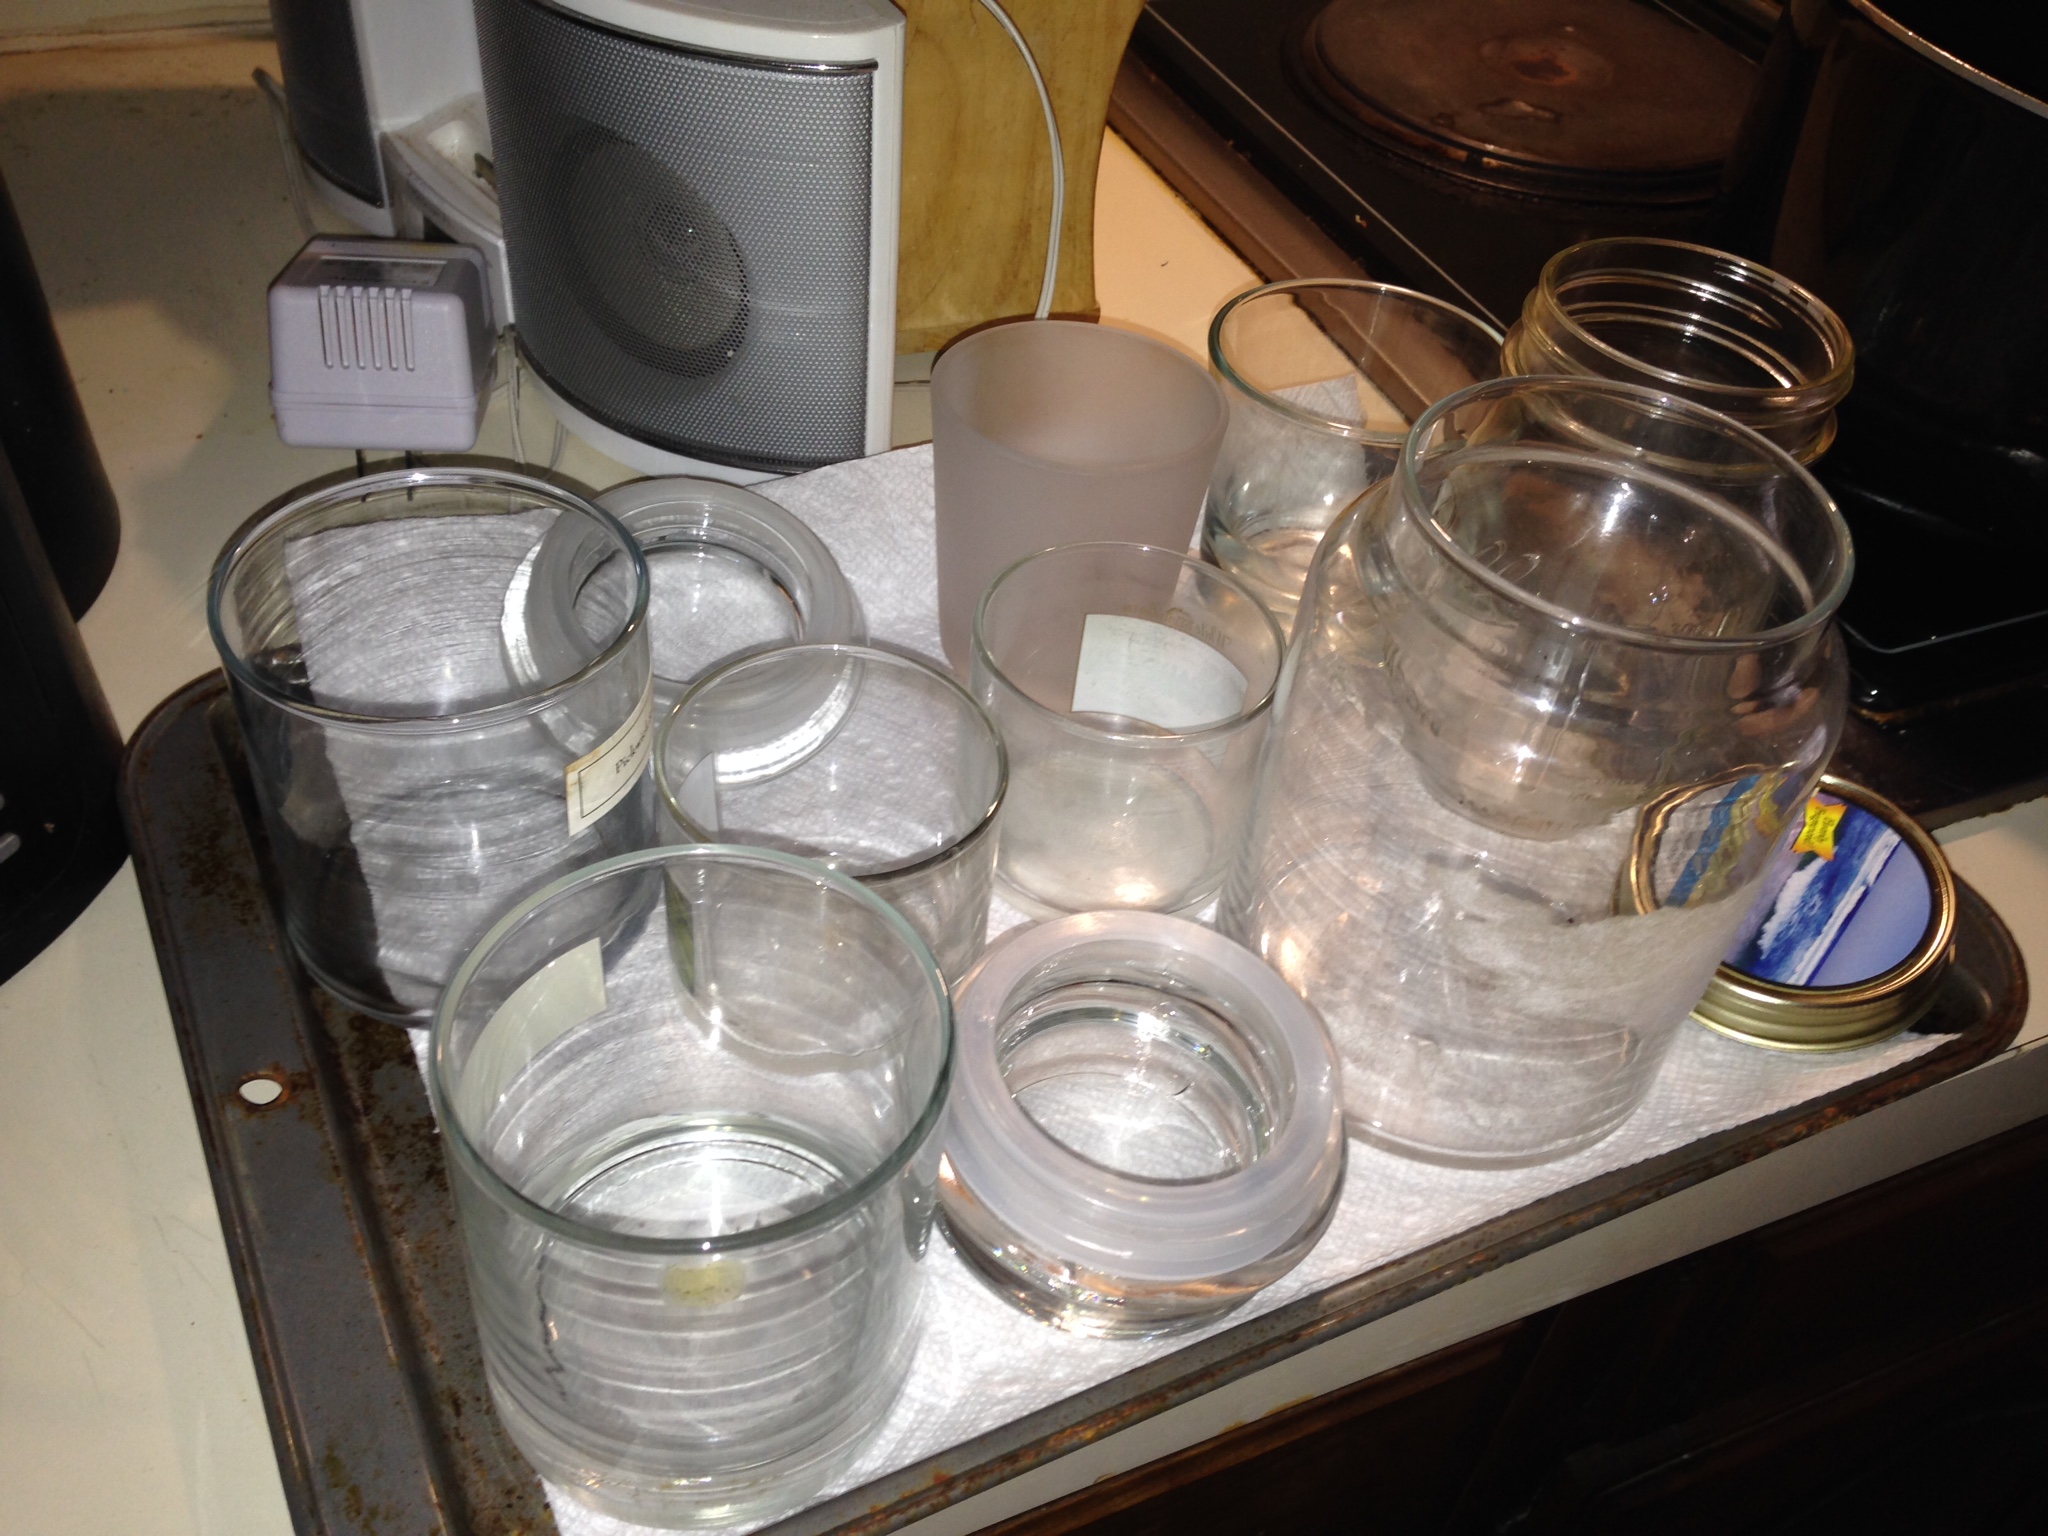
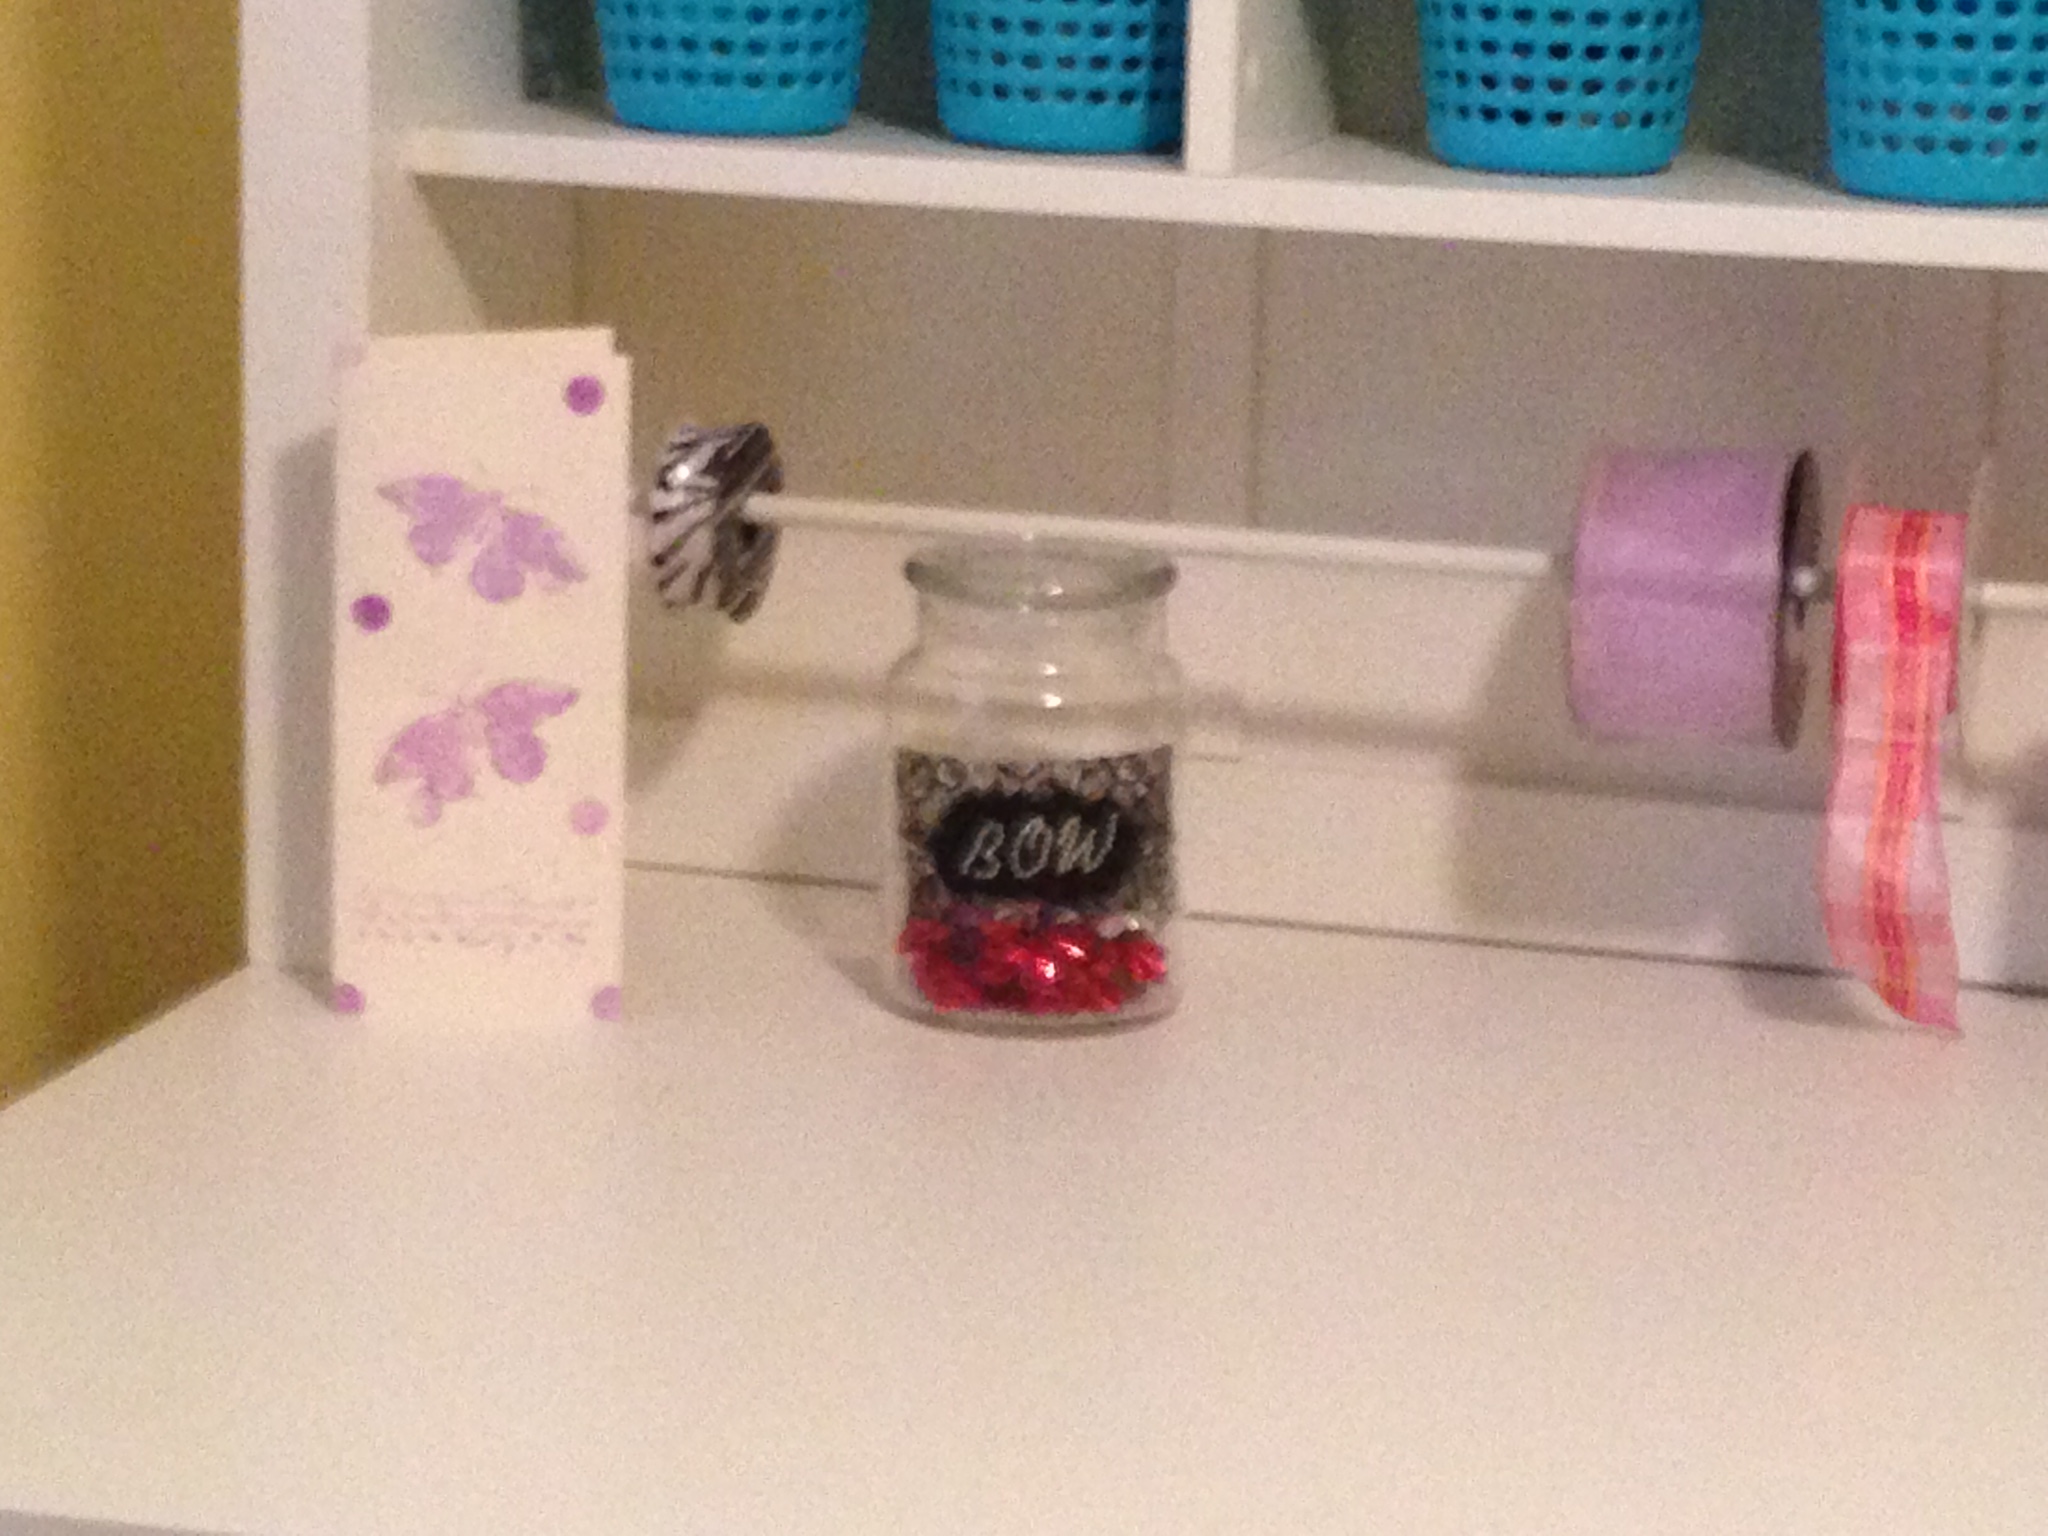
After that you are free to design away and make them fit whatever décor or use you like. Here I made a large candle jar into bow storage to put in my wrap station. I used some washi tape directly on the jar, made a little “swash” over the tape with some black craft paint, and placed some sparkly alphabet letters from my scrapbooking stash. Now it has a new home and looks cute as a button.


Another one took up residence in my bathroom and holds my little buf puf scrubbies. 
Other places I have used them are for storing cotton balls, containers for small supply items in my scrapbooking and craft area, to corral spare buttons, as a small sewing repair kit in my bedroom….it goes on and on. Share some of your ideas with me! Does that get some of your juices flowing? Try it this weekend and let me know how it goes! Thanks for stopping by and I hope your weekend is Flippin’ Fabulous!
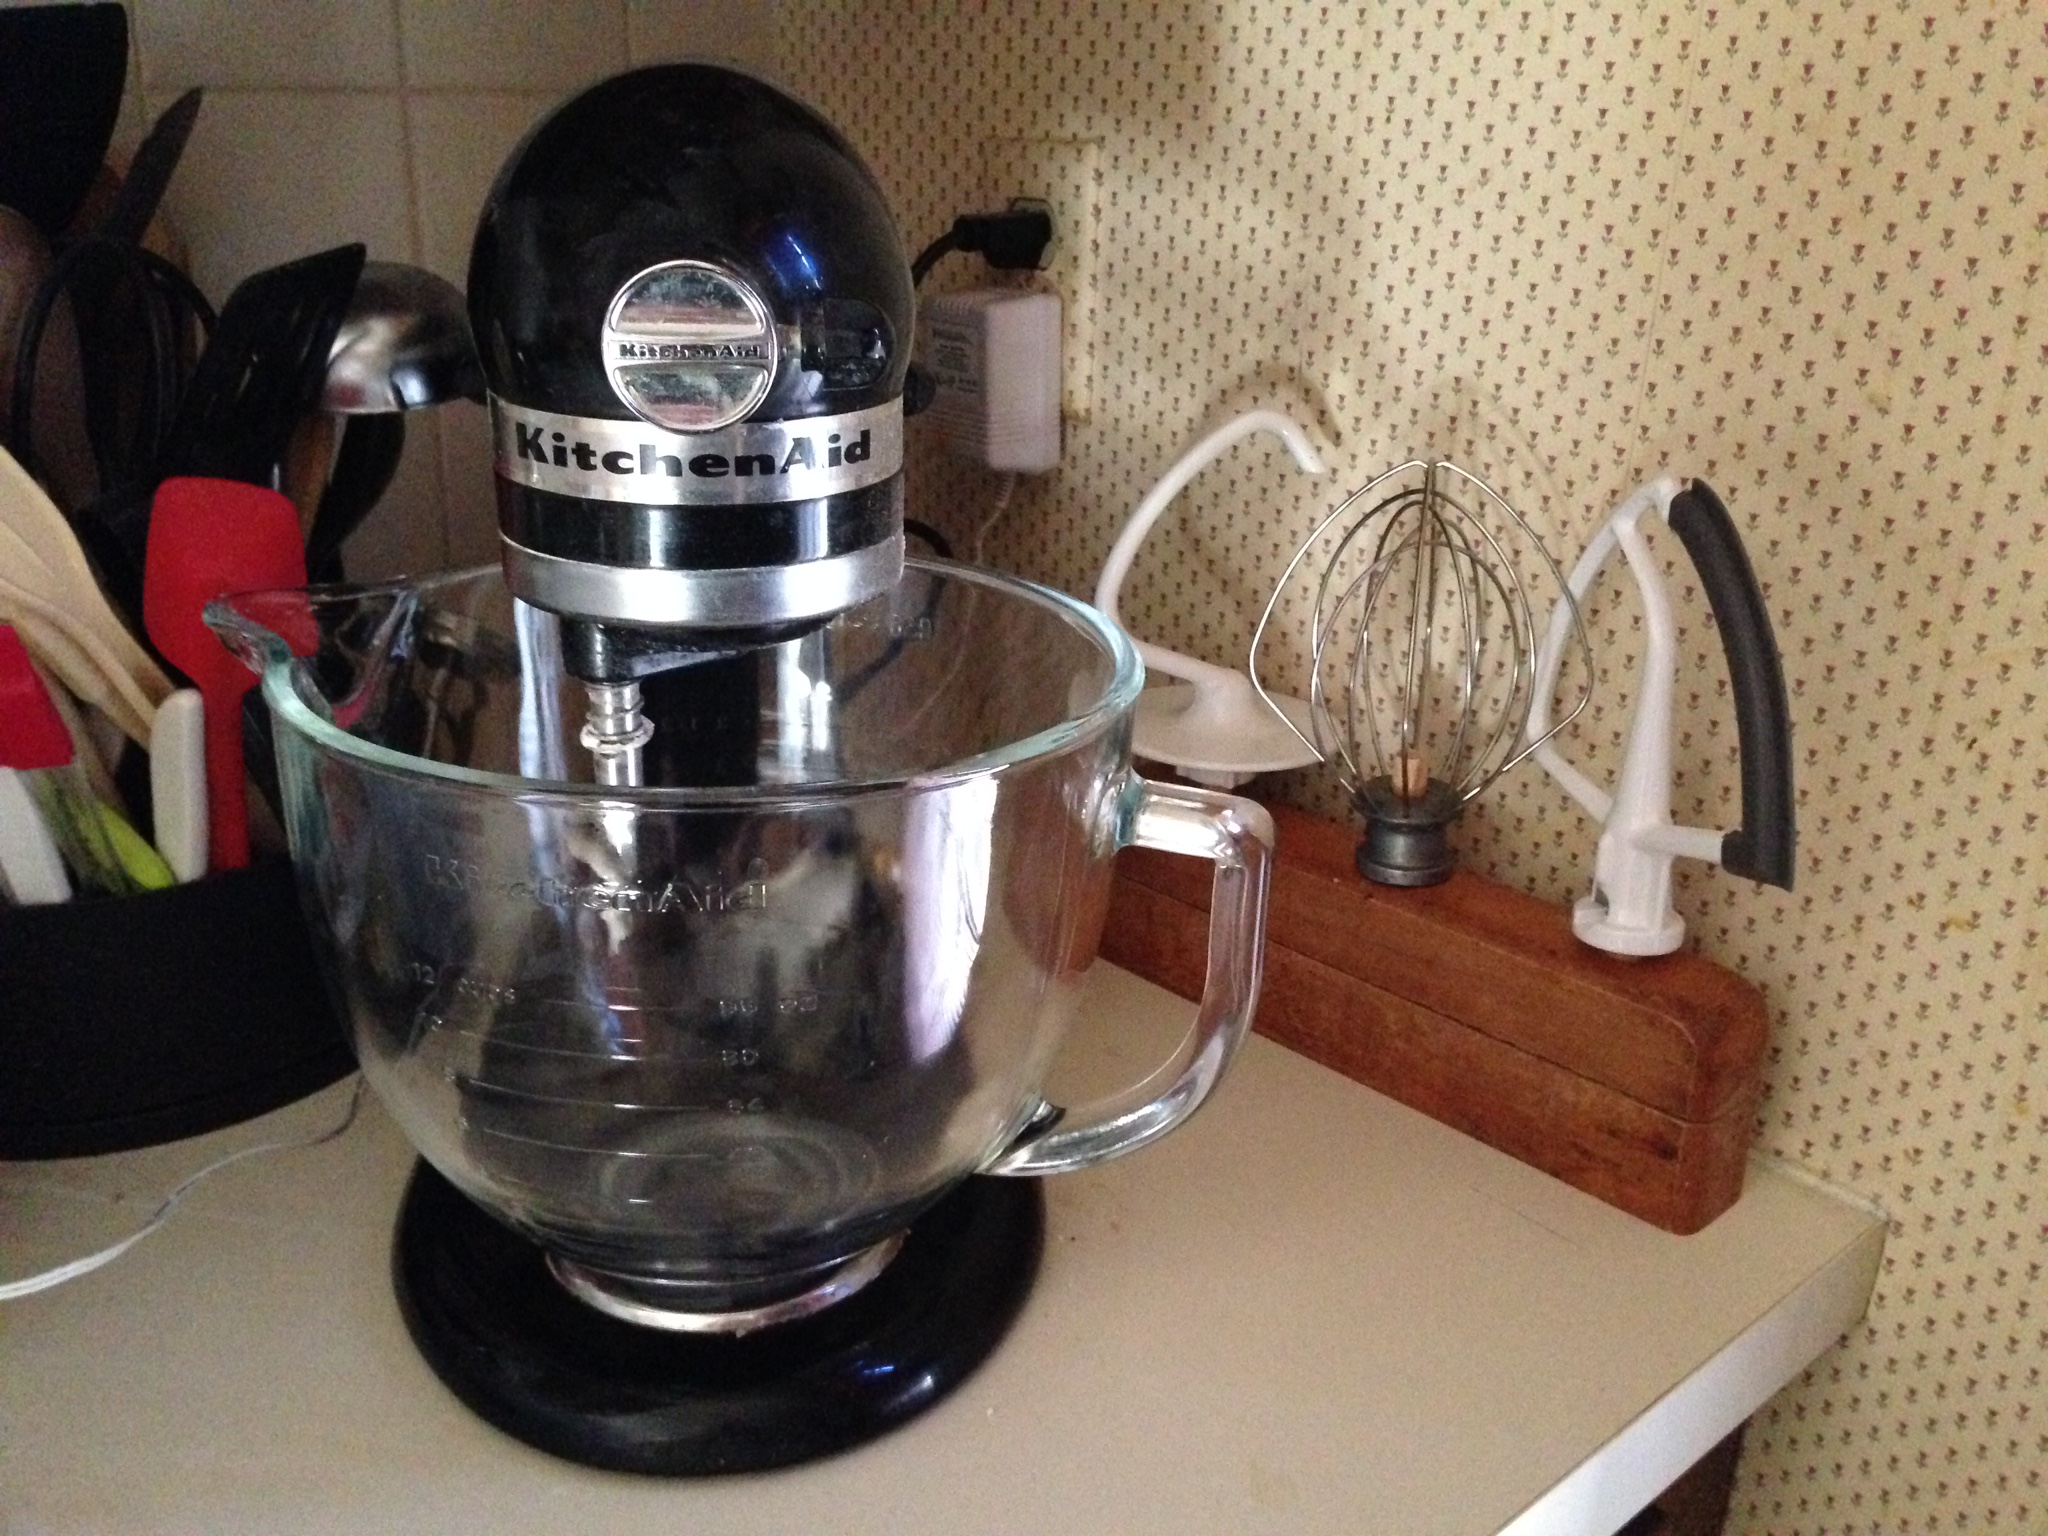
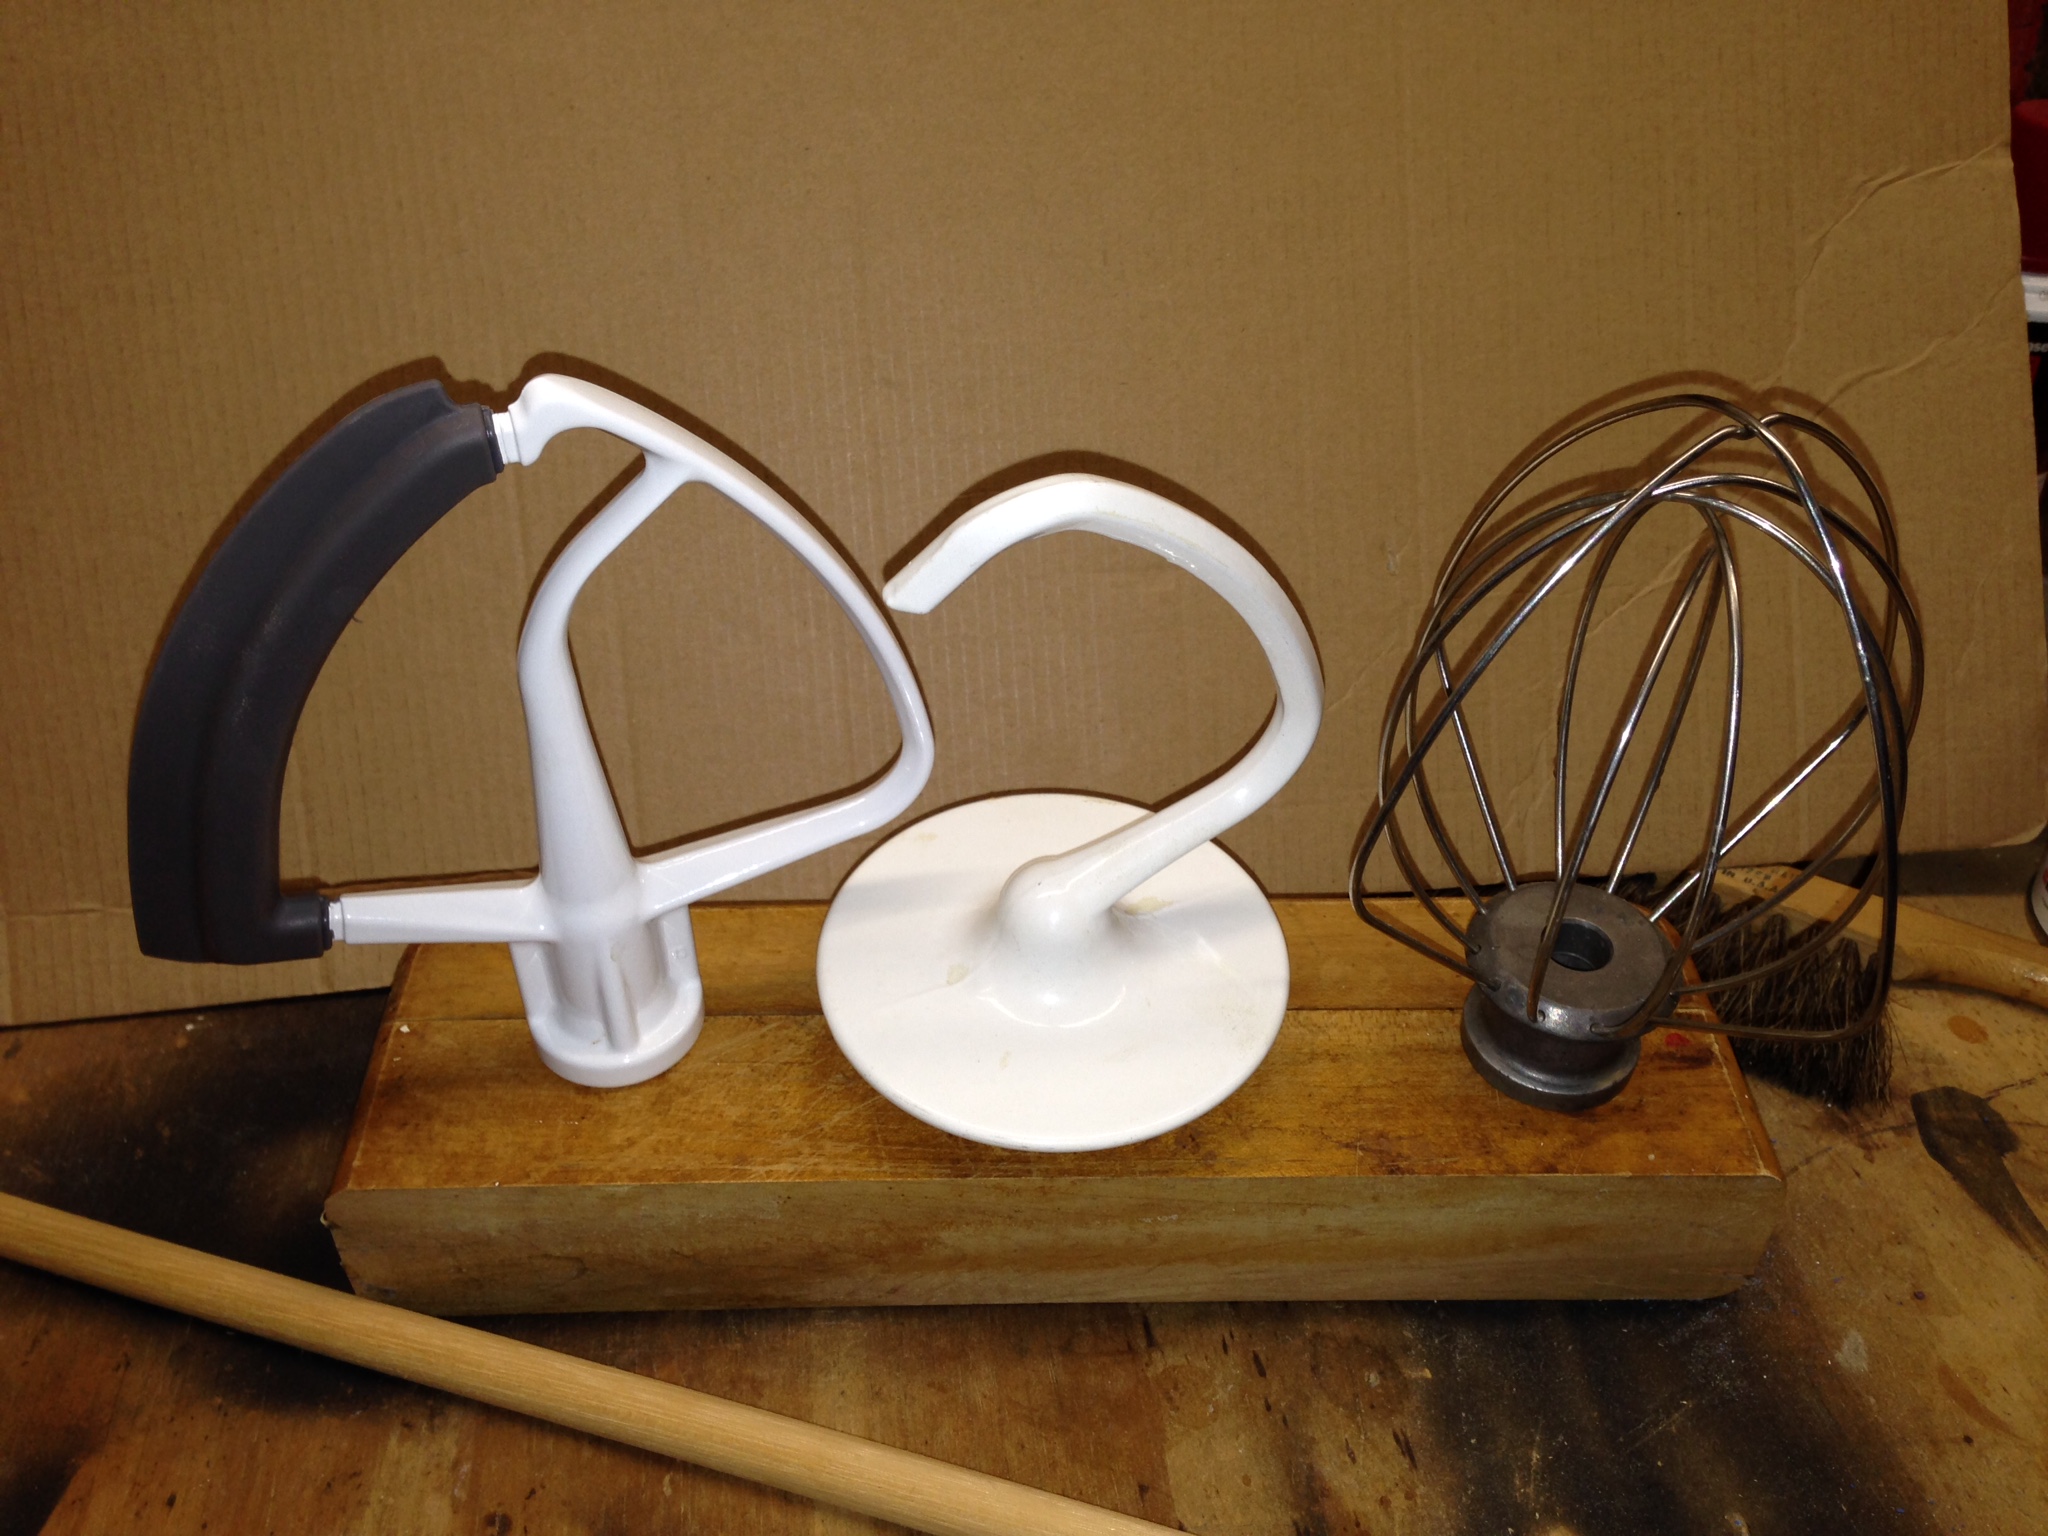
I found this project idea while pouring through Pinterest. If you’re like me, those mixer attachments were a constant fight. I would just throw them inside the mixer bowl when not in use, but it always looked cluttered and I had to move them out of the way each time I wanted to use the mixer. But this little miracle idea turned out to be just the trick I needed.
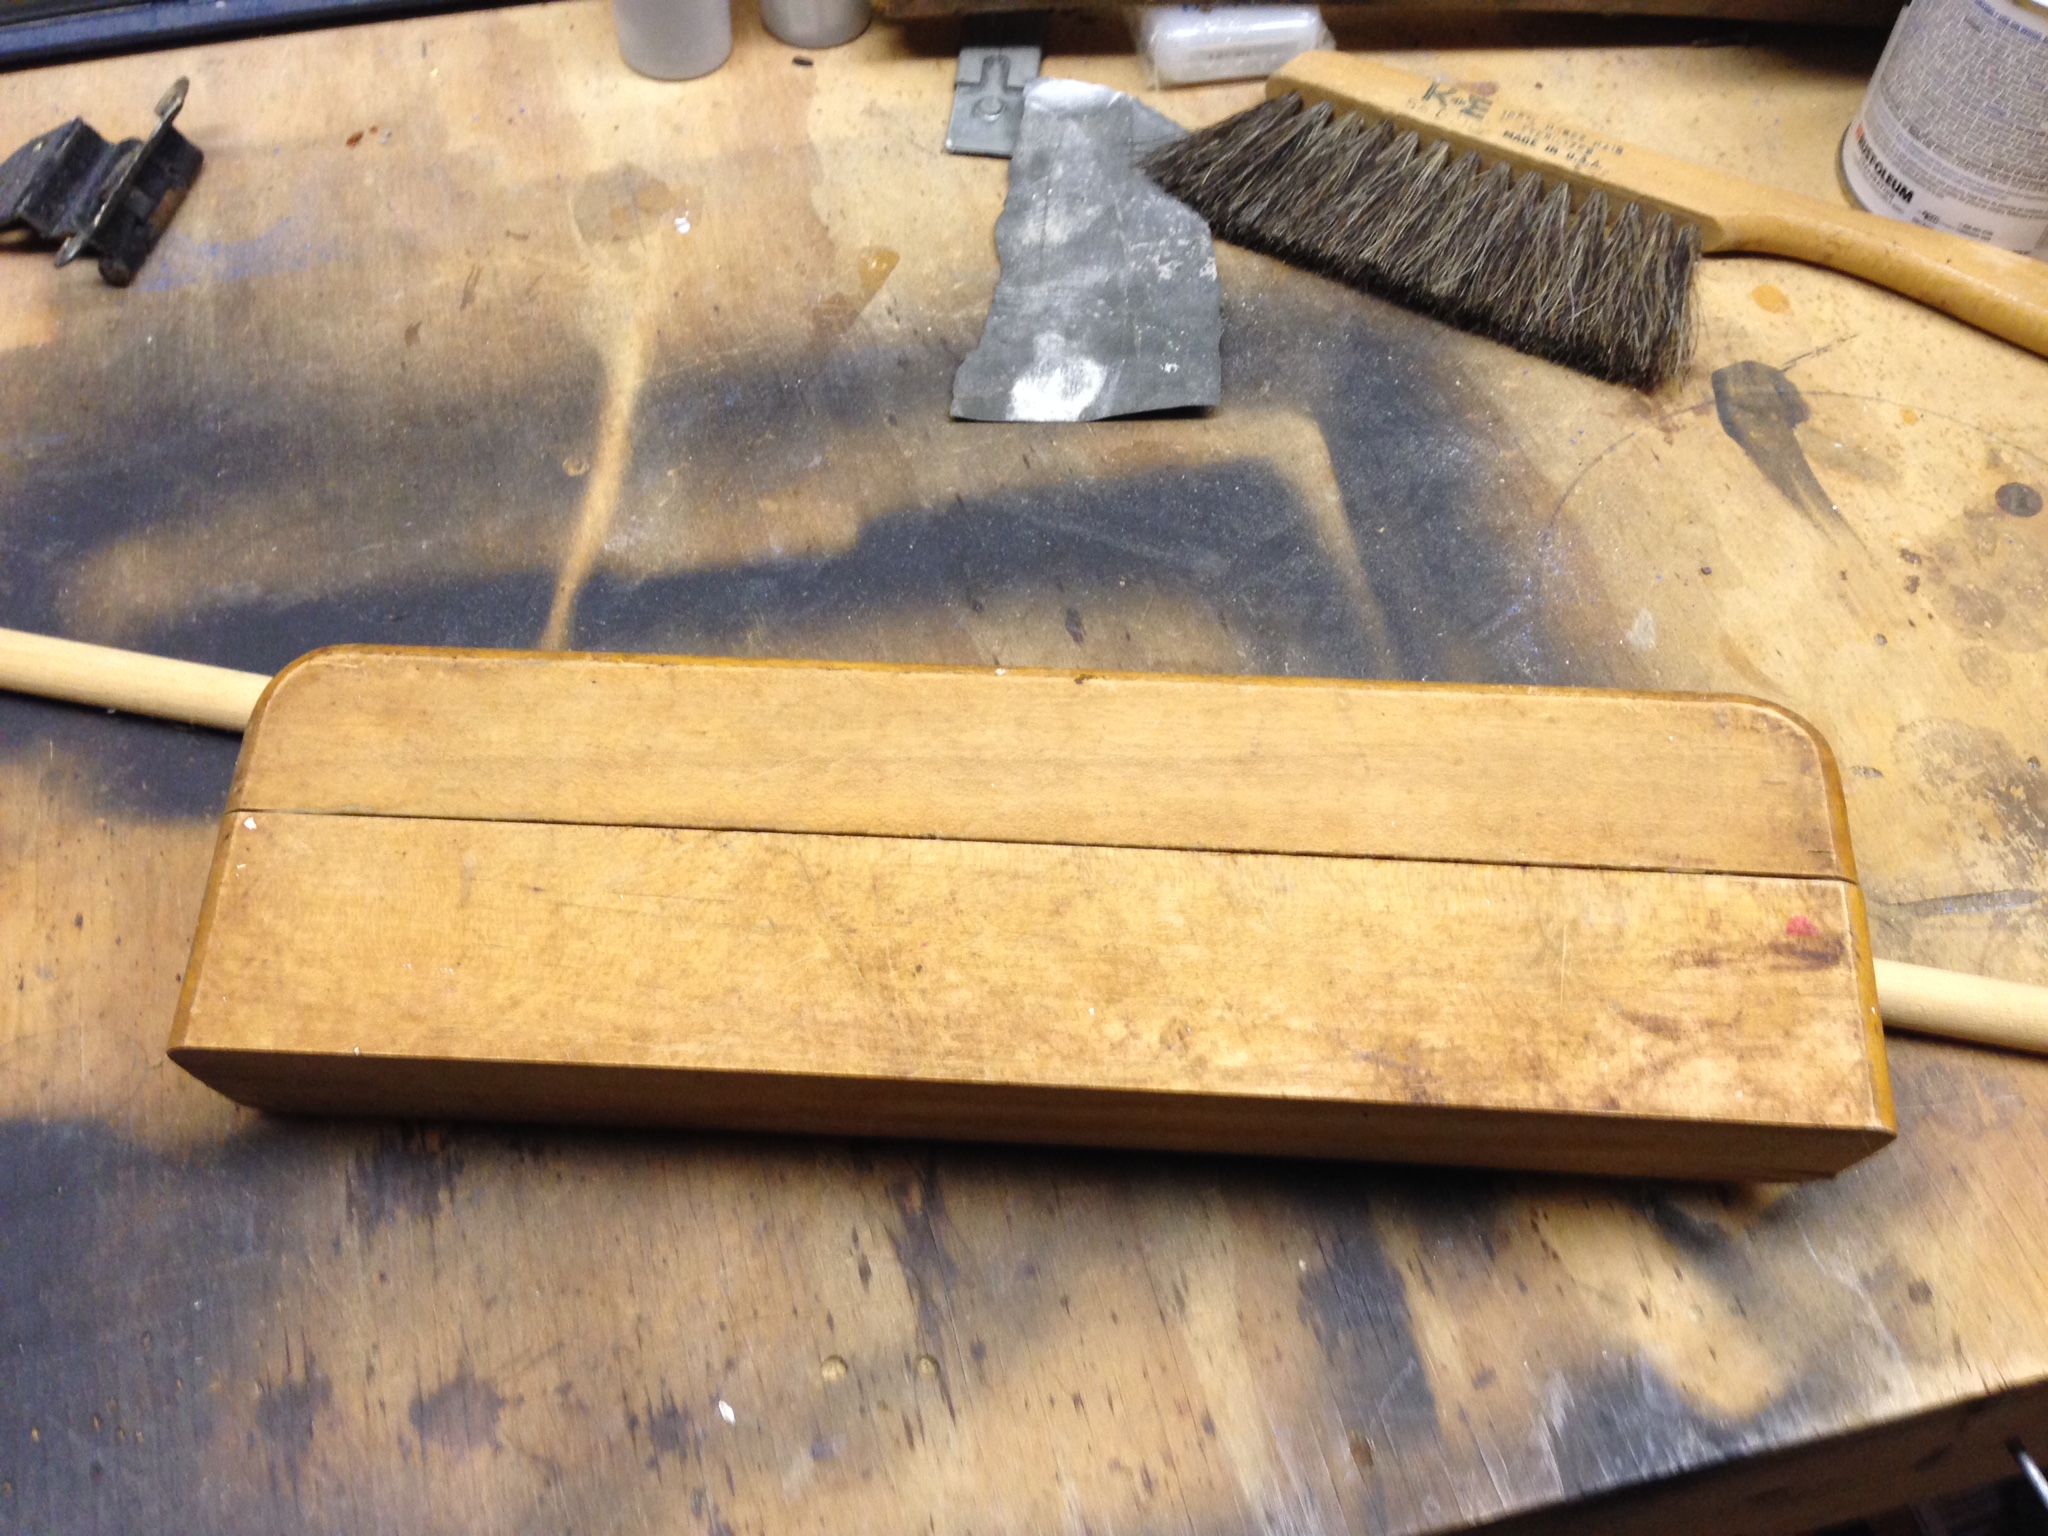 All you need to start is a scrap piece of wood. You’ll want something with a flat bottom to it. An old piece of “one by”, old molding or handrail, or anything you have laying in your scrap pile. I had a piece from an old cutting board that I kept hanging on to thinking, “there’s gotta be something I can do with this.” Yes, I must confess, when it comes to those little scraps, I’m a bit of a hoarder. But hey, on this one, I can say I was right, so I feel a little vindicated! (love those small victories)

Next I had to decide if I wanted it upright or flat with my particular piece of wood. I chose upright so that it had a more narrow profile on the counter top.
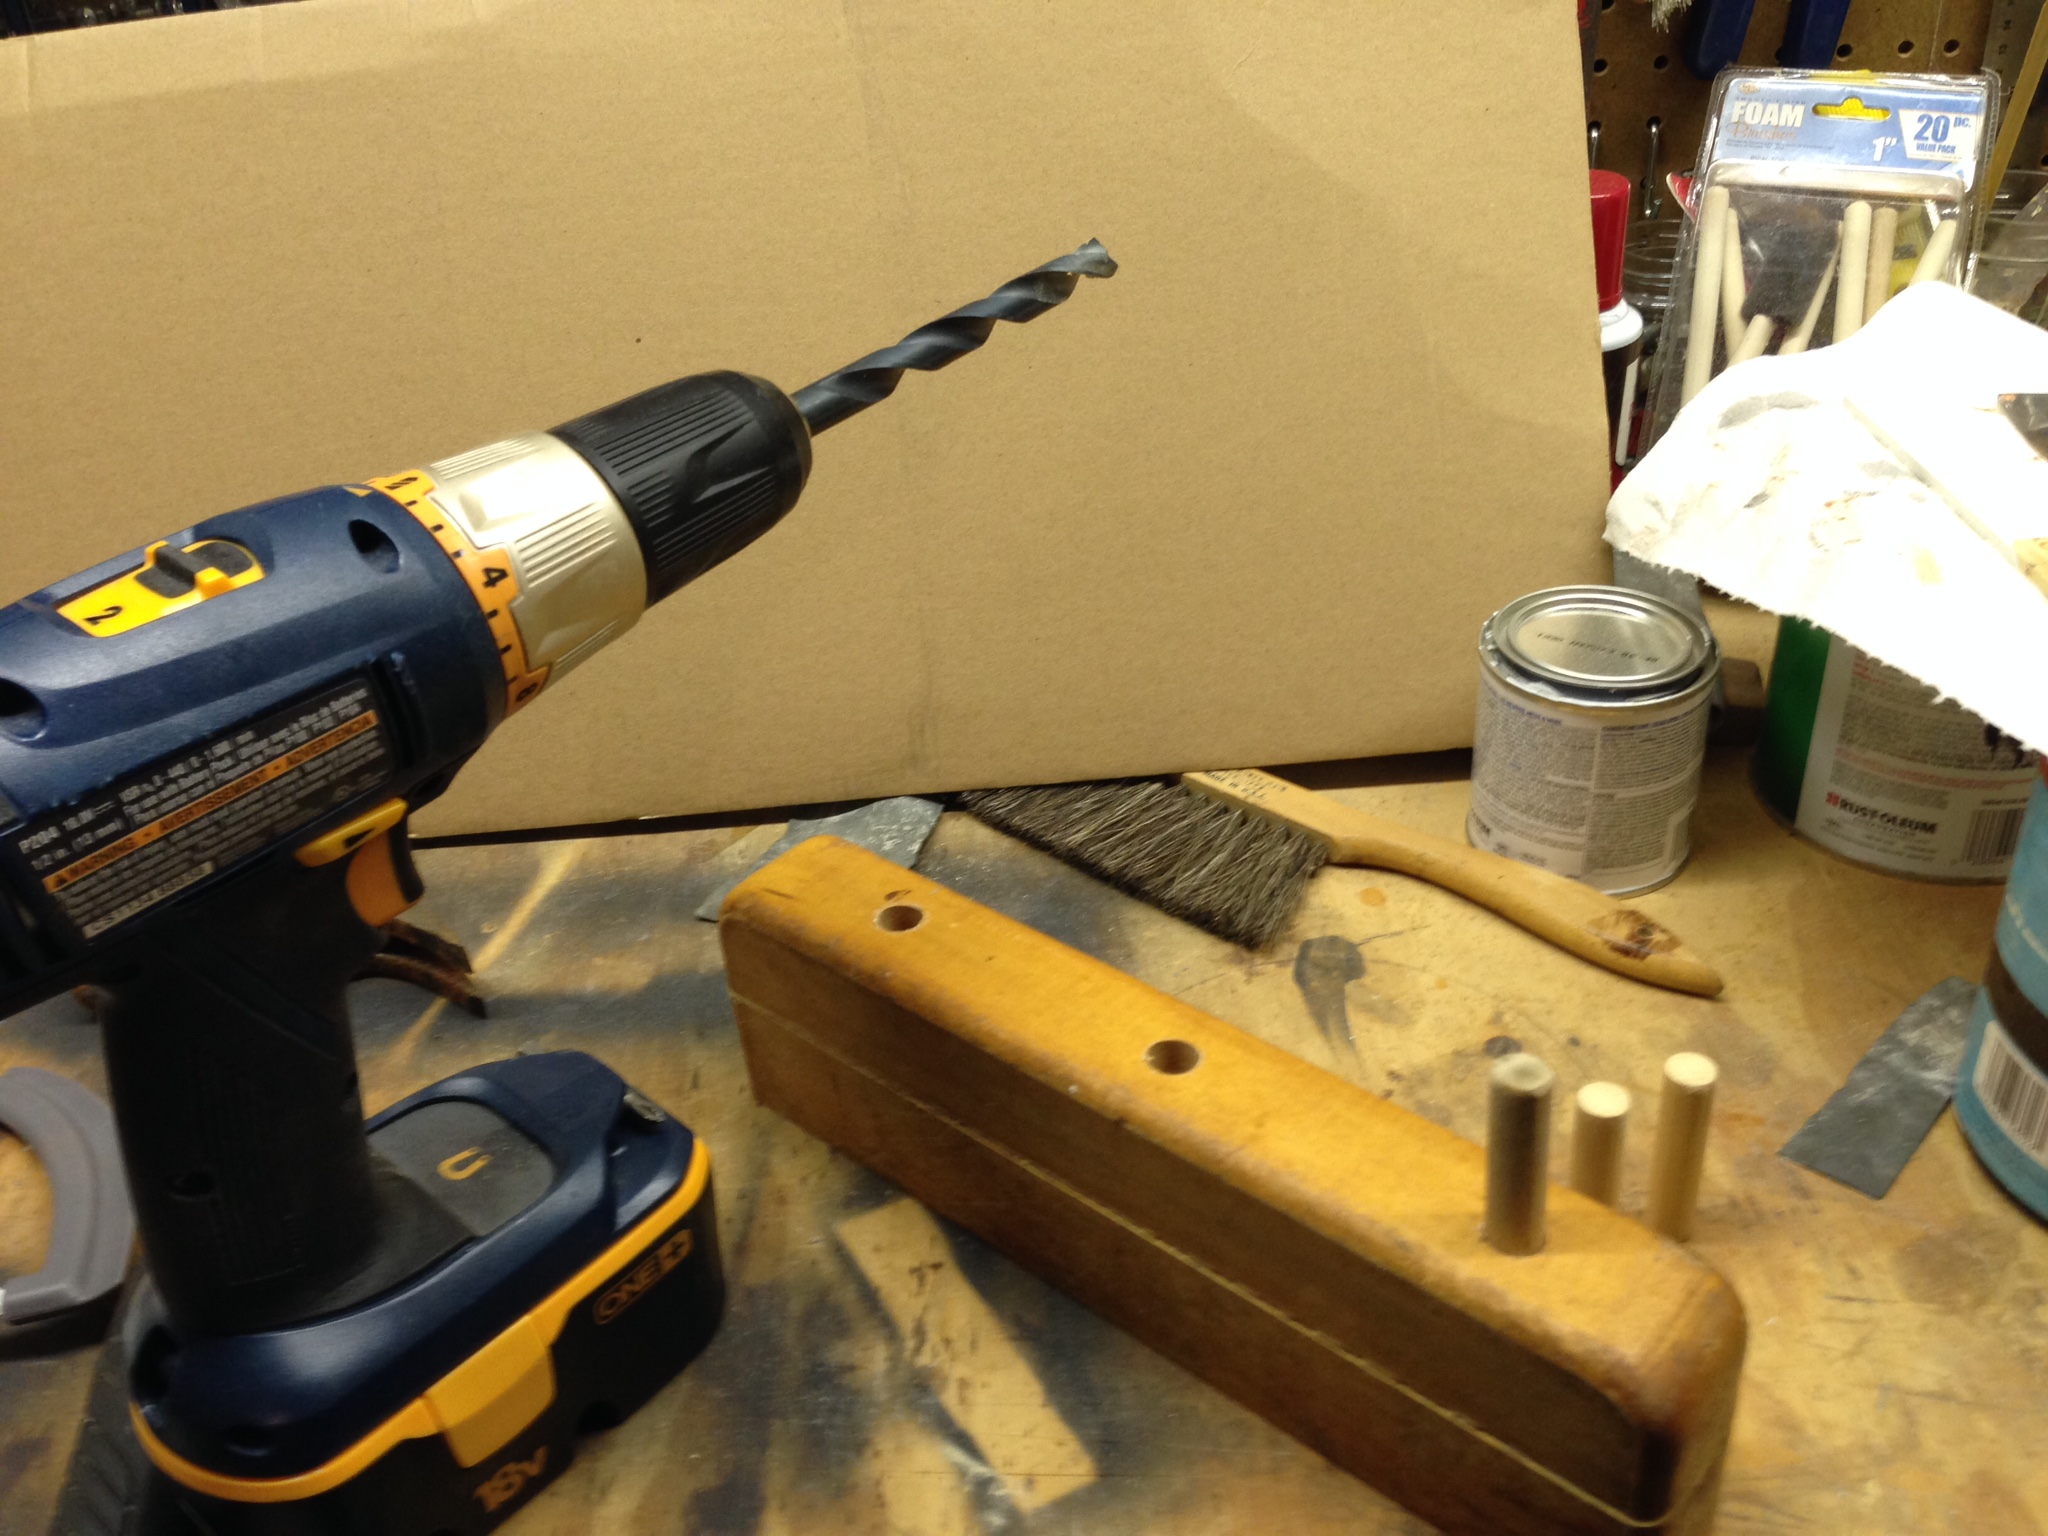
You will use a dowel to hold the attachments so choose one that just fits inside the mixer attachments. You want it large enough that the attachments don’t wobble around, but careful that it’s not too big. You want your piece to slide off and on without any struggle. Find your drill bit that matches the size of your dowel. Lay your mixer attachments out on the base piece to determine the proper spacing and make mark where you want to drill your holes. Drill holes about a half inch deep. Put some wood glue into the hole before placing dowel in the hole. You might need a hammer for a little extra tap to get your dowel into the hole if you have a tight fit like I did.
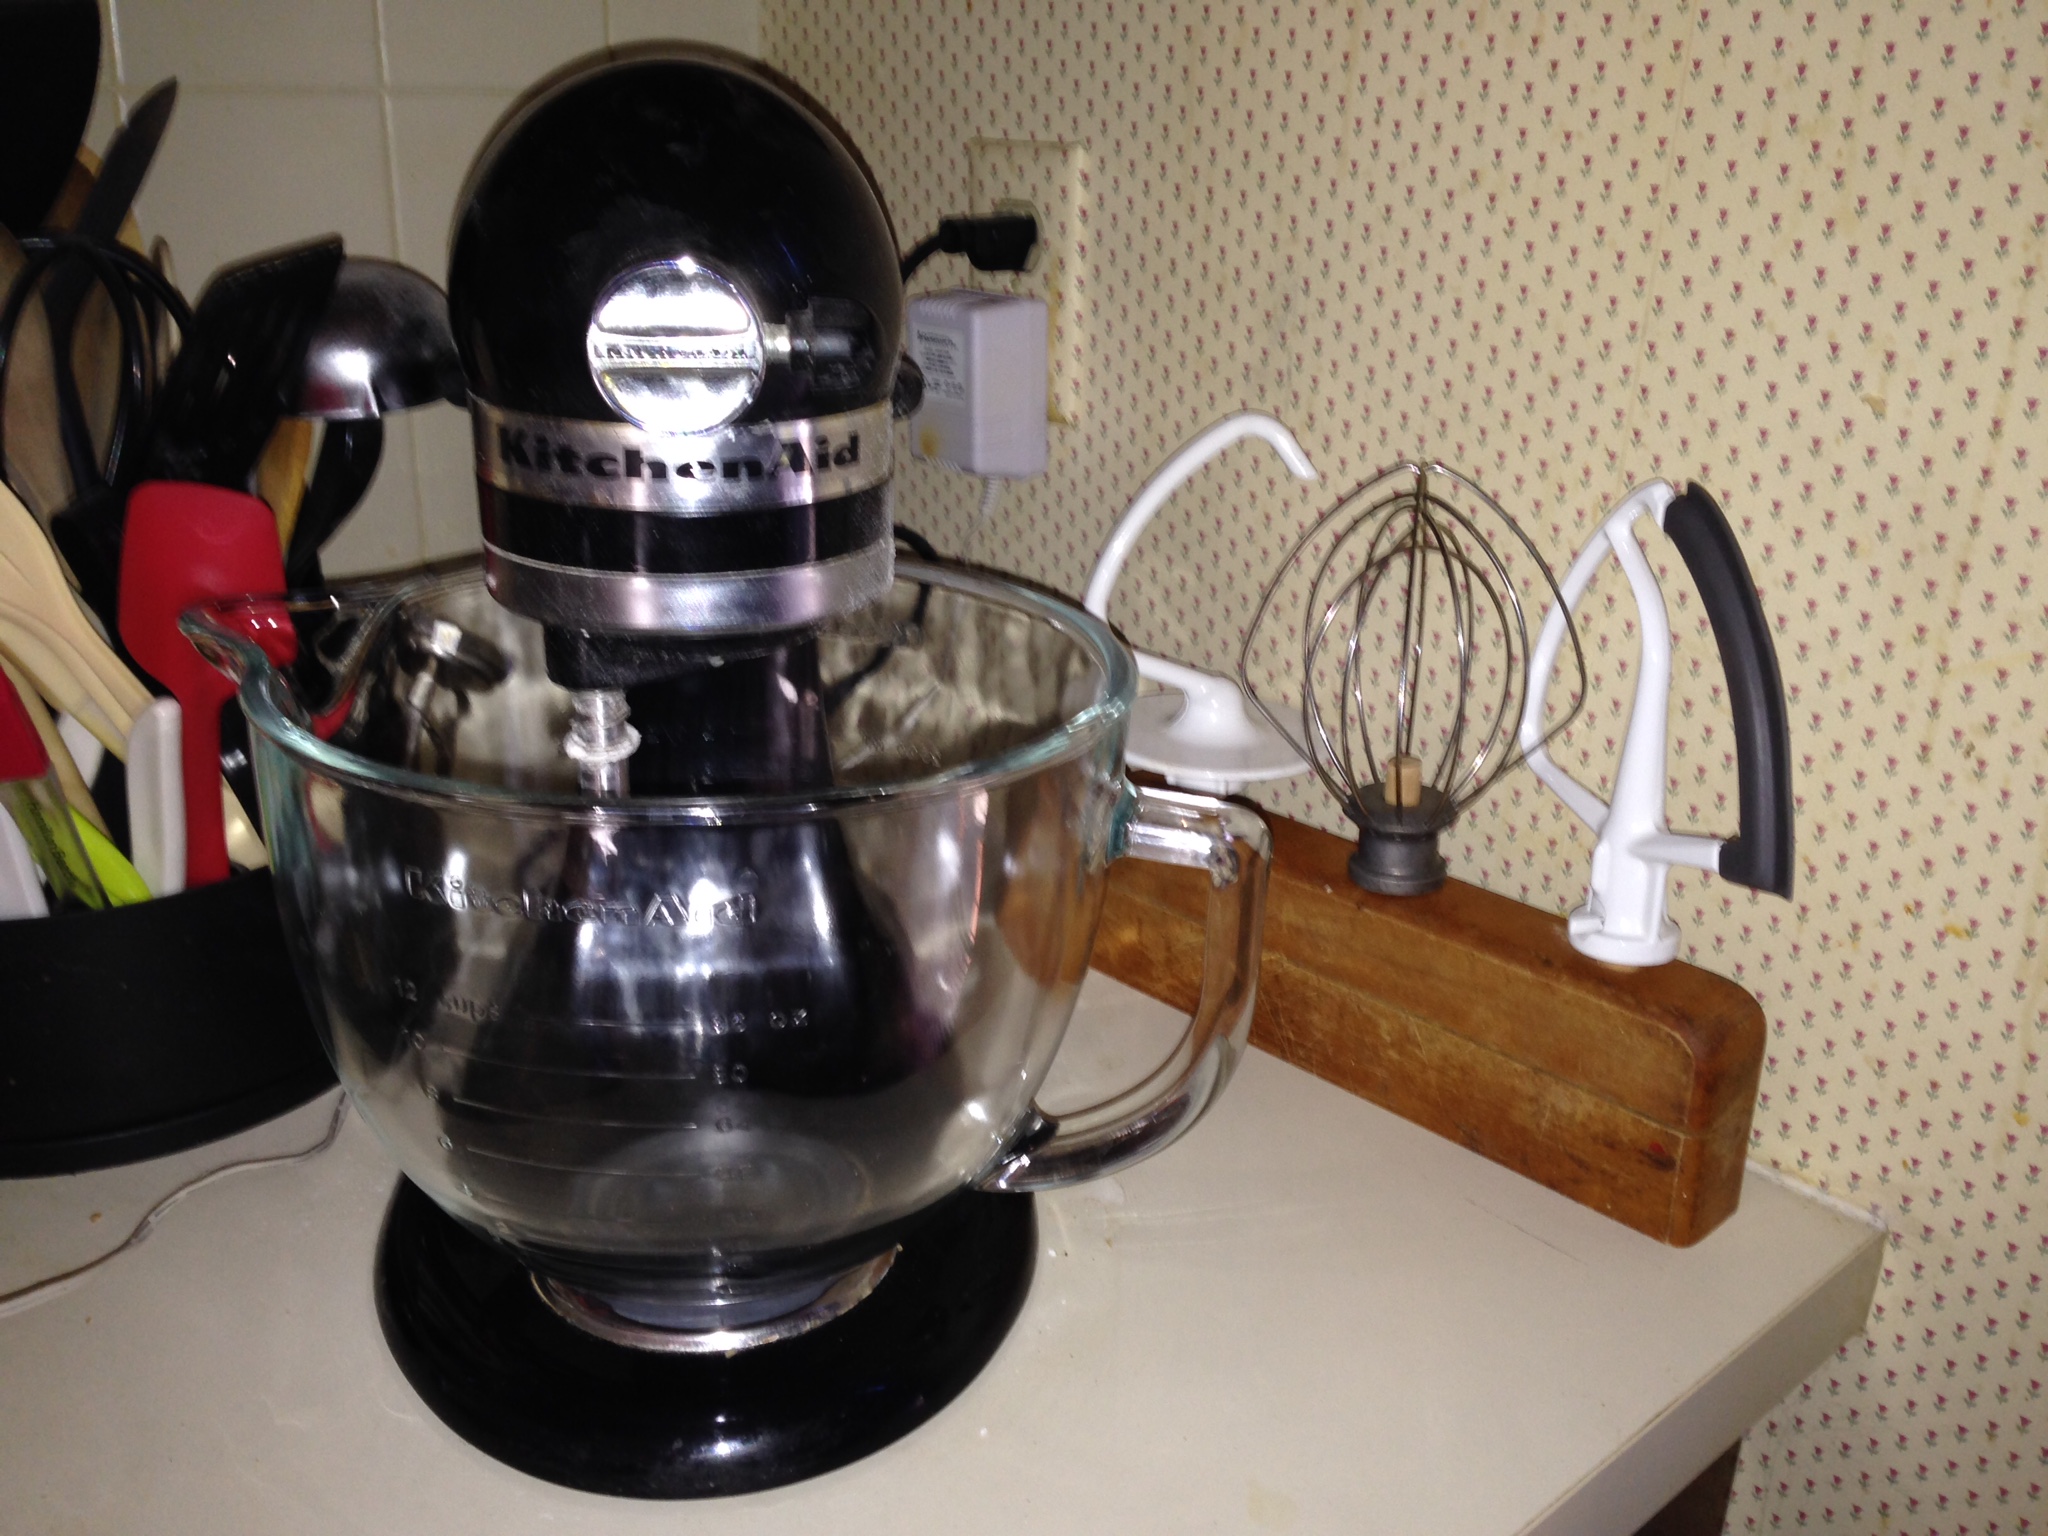
Let dry, and, voila! A cool little storage holder for your attachments. It only took about 30 minutes to make. Feel free to send any questions you may have about this project, and have a great day!

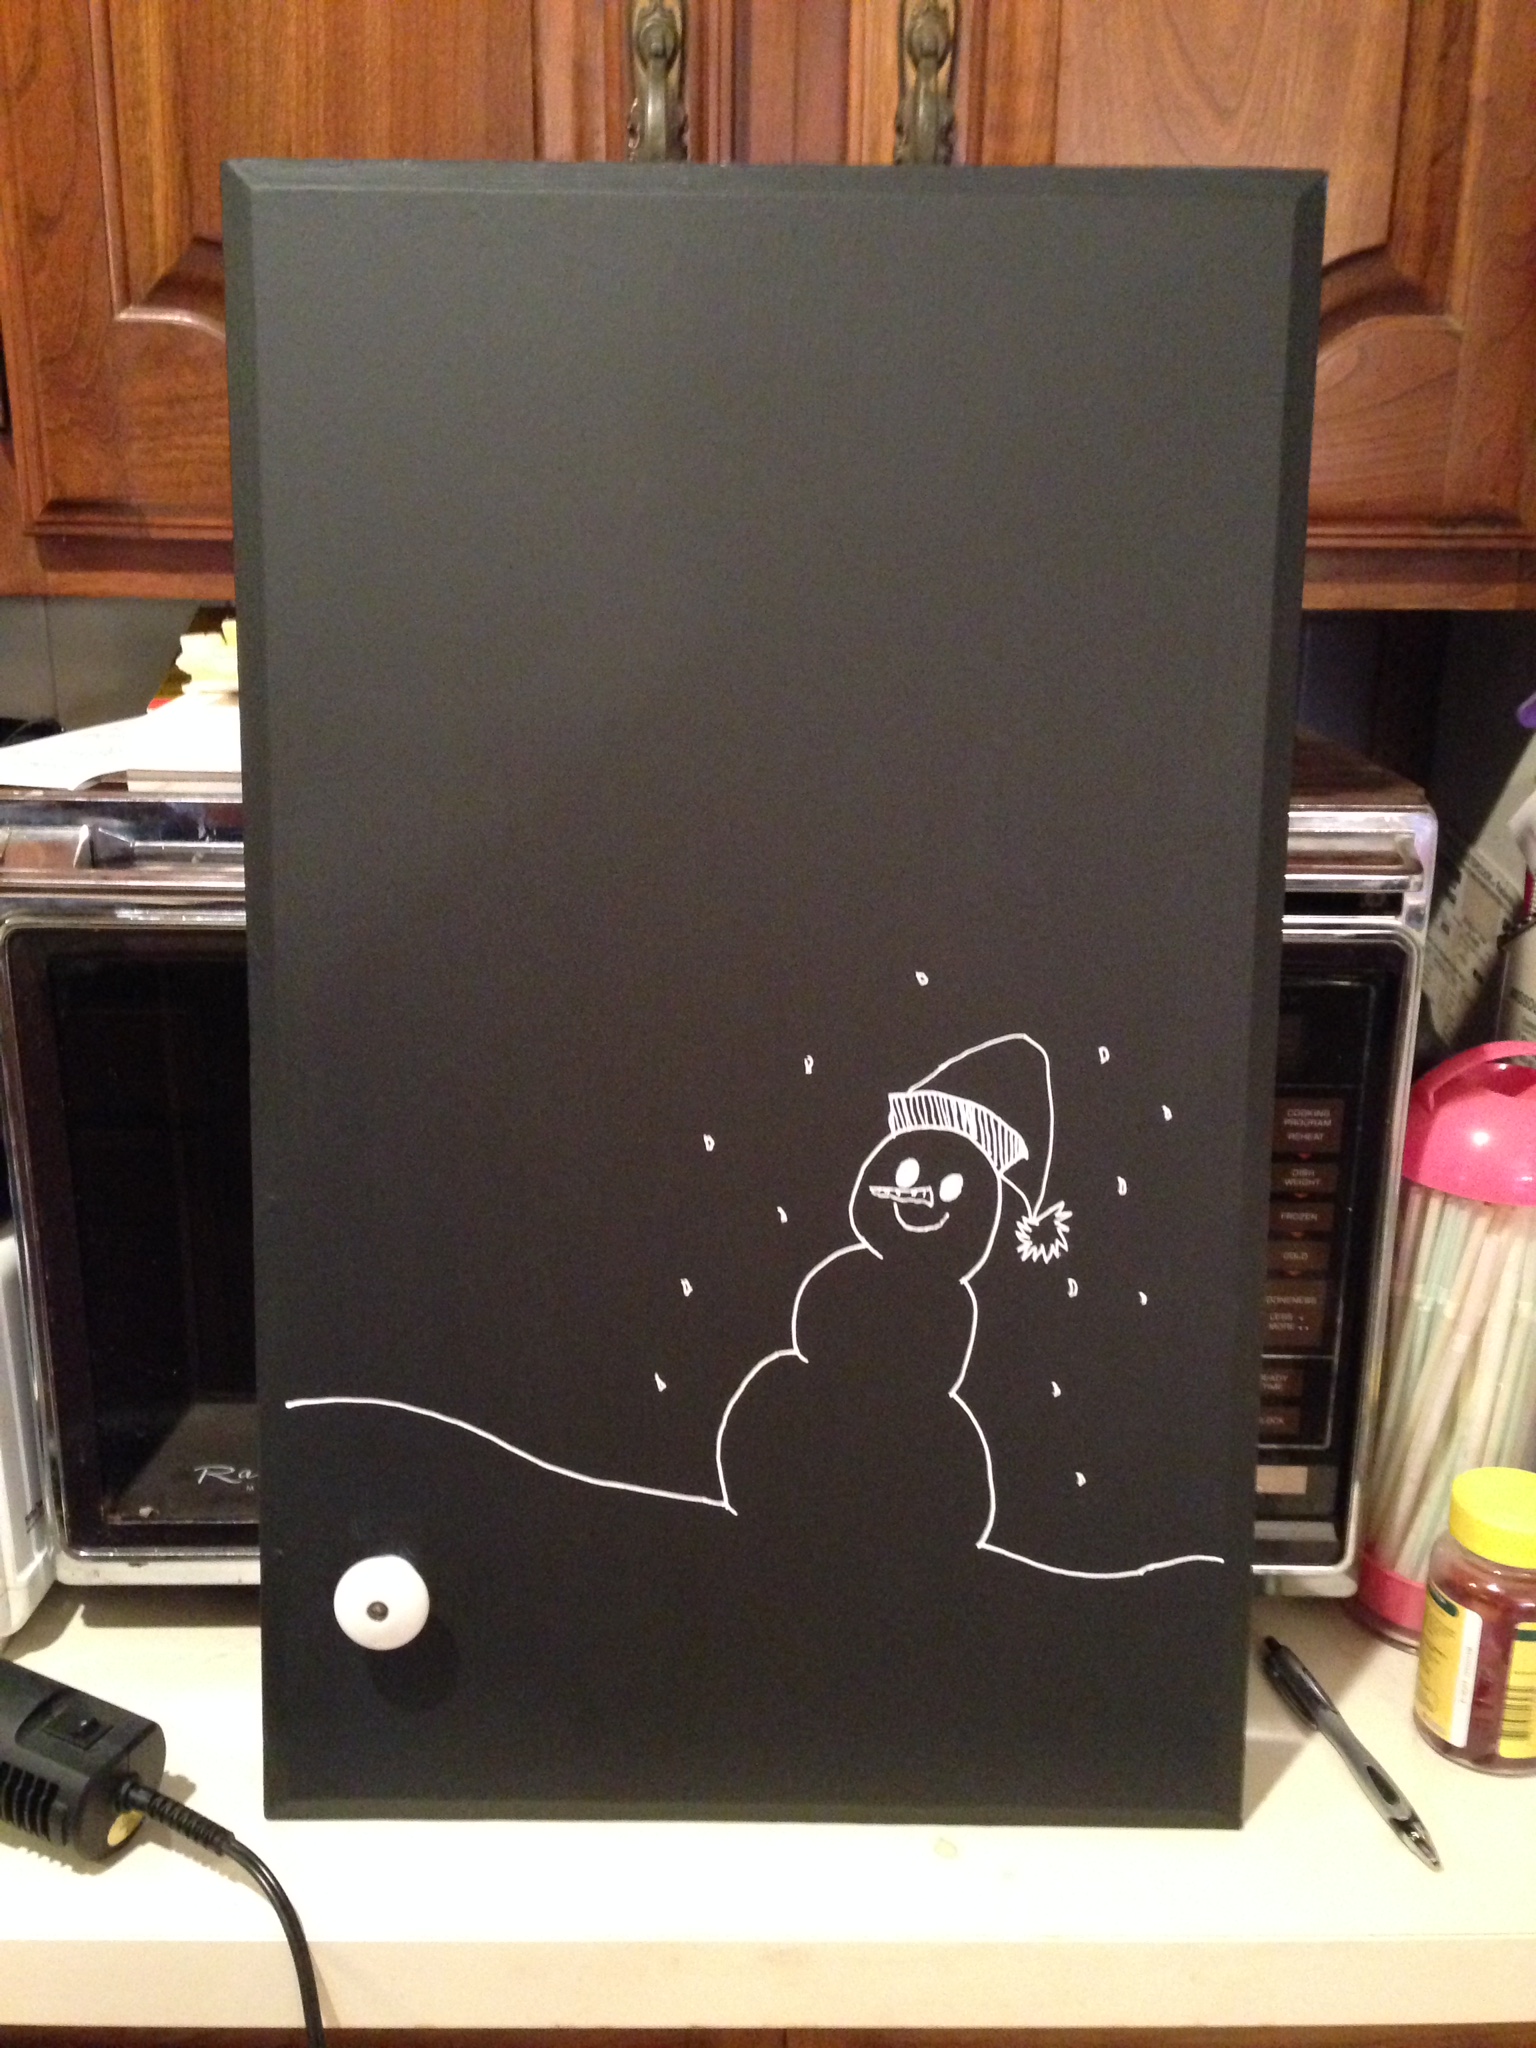
Here are some Flippin’ cute chalkboards that I created by repurposing two different styles of old cabinet doors. This is actually a pretty simple project. With just a few supplies, listed below, you can have a great addition to your décor. Chalkboards are all the rage right now, so go ahead and create your own. If you’re afraid of the lettering, I’ll have a few ready for sale in just a few days, so check back!
Supplies:
Cabinet door (of course)
Chalkboard paint – I recommend Rust Oleum
Small sander or sand paper
Secondary paint color, if you have a frame around your cabinet
Foam brushes
Chalk Ink pen
Simply sand the surface to prepare it for paint, and wipe clean of all sanding debris when done. If painting the chalkboard paint directly on a wood surface, I found that I only needed a couple of coats for a good coverage and writing surface. For the cabinet door with the glass or plexi interior, I taped off the glass edges while painting the frame with the secondary color, then painted the chalkboard paint afterward. On glass or plexi, it will take about 3 coats of the chalkboard paint to get a good coverage. I also recommend painting it on a level surface as opposed to standing it up to help avoid drips or thick spots in the paint. Using the foam brush also helps avoid any excess brush marks. When getting ready for your final coat of paint for glass or plexi I found that it was helpful to hold it up to the light as this will help you find any spots that might be a little thin on paint and you can be sure you get good coverage on your final coat. When your last coat is dry, then have fun creating your design! You can use the chalk ink for a fine lined design, or if you prefer the look of regular chalk you can go that route. Both are washable should you get tired of the design and want a change in the future, or want to update it with a holiday theme. If you need some inspiration, Pinterest is a great resource for many chalkboard ideas. I have a board created on my Pinterest page dedicated to just chalkboard ideas. Click on over using the link provided if you would like to see some more ideas. So don’t be afraid to try it, it’s a lot easier than you would think!


Thanks for checking it out! I just wanted to write a short note today to get things rolling. I’m looking forward to this adventure. I have a lot of projects already completed that I can’t wait to share with you. Over the holidays I collected a lot of “junk” and found many “pinteresting” things to do so with my first few posts I’ll share some vintage finds as well as some repurposed projects. Also have a few of those “Dollar Store Delights” to share. Hope you have a great week and I’ll chat with you soon.
