Fired up the ol’ Cricut Maker today for a sweet little project. A fast and easy vinyl lettering label for my countertop canisters. Hope you enjoy!


Fired up the ol’ Cricut Maker today for a sweet little project. A fast and easy vinyl lettering label for my countertop canisters. Hope you enjoy!
So, it’s time to crack open the egg and get on with some healing. Since I last posted, there have been so many terrible things going on in my life, but with God’s help I am still alive. I have survived the loss of a child, a pandemic, living in my best friend’s basement, another move, loss of a brother, loss of most of my belongings…the list goes on forever. My daughter was my online helper and helped me create my website and get started with my business. Since I lost her I lost my mojo on doing this. Along with so many changes, I didn’t have a place to craft for a while, but I have created a little craft space that makes me happy. The scrapbooking portion has been on hold because looking at the pictures is still really painful. But because I do have a shiny spot in my heart with my grandson that was born in 2019, he is going to be inspiration to get going. I’m hoping he might want to be my junkin’ partner one day. But for now, I make him cards for all occasions and have fun doing that.
I am also starting a business with my best friend and we will be hosting monthly crops in the area. For those that may not know, a crop is a get together of crafty minded folks for a day of fun, crafting, food and fellowship. Most people use this dedicated time to complete their scrapbooks although all crafters are welcome. I personally make more cards these days than scrapbooks but I hope that will change soon. Check us out at Pink Flamingo Craft n Crop on Facebook. The website is under construction now.
So there’s my guts on the floor, and hopefully by putting this out there, I will find my courage and continue! Thanks for checking out my page along the way and thanks to all those encouragers. So let’s go flip some more fabulous! xoxo
This time of year our thoughts are on organization and setting the stage for the rest of the year. Because I follow several threads and a couple of Facebook groups on craft room organization, I have especially concentrated on my craft room this season. Two things to remember when organizing your craft supplies; make it easy to access and easy to see. This way you don’t loose track of what you have and you’ll actually use it! You can even use some of those supplies to help create pretty and functional storage.
Today’s flip is turning glass milk bottles into storage. This one is really easy! After ensuring your bottles are clean, simply create a circle with your craft punch or die cut to cover the lid and create a label for the front to show what the contents are. For mine pictured below I used a second craft punch in the shape of a label. There are also many ready-made labels on the market that are super cute!

I saw a craft online recently from the dollar store so I thought I would try it. The post showed a round wreath made from coffee filters. I decided to make it a little more for Valentines Day so I used a heart shaped wreath ring. I think it turned out pretty cute! I may add a little bow or something to create a pop of color. Sure does look like carnations doesn’t it? If you have any suggestions for a spark of color send me a comment!
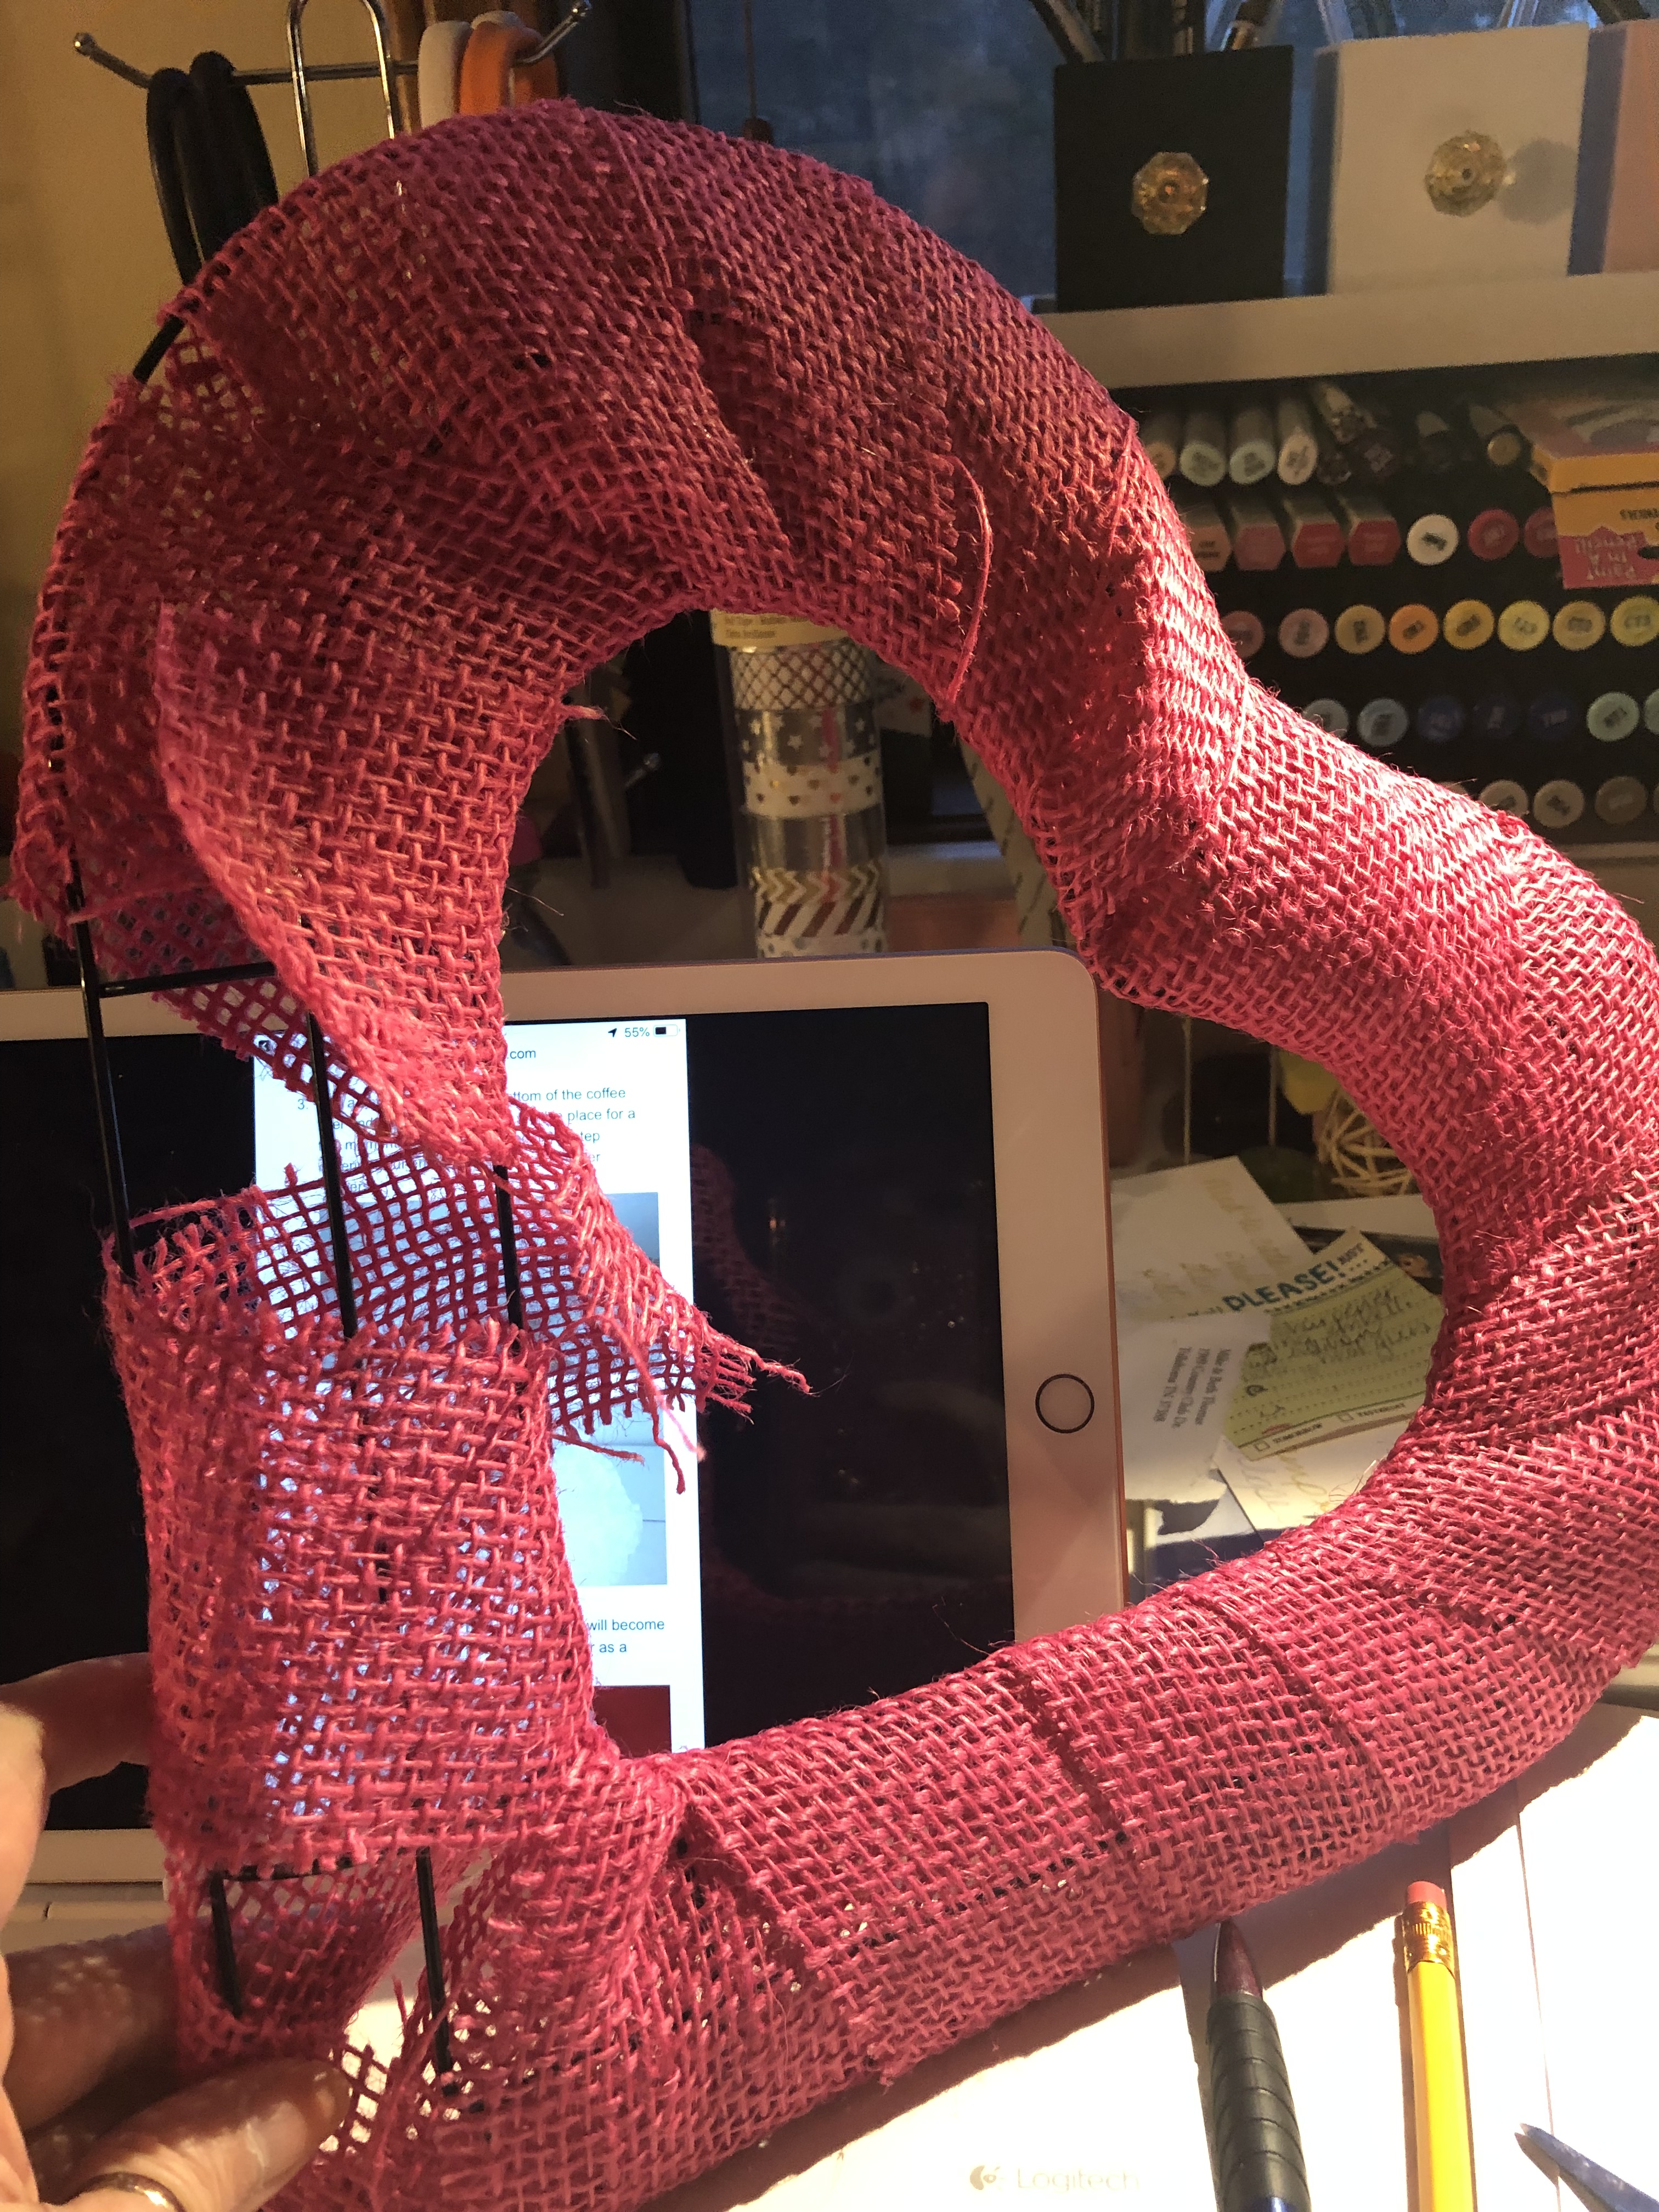
Here are the steps if you want try one. It’s only $3.00 to make plus some hot glue. You’ll need a wire form, a roll of burlap ribbon, and a package of coffee filters.


Wrap the burlap around the frame and hot glue at the end of the ribbon.
Next form a filter into a flower shape and glue one by one to desired fullness.

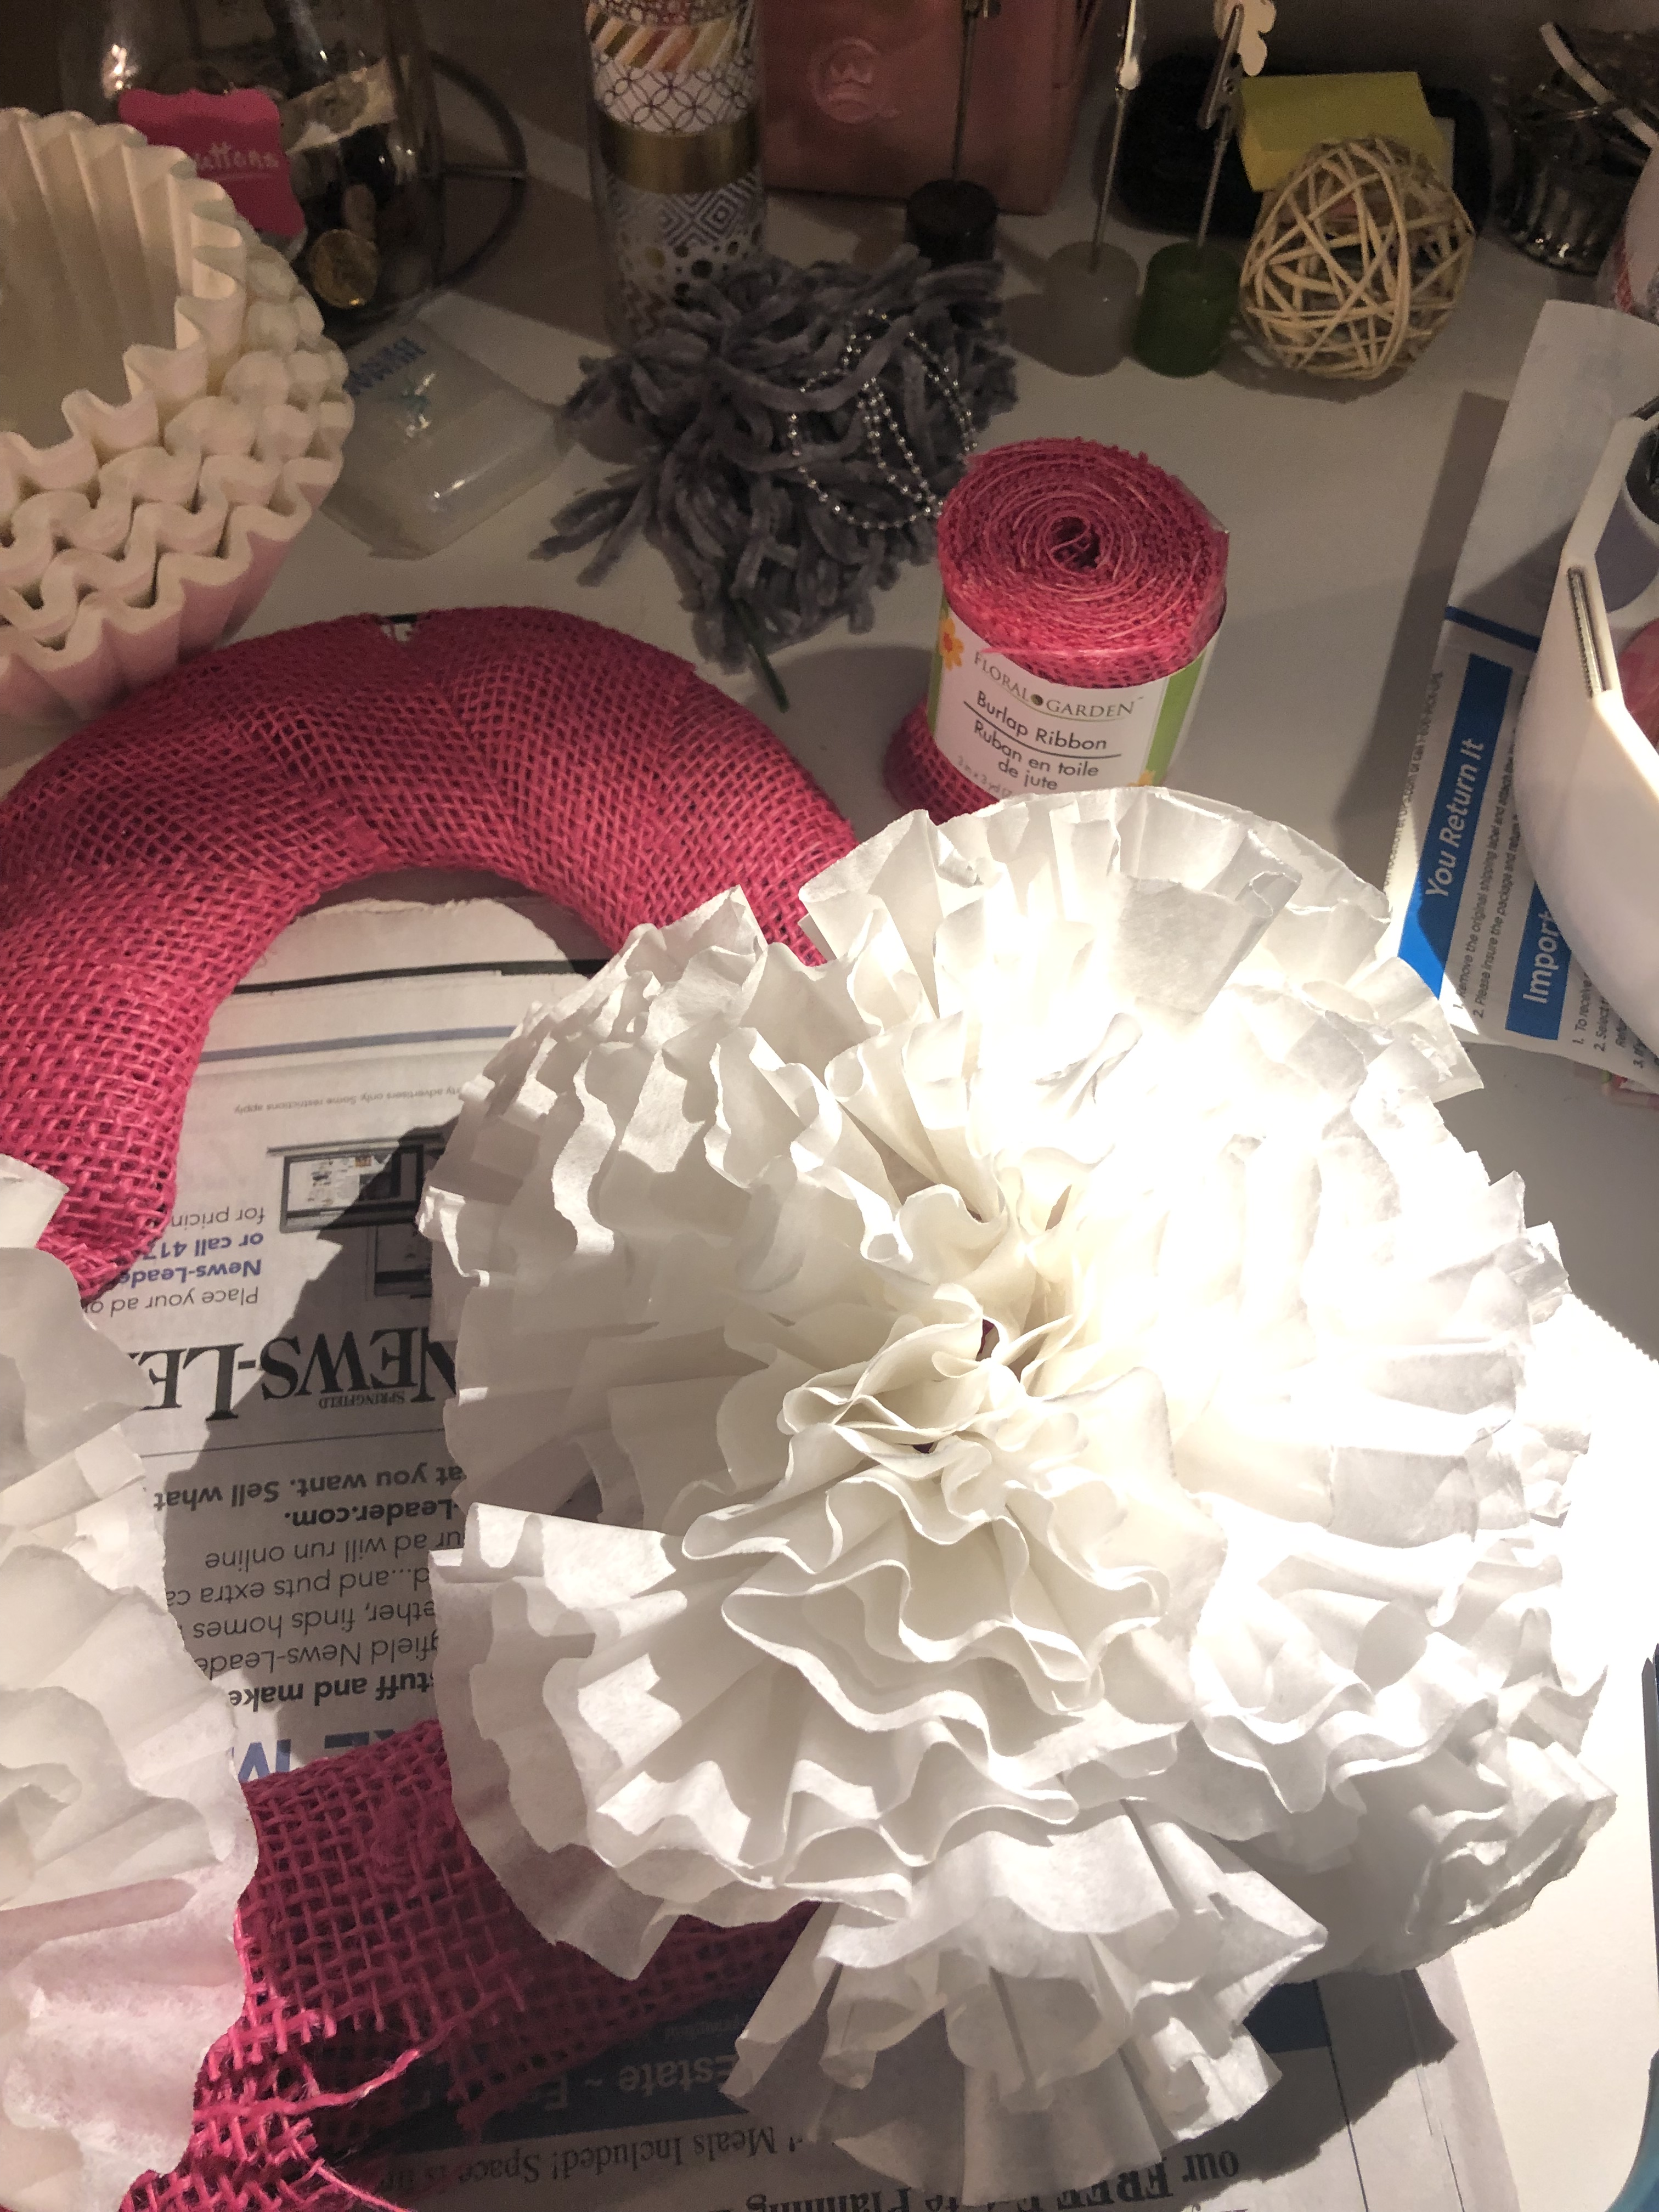
Repeat until you make it all the way around!
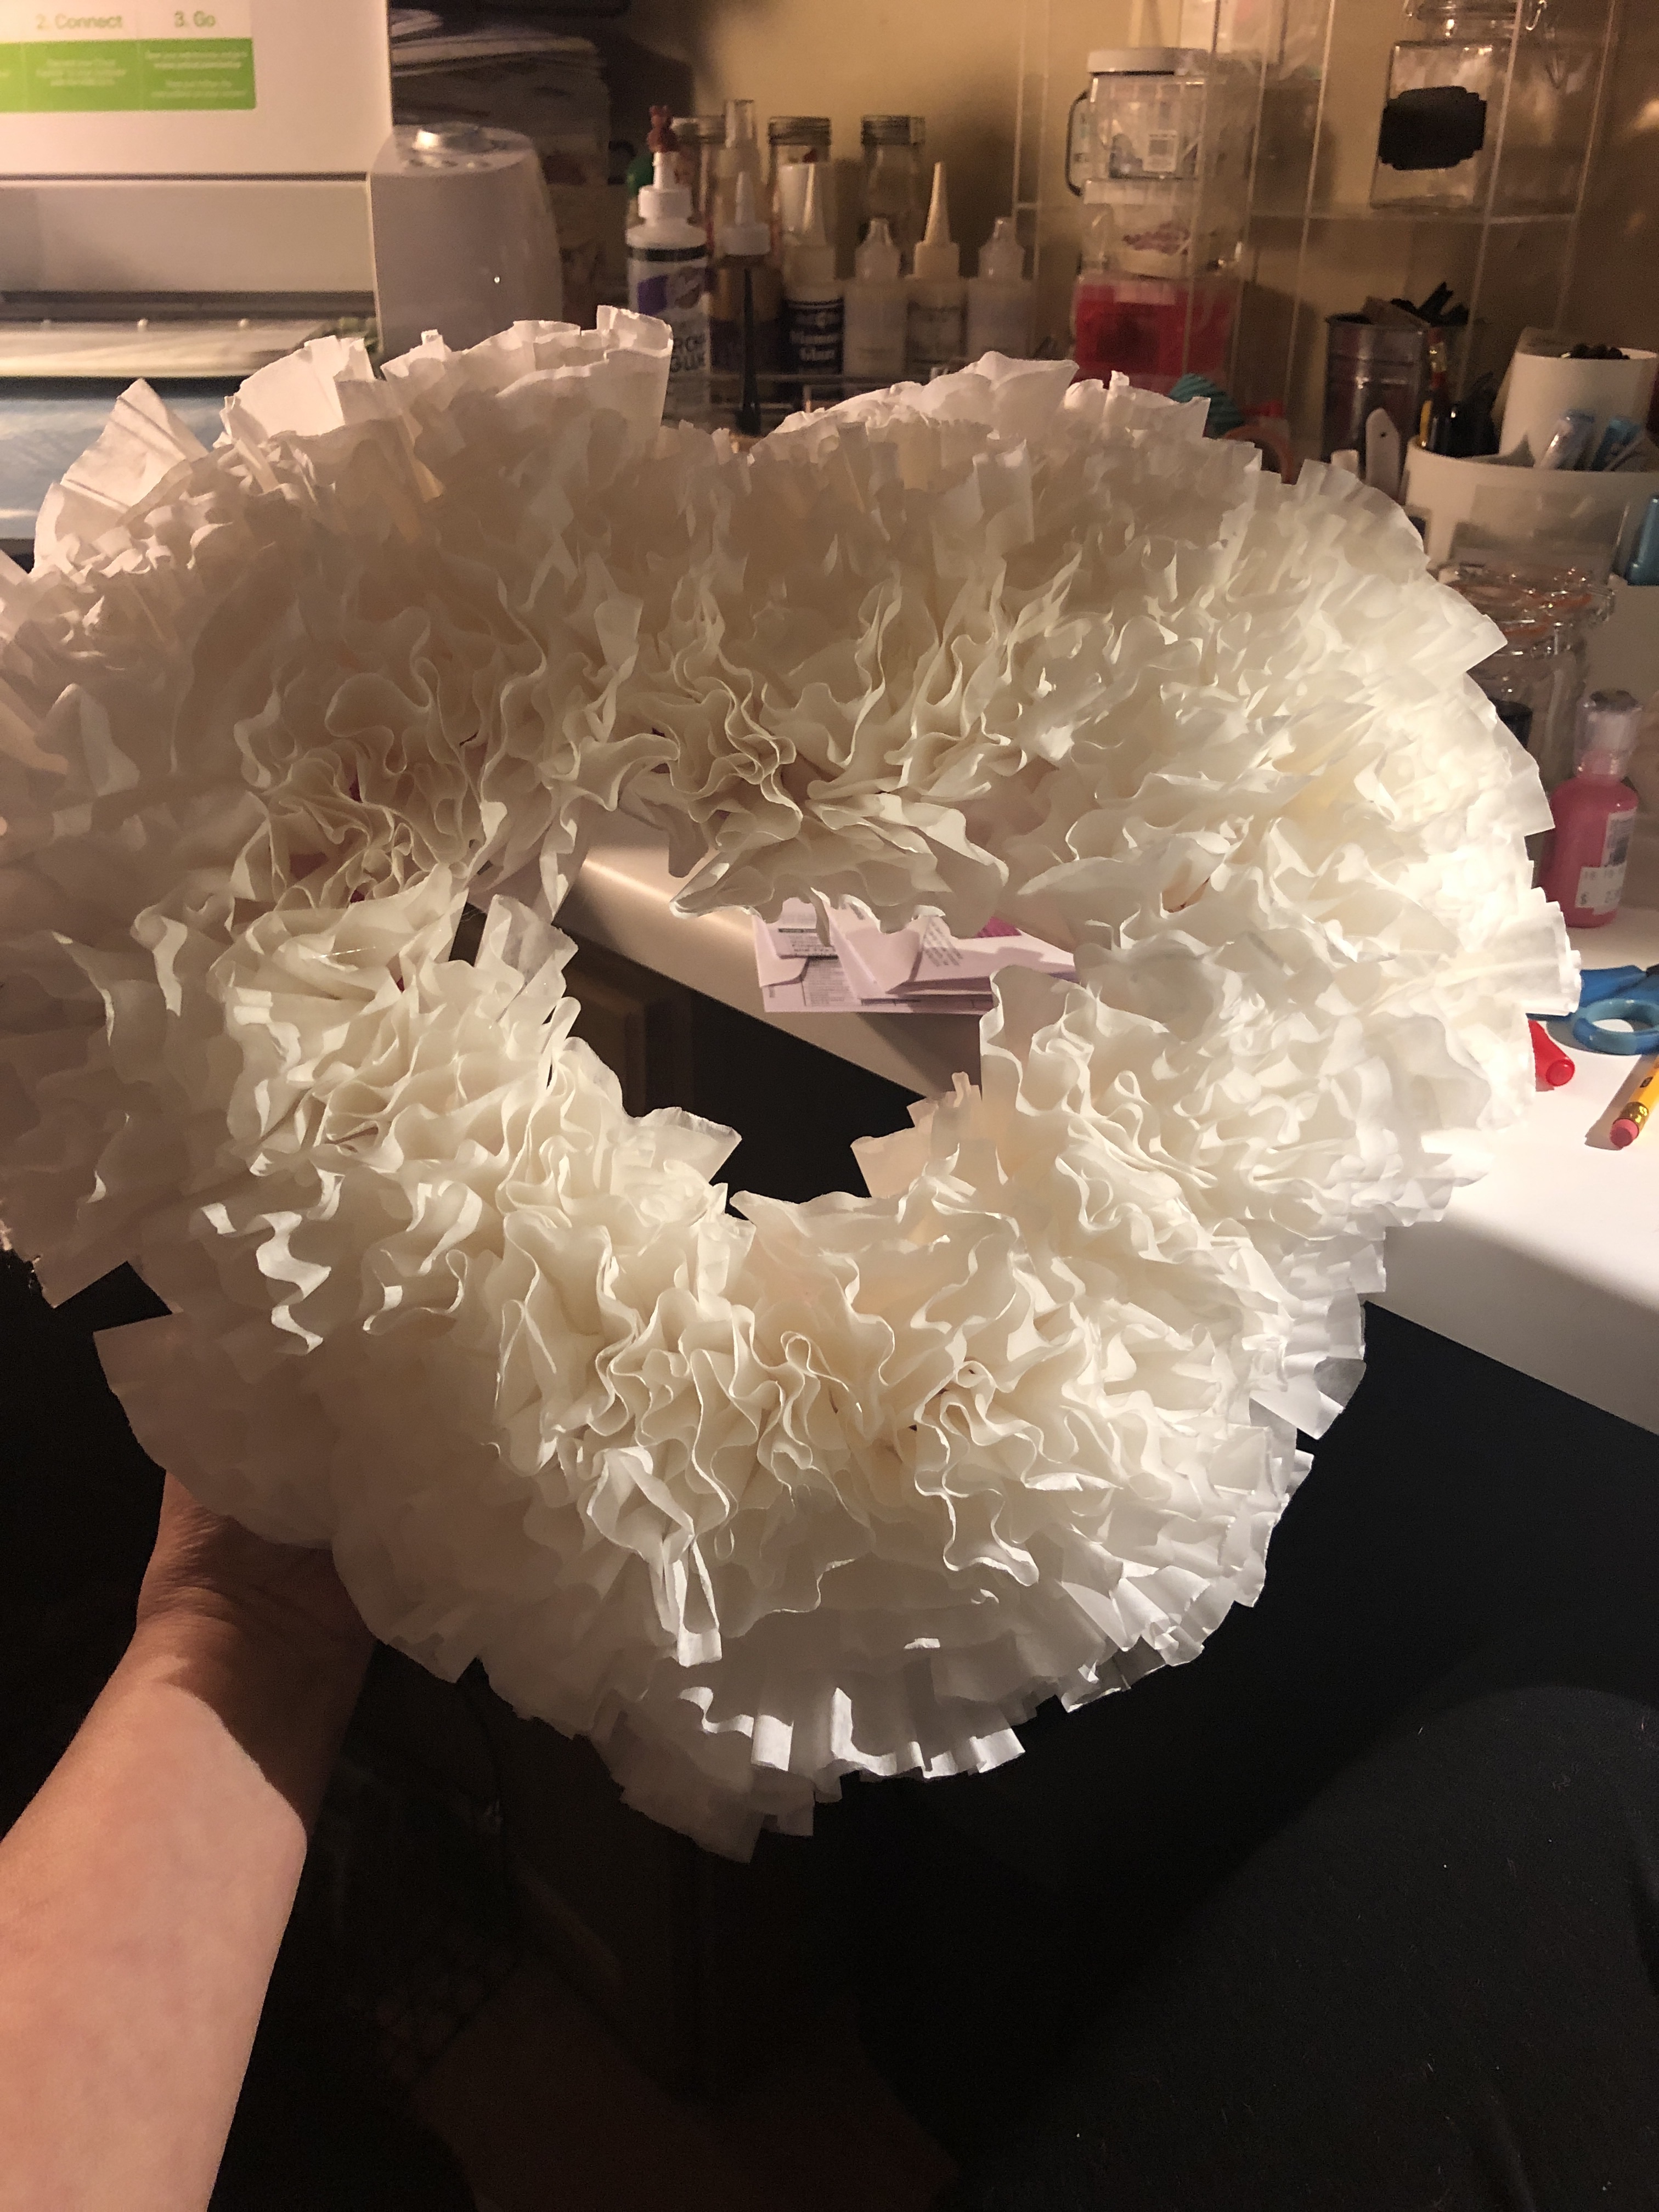
And voila!!
You can vary your burlap color if you want make it for a different result such as green for St. Patty’s or regular brown burlap for an everyday farmhouse look. I think my next try will be to dip the edges on a ink pad to get that variegated carnation look. I’m thinking pink or red!
So give it a try! Share a pic or feel free to ask questions if you like. Thanks for stopping by!
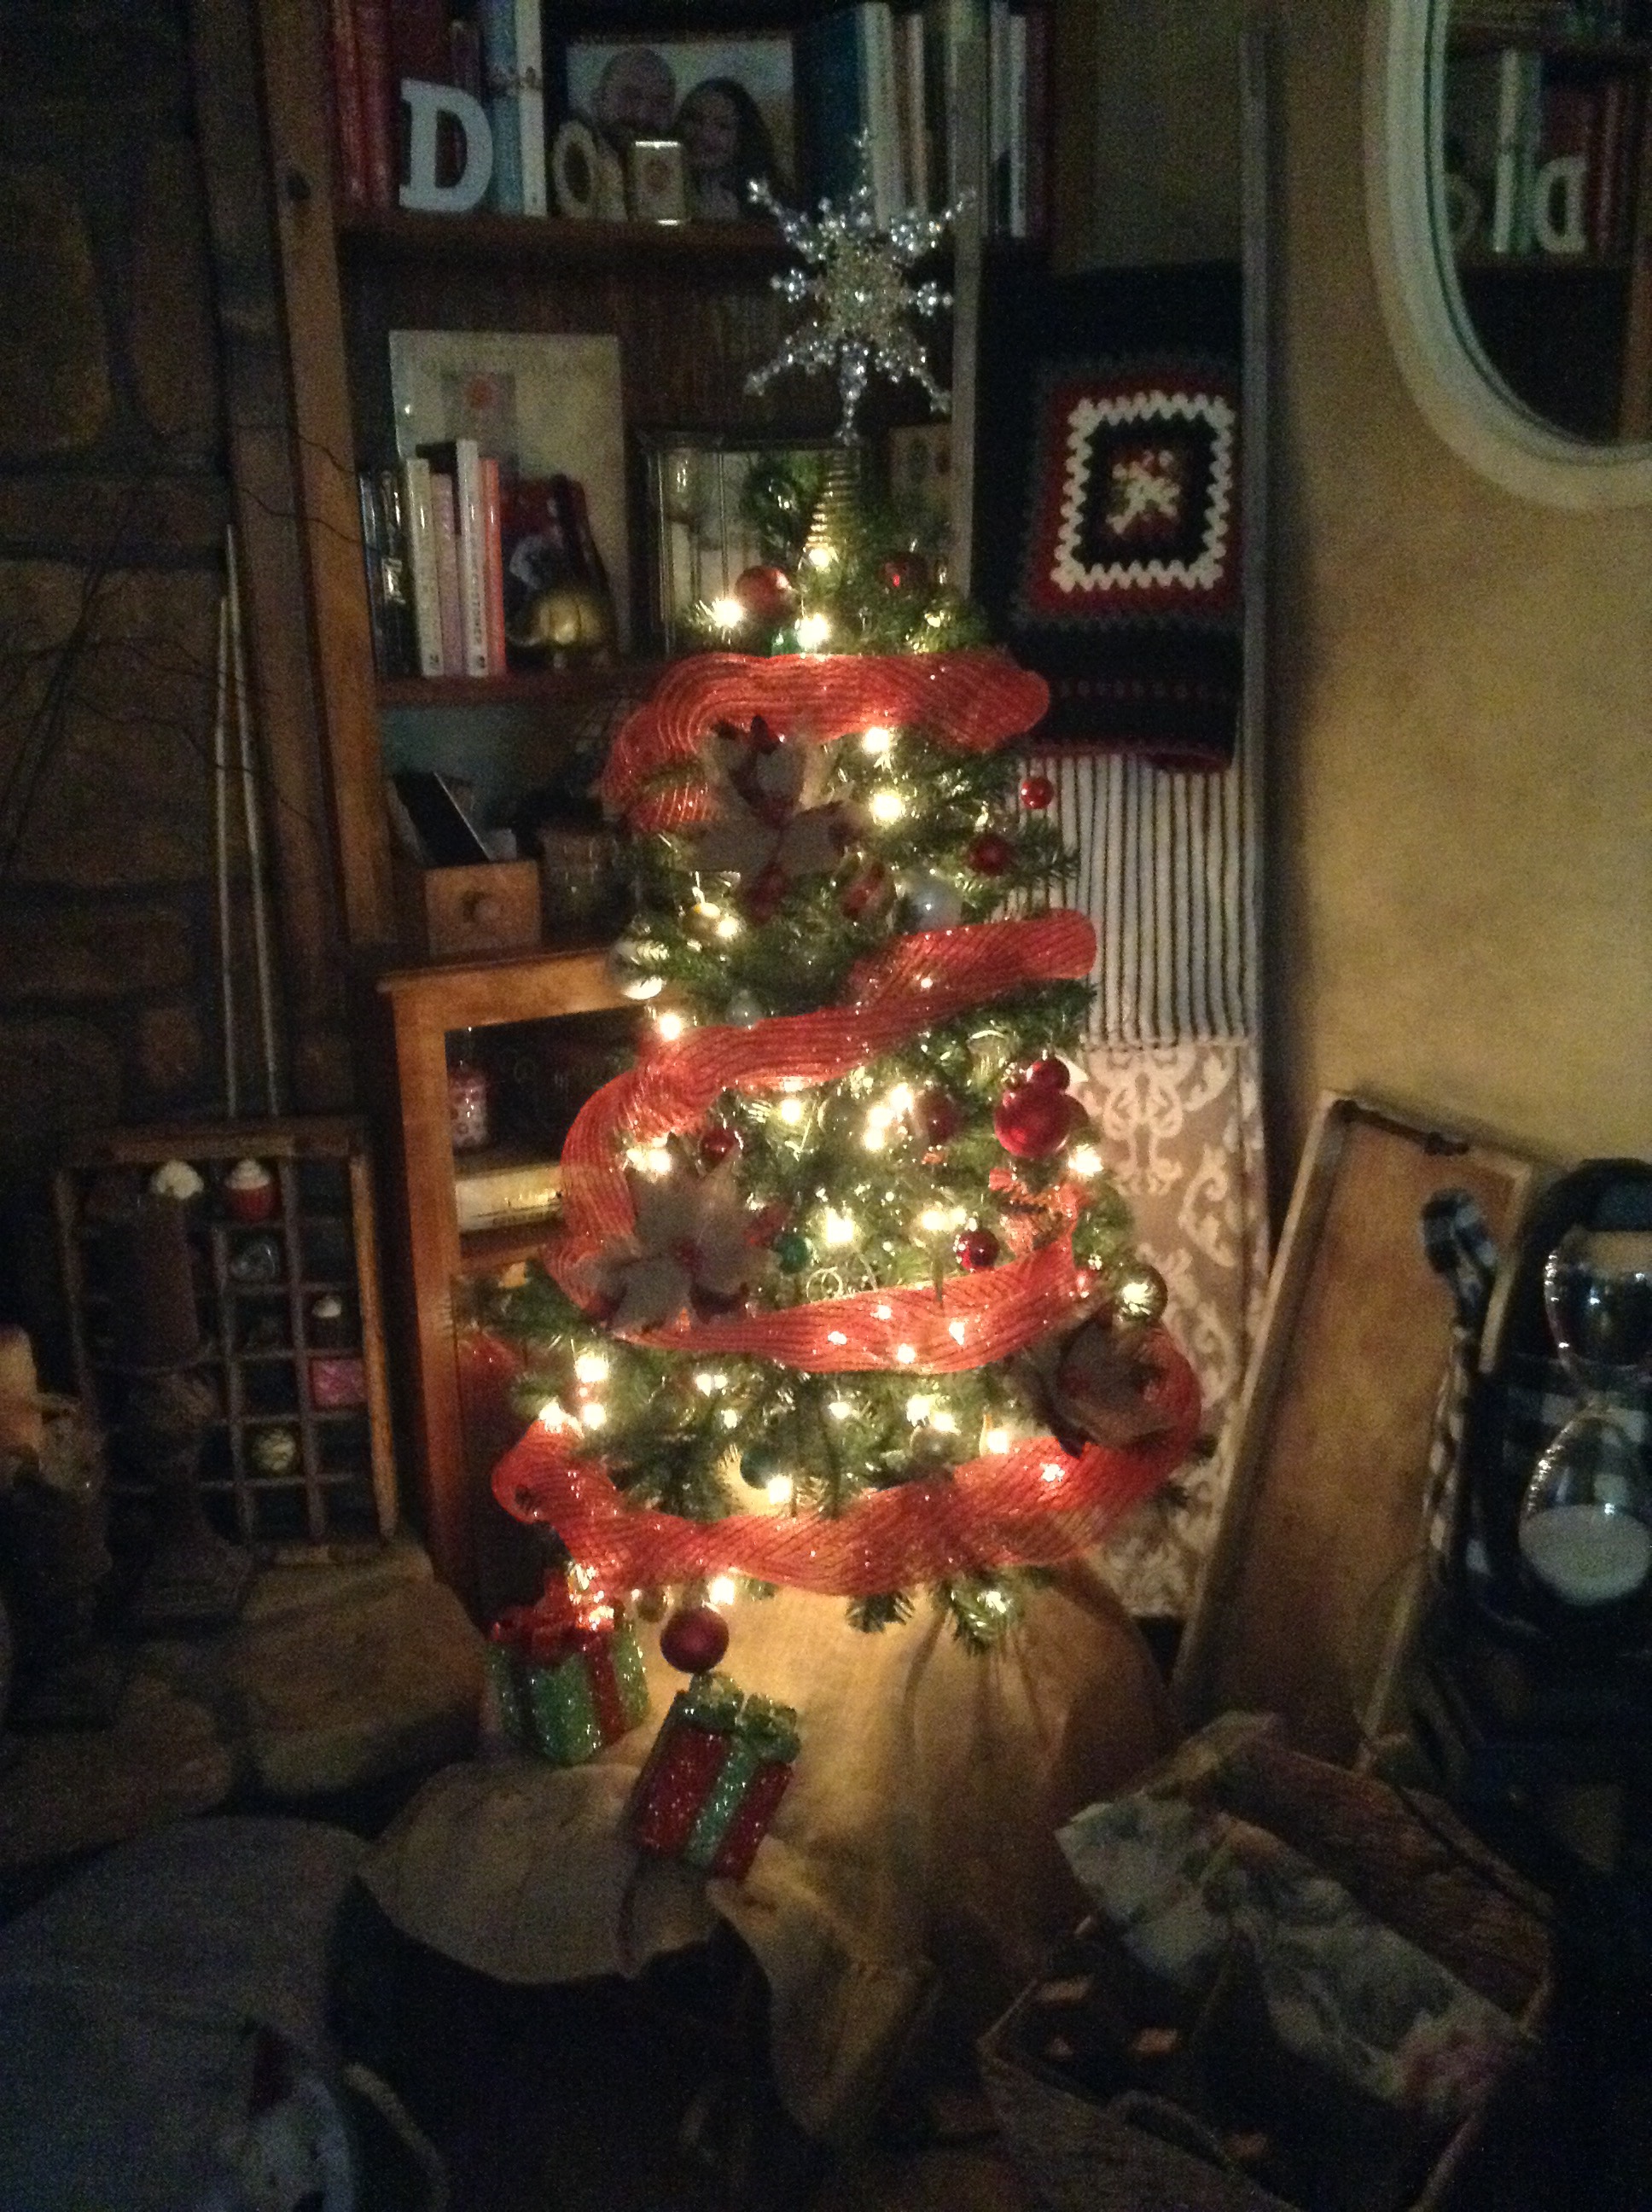
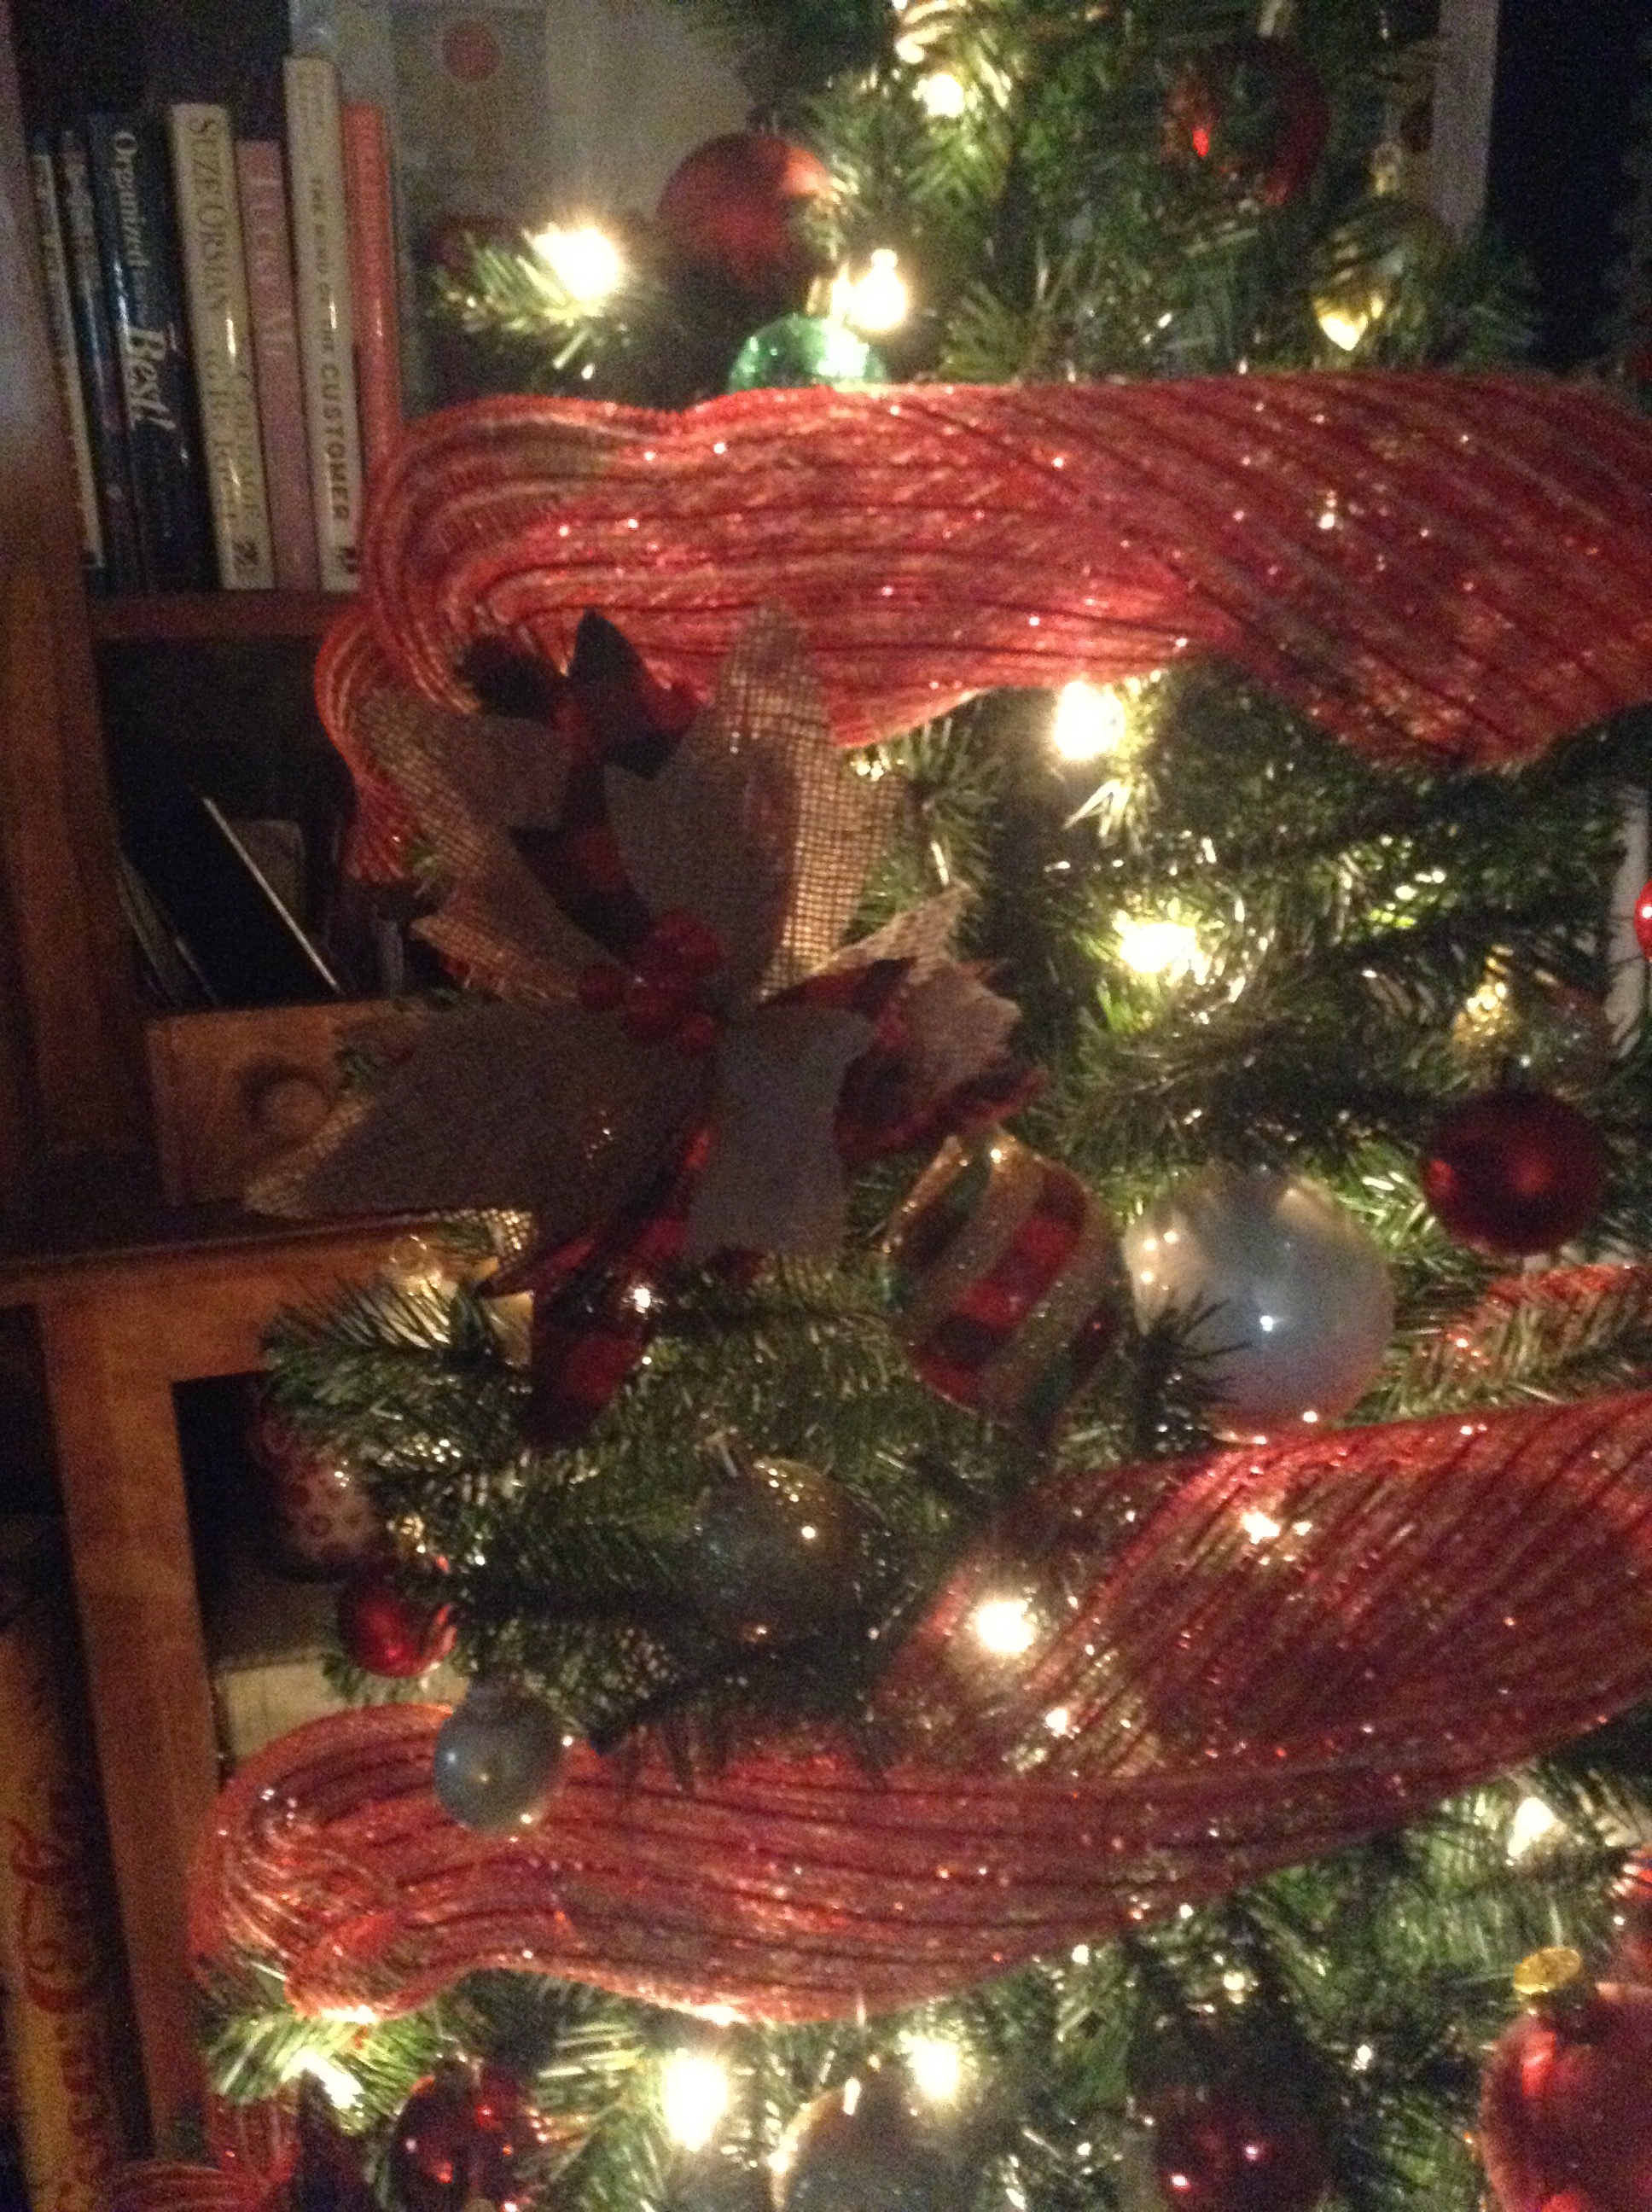
Christmas has always been my favorite time of year. I always go overboard with the decorations. This year, since we downsized, I went a little smaller. Also, instead of pulling out the old decor I went with some new items. We purchased a smaller tree at only four feet tall. With a few dollar store ornaments, some wide ribbon, and a few flower picks from the home interior store we had a simple but elegant “farmhouse” Christmas. Enjoy the photos and happy new year! 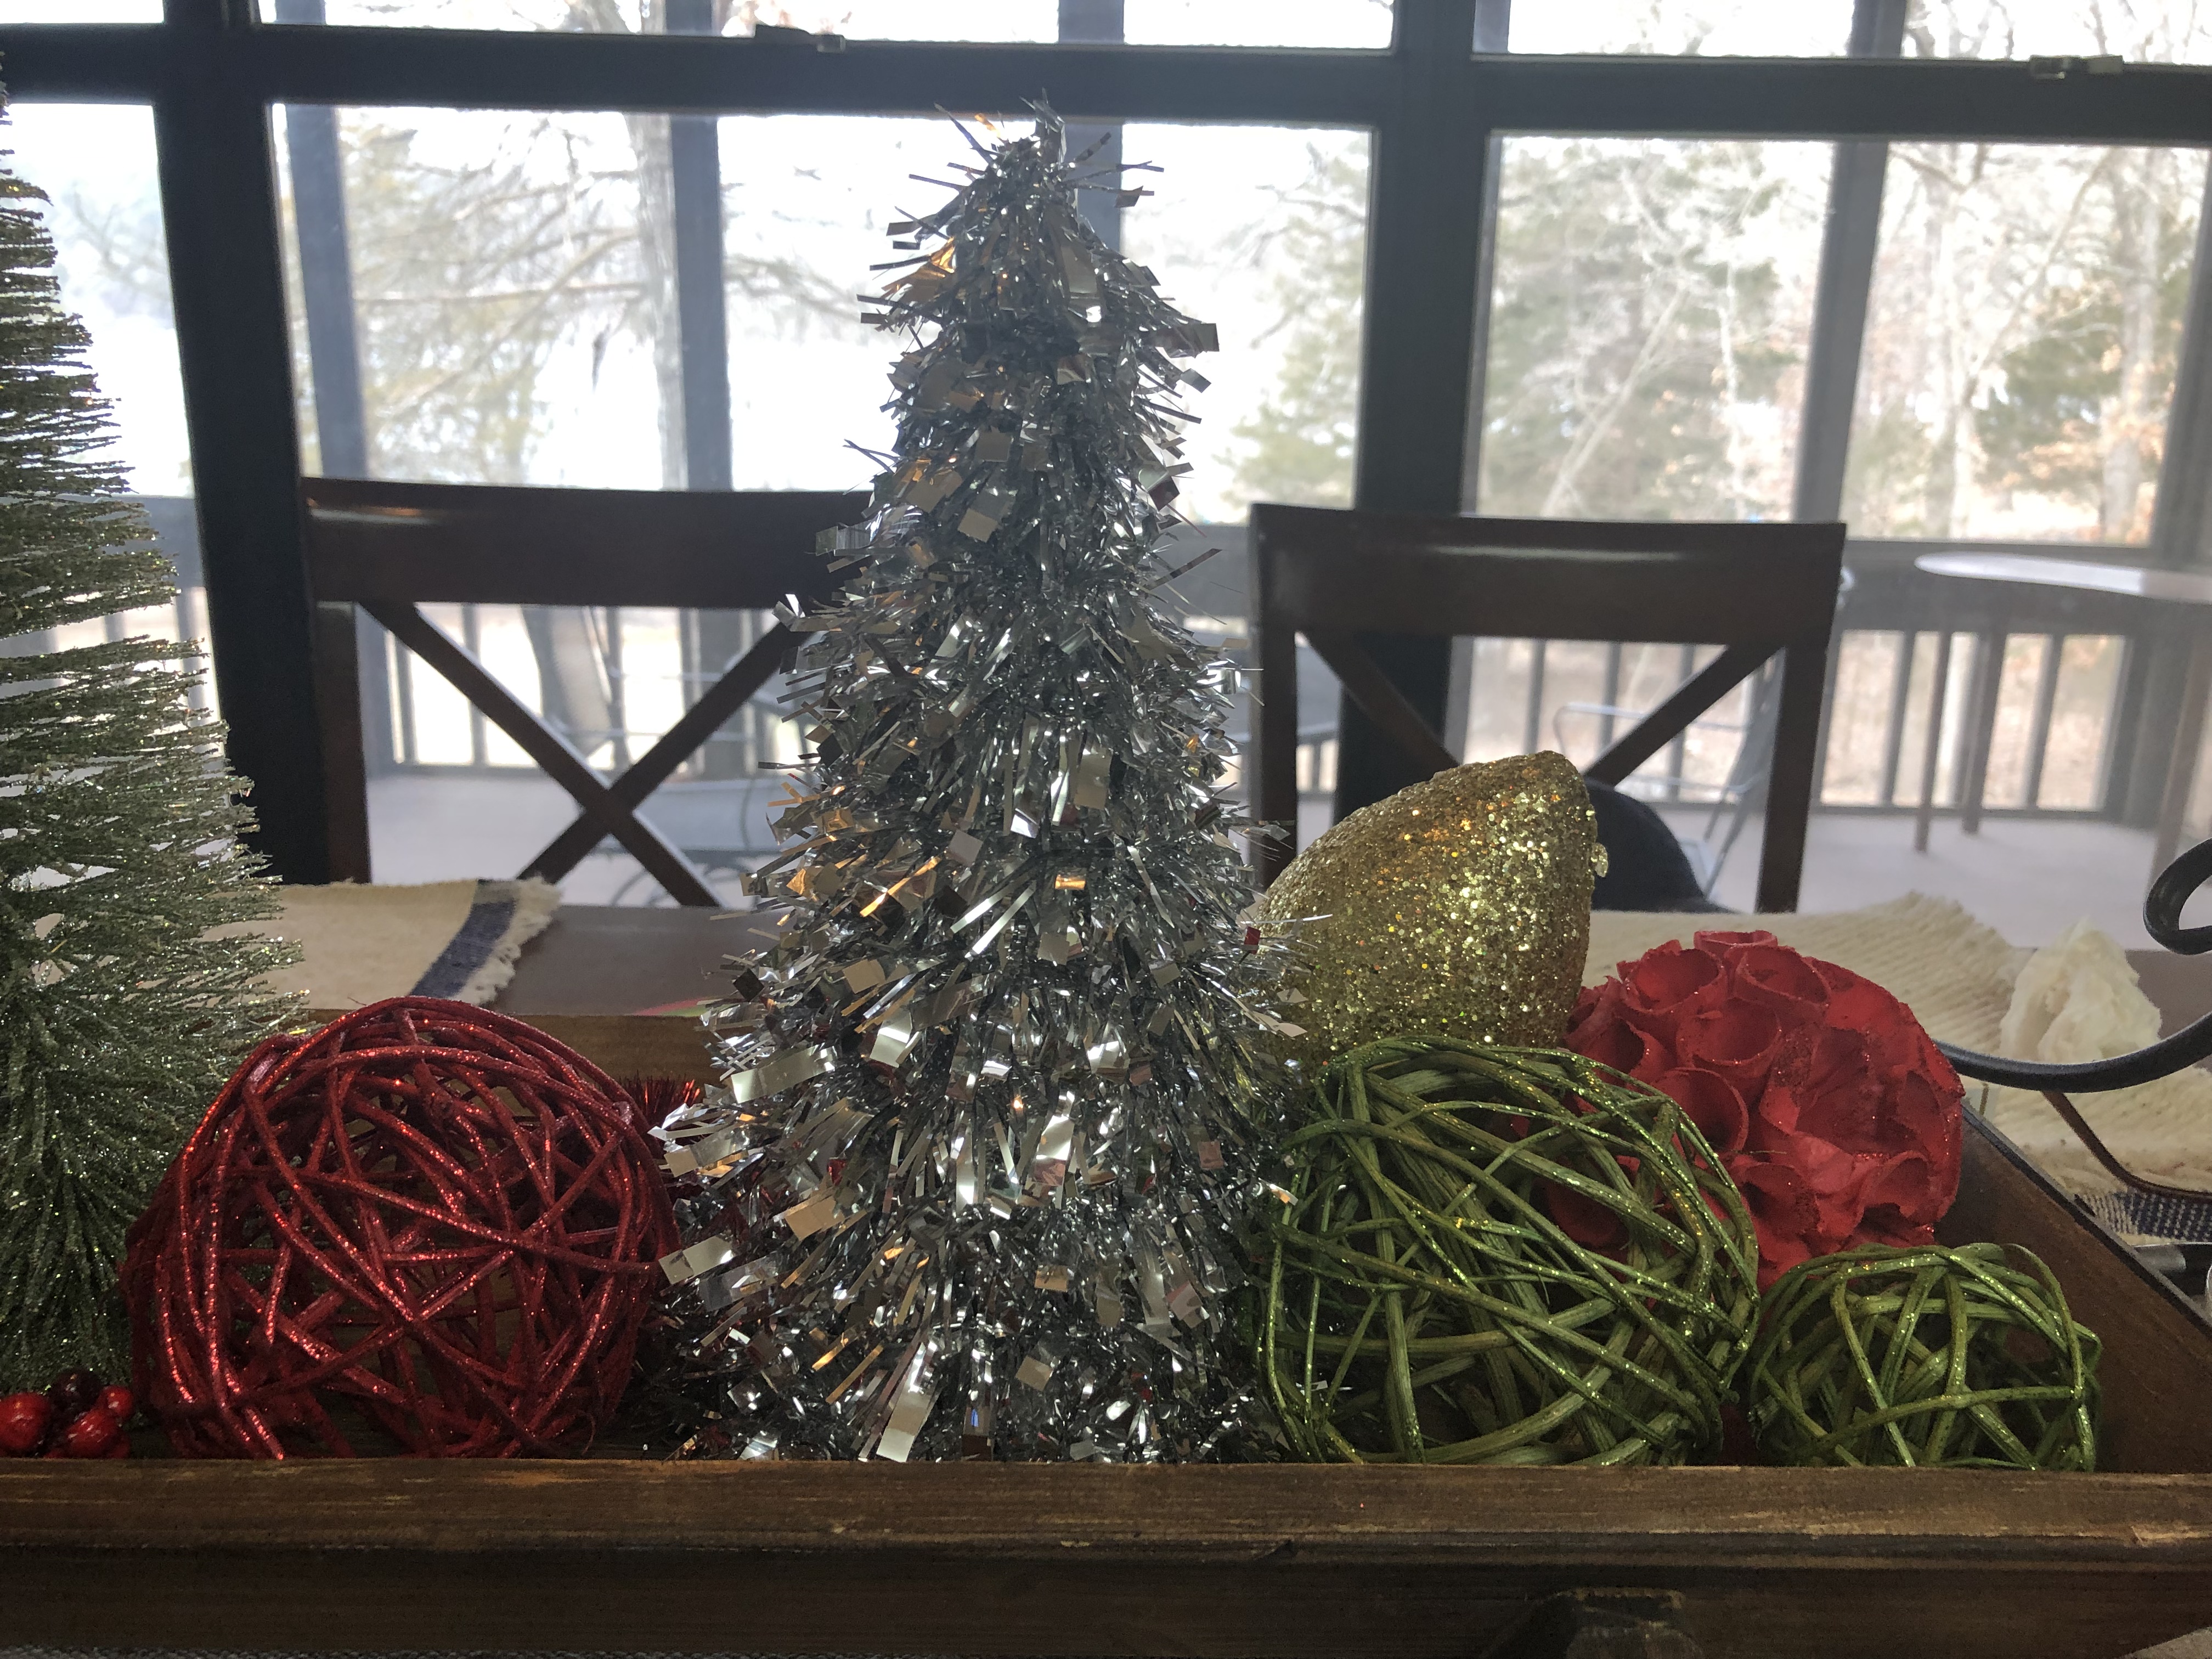

Caught your attention didn’t I? Well I’m getting into the mood for the holidays. I set up my cocoa bar and i am  beginning to feel that warm cozy feeling of the holidays. So Cheers to you! Start small and get into the mood!
So in going along with the theme of the month, here is another trash to treasure. This was made upside down and not sellable so it landed in the damaged good pile. So naturally I scooped it up and gave it a home. Three coats of chalkboard paint with a little sanding in between, and I’ve got a cute little chalkboard for my craft room.

Well it has been a while! Boy life can throw you some serious curve balls as we all know. Been through some changes, but going to get back to my love of crafting, so stay tuned as I get myself tuned up as well. Welcome back and thanks for staying with me!
This weekend I created a simple shelf. Actually it was a lesson in how to use a router. I’ve been wanting to learn how so I could add to my power tool repertoire and was fortunate enough to have a friend loan one so that I could try it out. So off to Home Depot where I bought a one by four and then I went to routing. I only needed a five foot length for the shelf I wanted, so I used the piece I cut off the end to practice and get used to the tool. That was a good idea by my hubby (thanks honey!). So after a little practice, I went right on to my board. I routered (is that a word?) the three sides and left the back side flat to go against the wall. I used four L brackets to mount it to the wall with help from the hubby. Here are a couple pics; one showing my router skills and one showing my shelf in place above my scrap/craft table. It was really simple and fun, so if you ever wanted to give it a try, go ahead. It wasn’t scary at all. I used the FolkArt Chalk paint in white which was great for the raw board because it didn’t require any priming. Enjoy!


The board in the background is the next project I’ll share. Have a great afternoon!
Good snowy afternoon! Today I’m sharing a project that I actually did a little while ago, but is one of my all-time favorites. If you’re like me, spending countless minutes, okay hours, pouring over those Pinterest photos of all those awesome projects that are being made from wood pallets, I just had to get in there and try one. I had been battling with my coffee table for a while any way, so this seemed like the project for me. I have a little experience with some light upholstery and I own a staple gun, so I was game. It actually turned out to be quite easy. The most difficult part was dealing with the cumbersome size of the pallet and working around having to flip it over and center it and such. I enlisted the help of my daughter who, on occasion, is game to help old mom out with a project or two.
So here are the before and after photos.


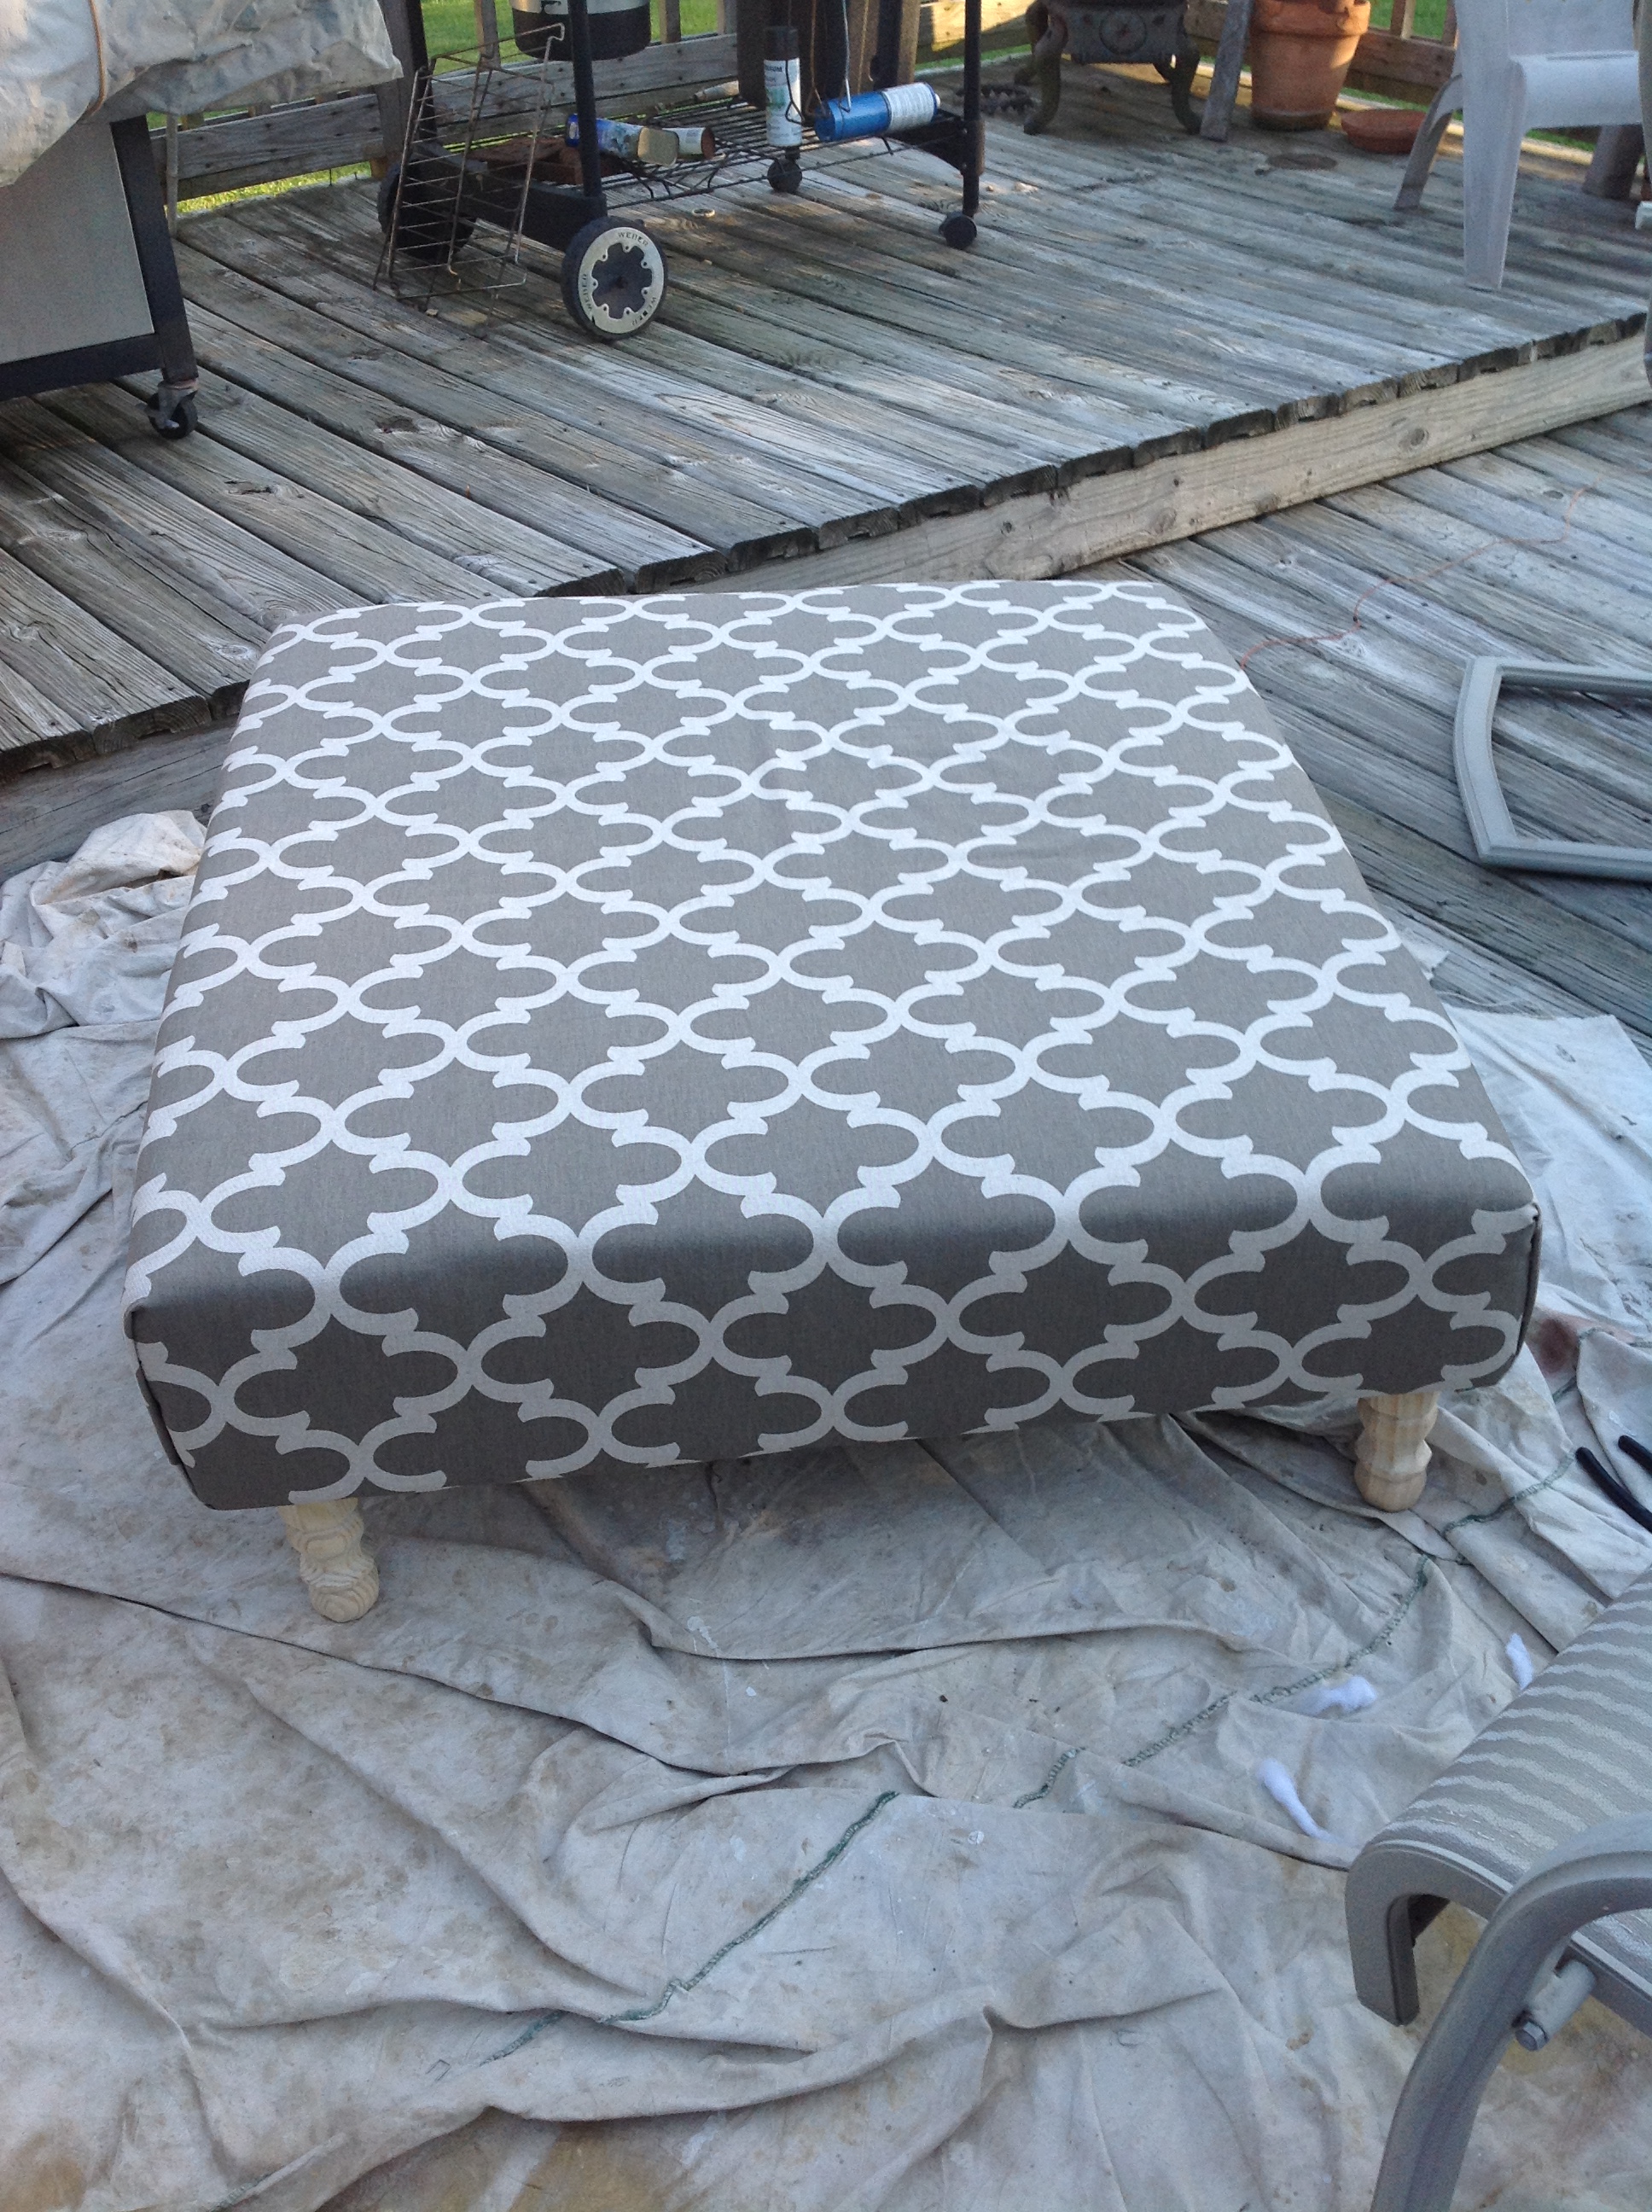
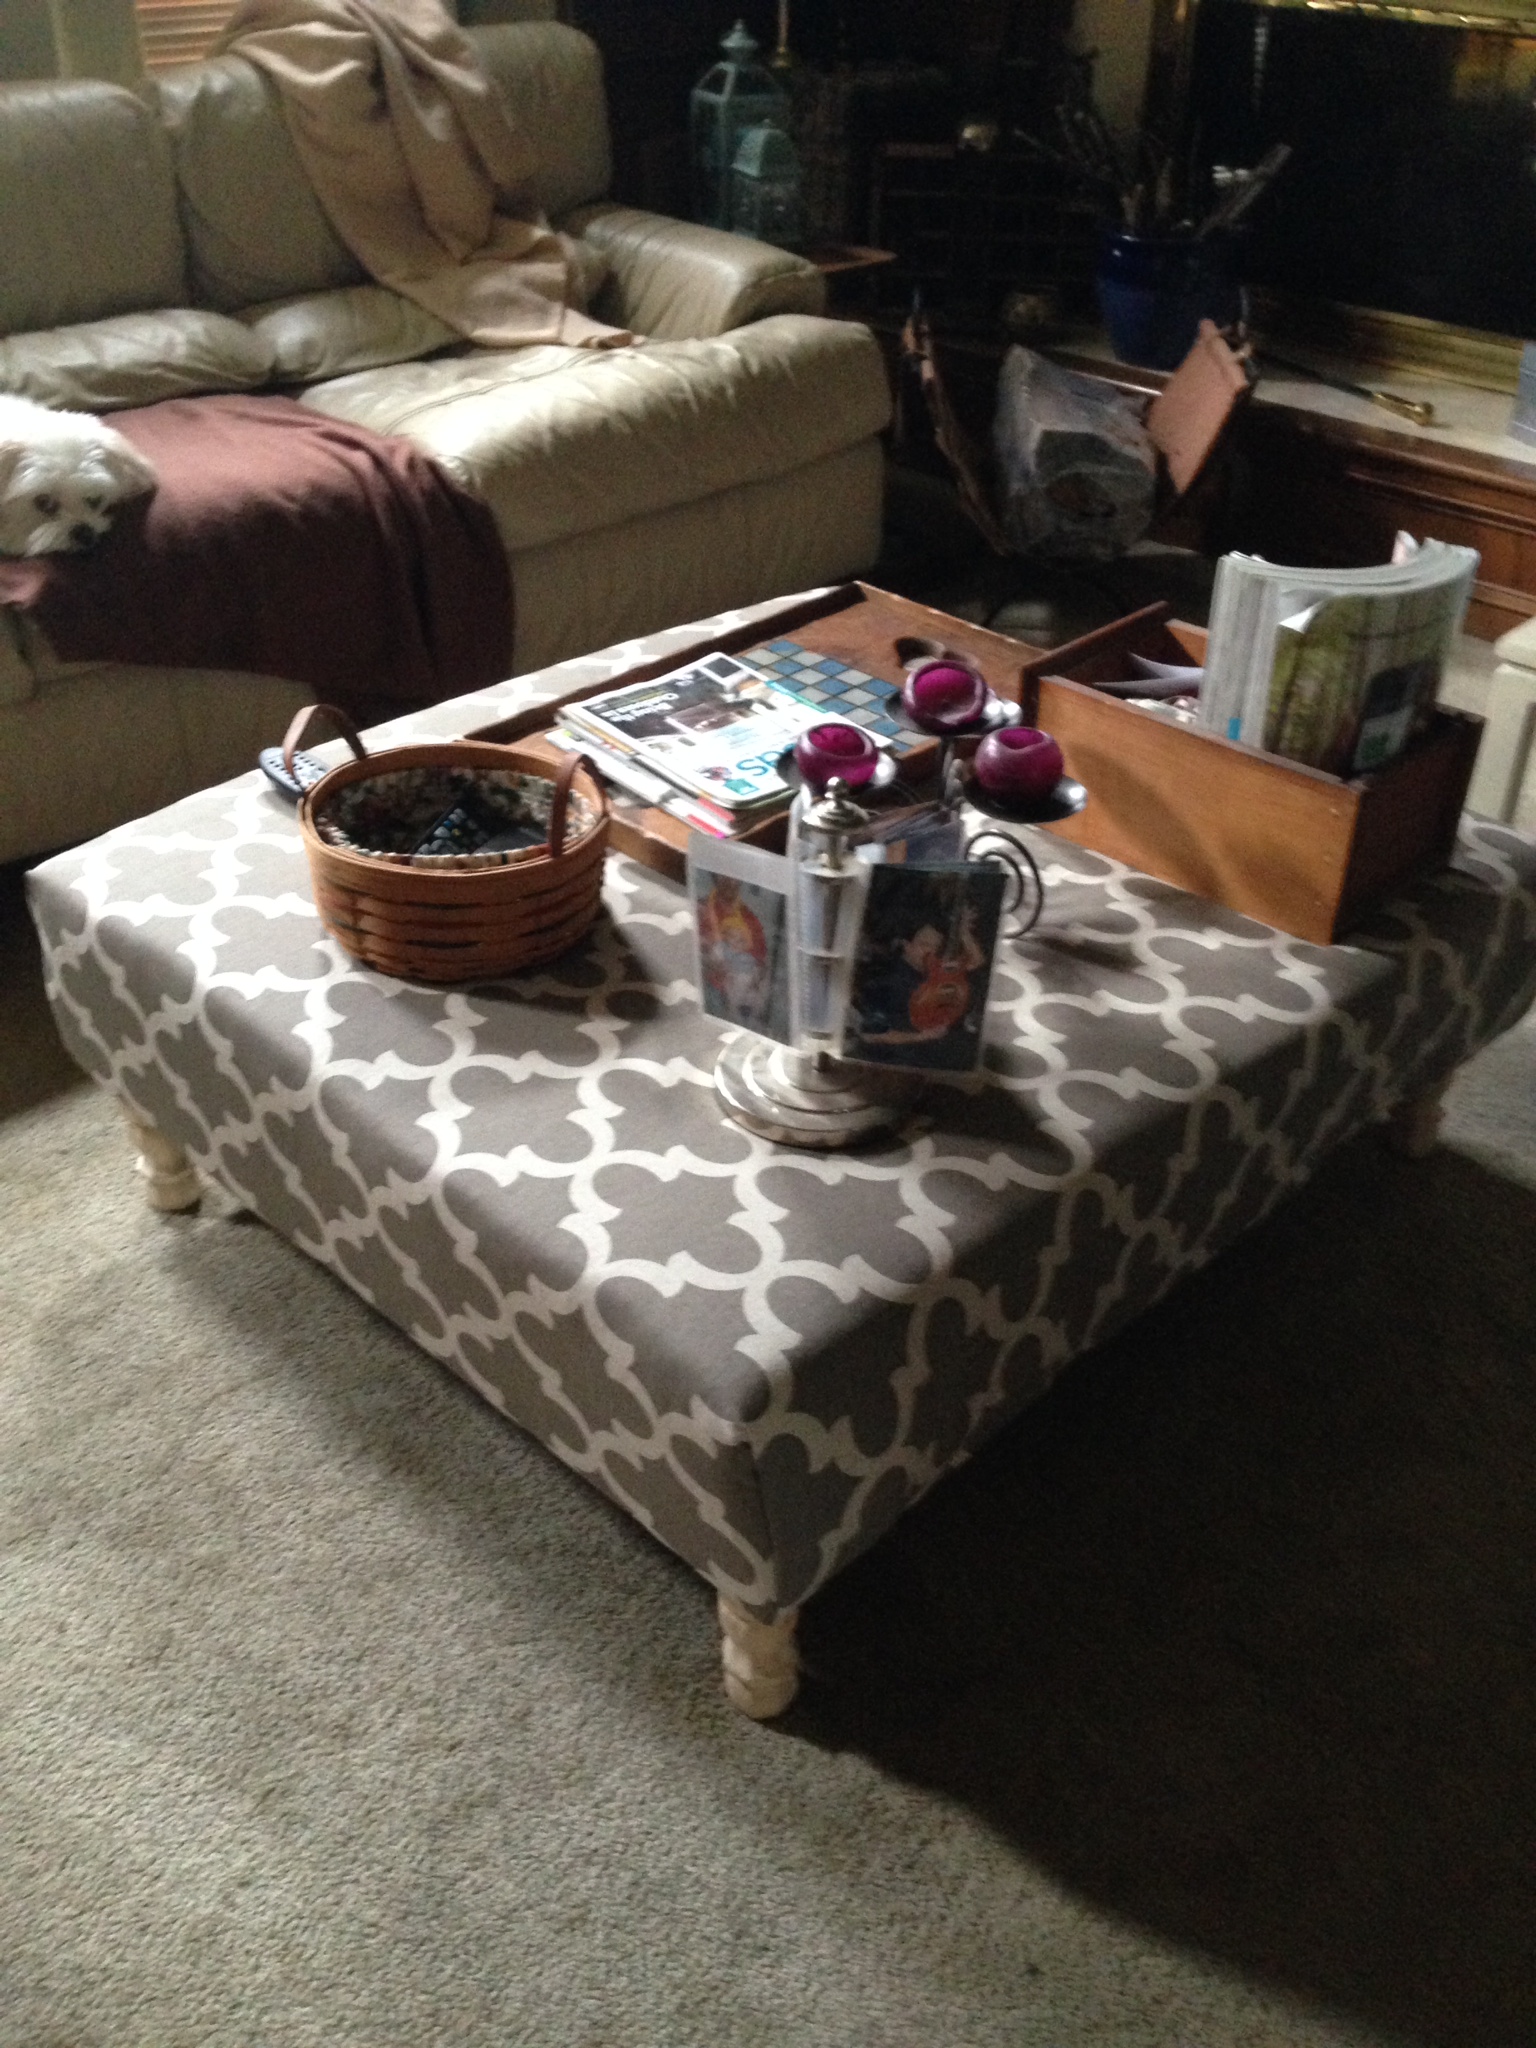
The total cost of the project was about $100 dollars. The most expensive part was the foam padding. I was surprised how expensive it was, so if you can find a good source for inexpensive foam, definitely go that route and you can save a lot of money. The pallet was free. I got the fabric at Hobby Lobby when their home décor fabric was on sale at 50% off so only spent about $12 for that. I purchased the legs at Home Depot for about $3 each. I also bought a package of quilt batting to smooth out the corners and that was about $10 for the size I needed. So as you can see, the foam was the biggest expense. If you know of a good source for cheap foam, please do share! I even got it on a 50% sale at Hancock Fabrics, but it must contain gold 🙂 I am thrilled with it and it has been the best addition to my living room in years. I have a couple of smaller pallets that I am going to try some more projects with soon as well, now that I got my feet wet. So stay tuned!

Leave a comment