Ottoman-Coffee Table from a Wood Pallet

Good snowy afternoon!  Today I’m sharing a project that I actually did a little while ago, but is one of my all-time favorites.  If you’re like me, spending countless minutes, okay hours, pouring over those Pinterest photos of all those awesome projects that are being made from wood pallets, I just had to get in there and try one.  I had been battling with my coffee table for a while any way, so this seemed like the project for me.  I have a little experience with some light upholstery and I own a staple gun, so I was game.  It actually turned out to be quite easy.  The most difficult part was dealing with the cumbersome size of the pallet and working around having to flip it over and center it and such.  I enlisted the help of my daughter who, on occasion, is game to help old mom out with a project or two.

So here are the before and after photos.

pallet ottoman before pallet ottoman 2 pallet ottomanottoman in place

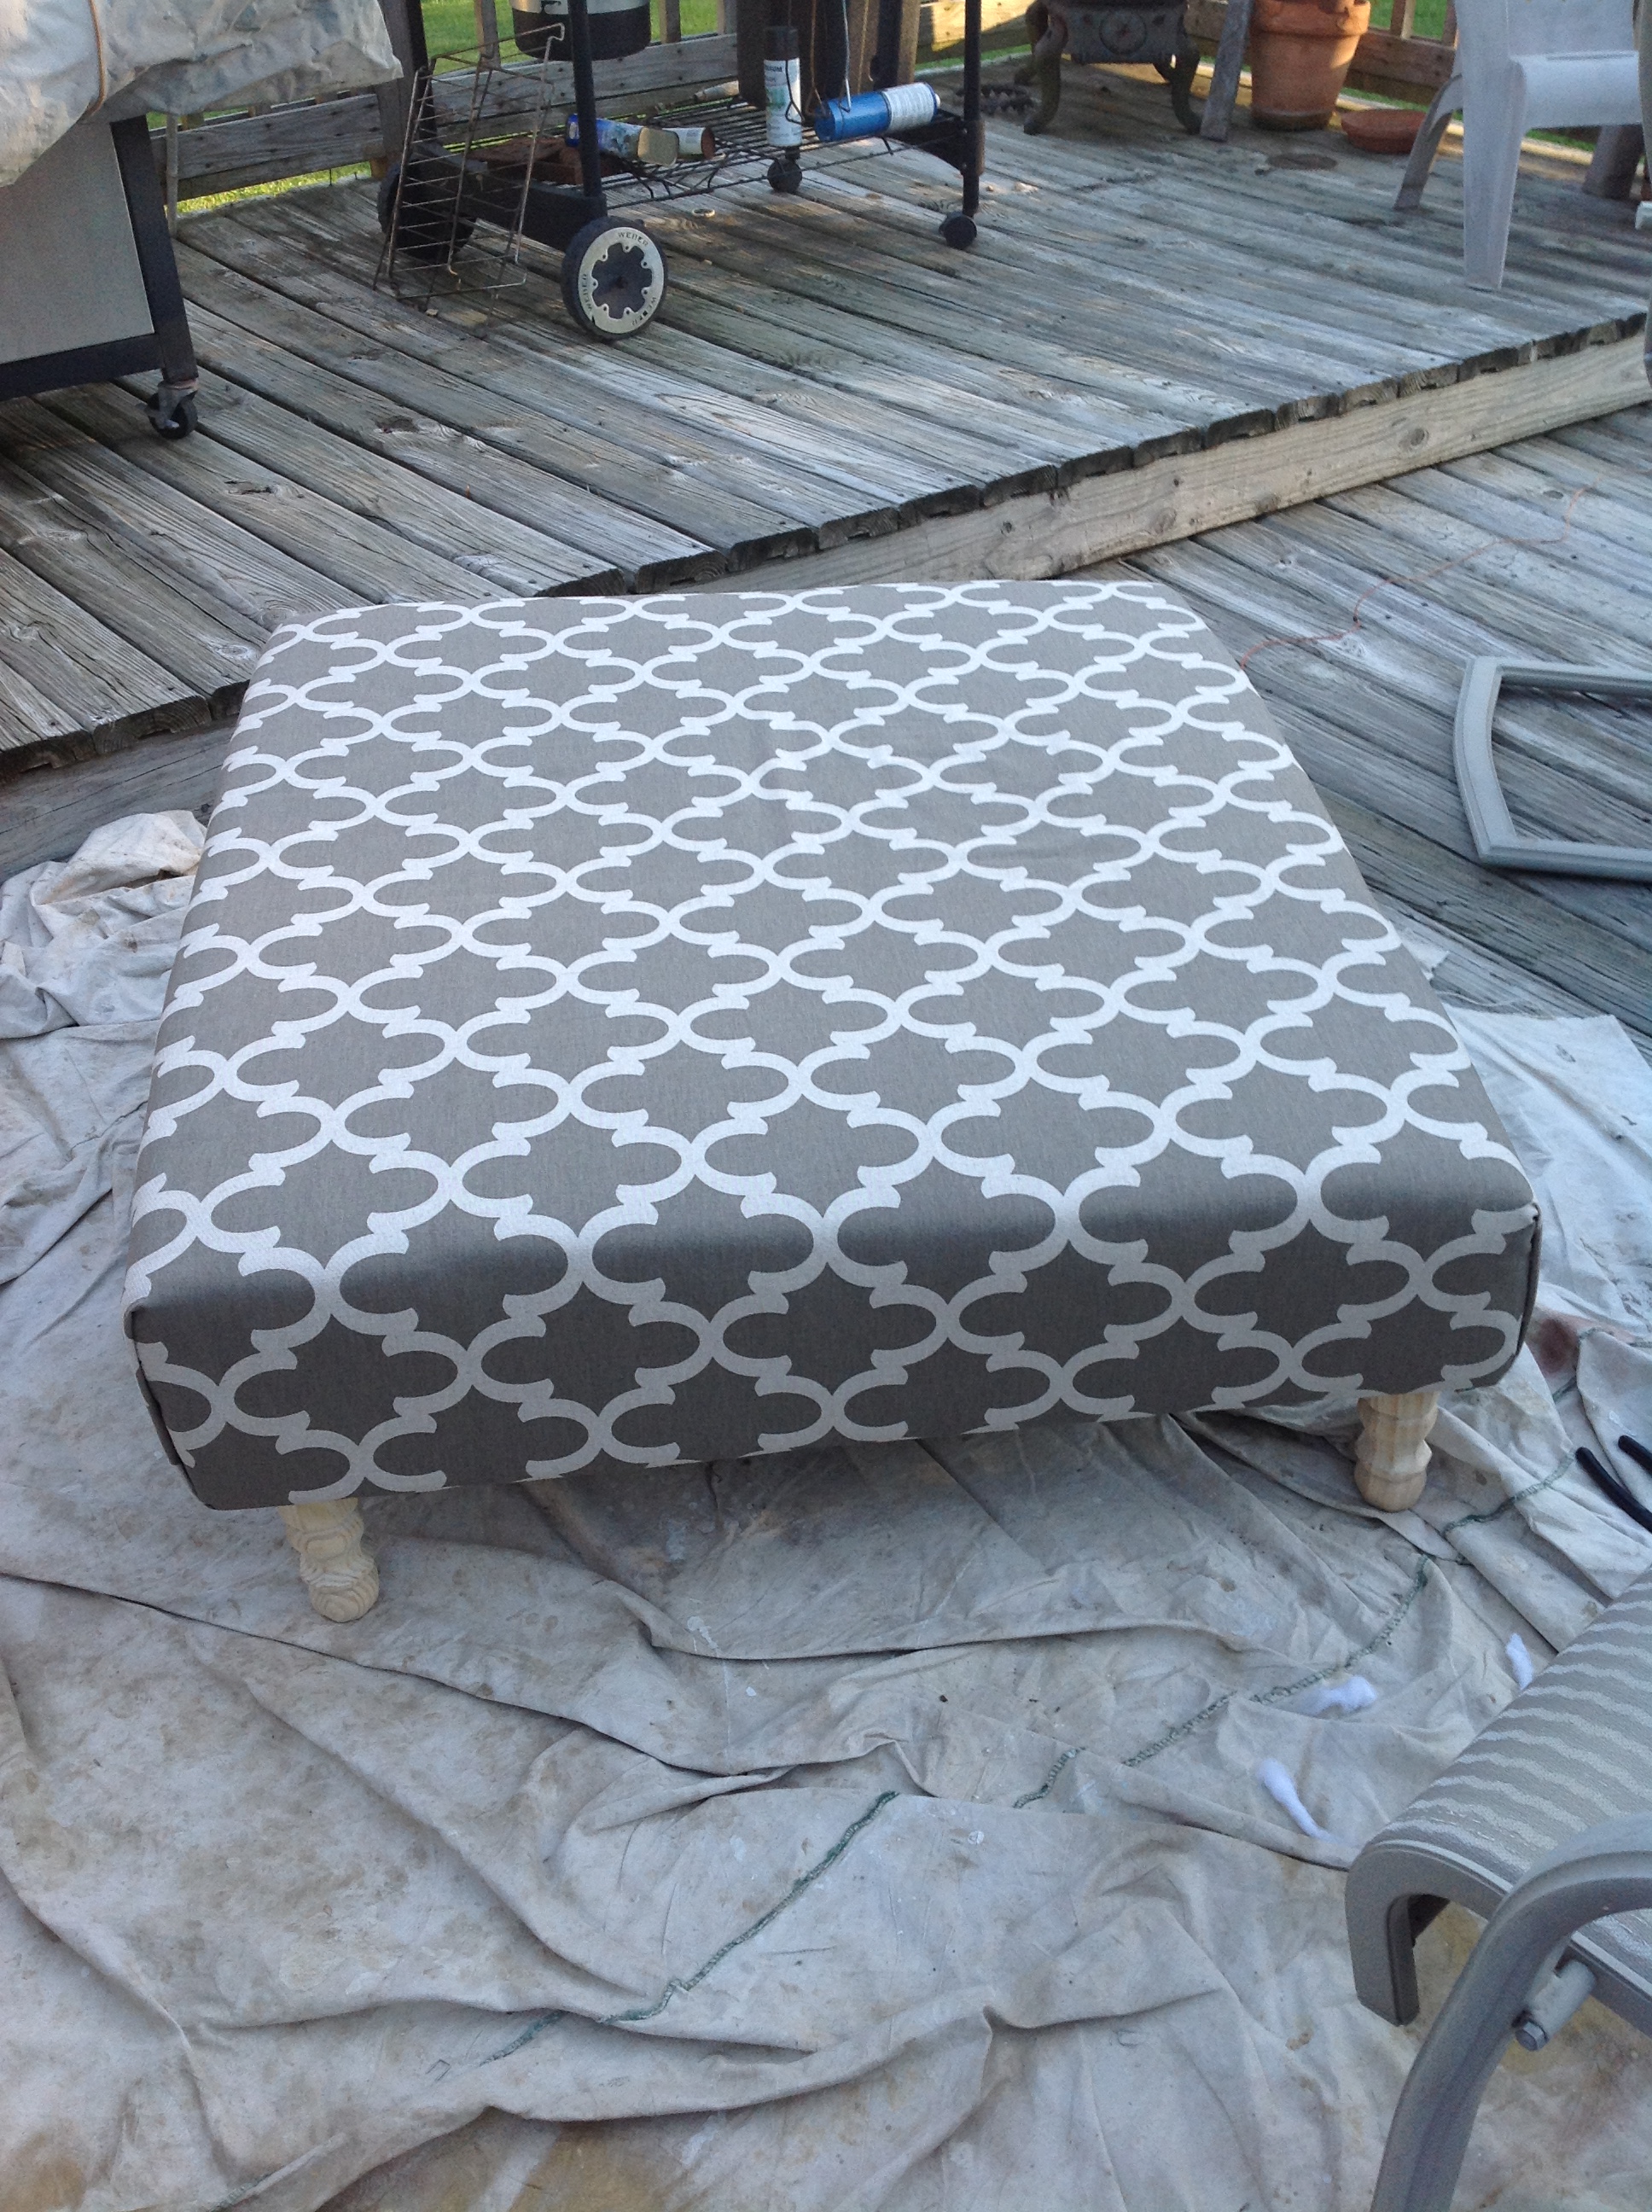
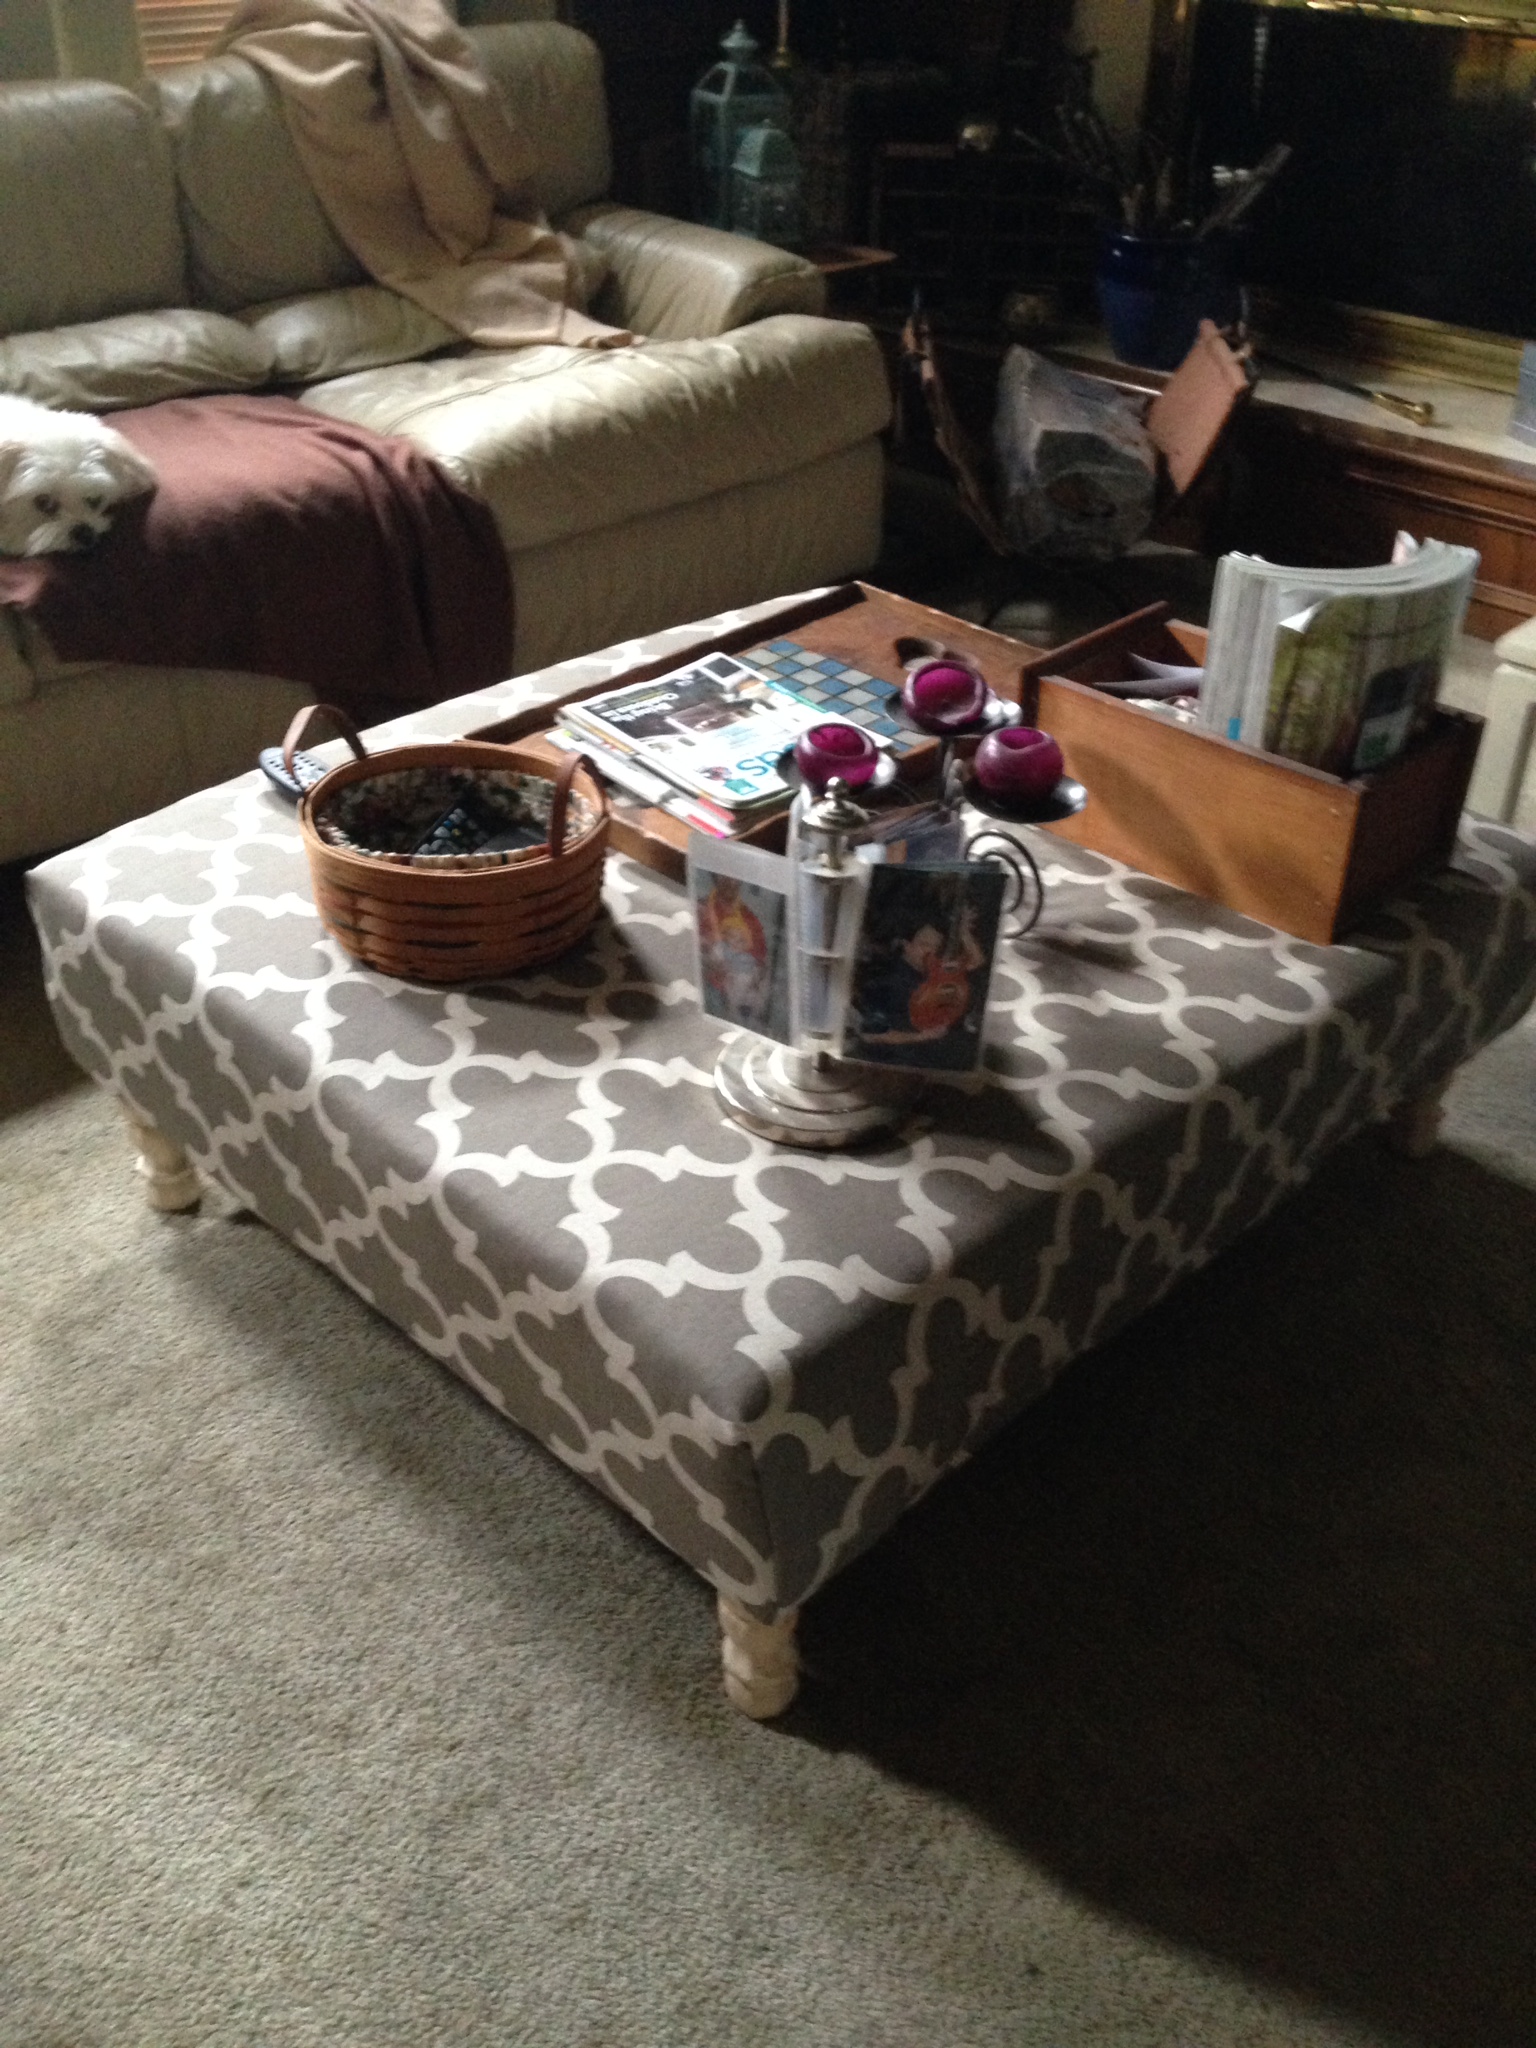
The total cost of the project was about $100 dollars.  The most expensive part was the foam padding.  I was surprised how expensive it was, so if you can find a good source for inexpensive foam, definitely go that route and you can save a lot of money.  The pallet was free.  I got the fabric at Hobby Lobby when their home décor fabric was on sale at 50% off so only spent about $12 for that.  I purchased the legs at Home Depot for about $3 each.  I also bought a package of quilt batting to smooth out the corners and that was about $10 for the size I needed.  So as you can see, the foam was the biggest expense.  If you know of a good source for cheap foam, please do share!  I even got it on a 50% sale at Hancock Fabrics, but it must contain gold 🙂  I am thrilled with it and it has been the best addition to my living room in years.  I have a couple of smaller pallets that I am going to try some more projects with soon as well, now that I got my feet wet.  So stay tuned!

Advertisement

Repurpose Those Old Candle Jars and Containers

Happy Friday, TGIF, and all of that! It’s been a very strangely busy week for me, but not in a good “accomplished a lot” kind of way. I think I’ve been a little distracted, tried catching a bit of a cold, and on top of it, the weather was gorgeous for January, so I did a little running here and there. I certainly feel for those out east who are getting the brunt of the bad weather.

So for today’s post, I’m going to share a couple of ideas of what you can do with those leftover jars from candles. I love to burn scented candles, but am always left with a lot of glassware when the candle is gone. Those darn things seem to multiply like bunnies when you’re not looking. It’s kind of like the glass vases that you collect over time from flower arrangements. Before you know it, you have a herd of them!
candle holders

First get a large pot and boil some water on your stove top. Now the first two disclaimers here, are 1) I use an electric cook top, so consider the difference in the direct heat of a gas flame if that is what you have, and adjust accordingly; and 2) there is some chance of some wax seeping into the water, and therefore your pan, if you’re not extra careful, so if you prefer not to have to watch it that closely, use an old pot that you no longer cook with, or maybe pick up a cheap one at the dollar store or thrift store. Okay, so now to continue…place your candle containers into the pan with boiling water (should only go up the side of your container about halfway). I usually will do a few a time, but if it’s your first try, just do one so you can test it and see how it all works with your stove, pan, etc. The remaining wax will melt, as will the small dab of adhesive they use to hold the wick base at the bottom of the jar.
boiling candles
Now at this point we will remove the jars but they are VERY HOT, so use some type of mitt or glove to hold the jar and wipe clean with paper toweling. Even the black soot part wipes clean quite easily. Your hands can get a little dirty through this process, so you can wear some rubber gloves if you like. So as you see in this next pic, the first run gets the majority of the wax and yuck removed, but there can still be a little wax glaze feel to the glass. candle first cleaning So I will usually repeat the process again with setting them into the water bath one more time and it helps to then melt down that last little glaze that is left. Here they are after the second bath. candle second cleaning

After that you are free to design away and make them fit whatever décor or use you like. Here I made a large candle jar into bow storage to put in my wrap station. I used some washi tape directly on the jar, made a little “swash” over the tape with some black craft paint, and placed some sparkly alphabet letters from my scrapbooking stash. Now it has a new home and looks cute as a button.
finished jarjar close up

jars new home

Another one took up residence in my bathroom and holds my little buf puf scrubbies. another jar example

Other places I have used them are for storing cotton balls, containers for small supply items in my scrapbooking and craft area, to corral spare buttons, as a small sewing repair kit in my bedroom….it goes on and on. Share some of your ideas with me! Does that get some of your juices flowing? Try it this weekend and let me know how it goes! Thanks for stopping by and I hope your weekend is Flippin’ Fabulous!