
I am busy working on a few projects at the same time. Some call it multi-tasking, I call it (self-diagnosed) ADD. I think the card file is going to look great when it is done – it was my teaser on the last post. I also have a 1920’s side chair that is nearly complete. Those pics will be posted in the next couple of days. Come down and see me this weekend at The Pink Daisy in the KC West Bottoms. I will be working in the store on Saturday (the 18th) so stop by and say hi. Plan on lunch from the food trucks, they are awesome! Hope to see you then!
Category Archives: Uncategorized
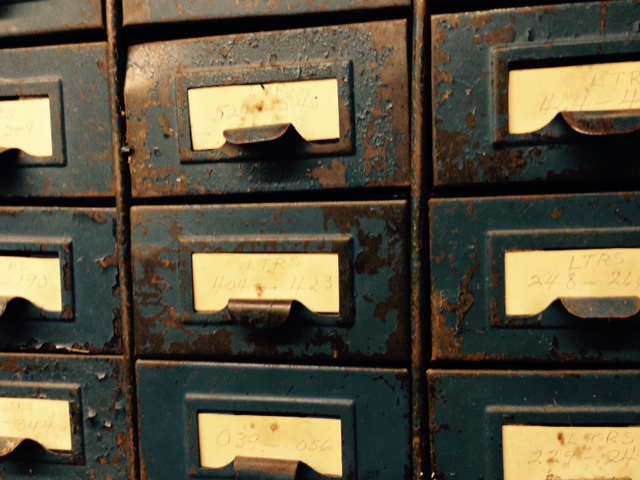
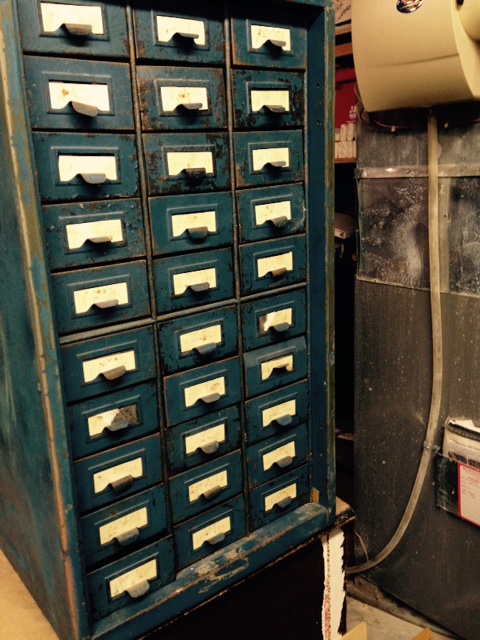
Sneak Peak
Here is a sneak peak of the next project. Working on “flippin” an old metal card catalog to make it look pretty and add it to my booth at The Pink Daisy in the KC West Bottoms.


-

- Dollar Store!
-
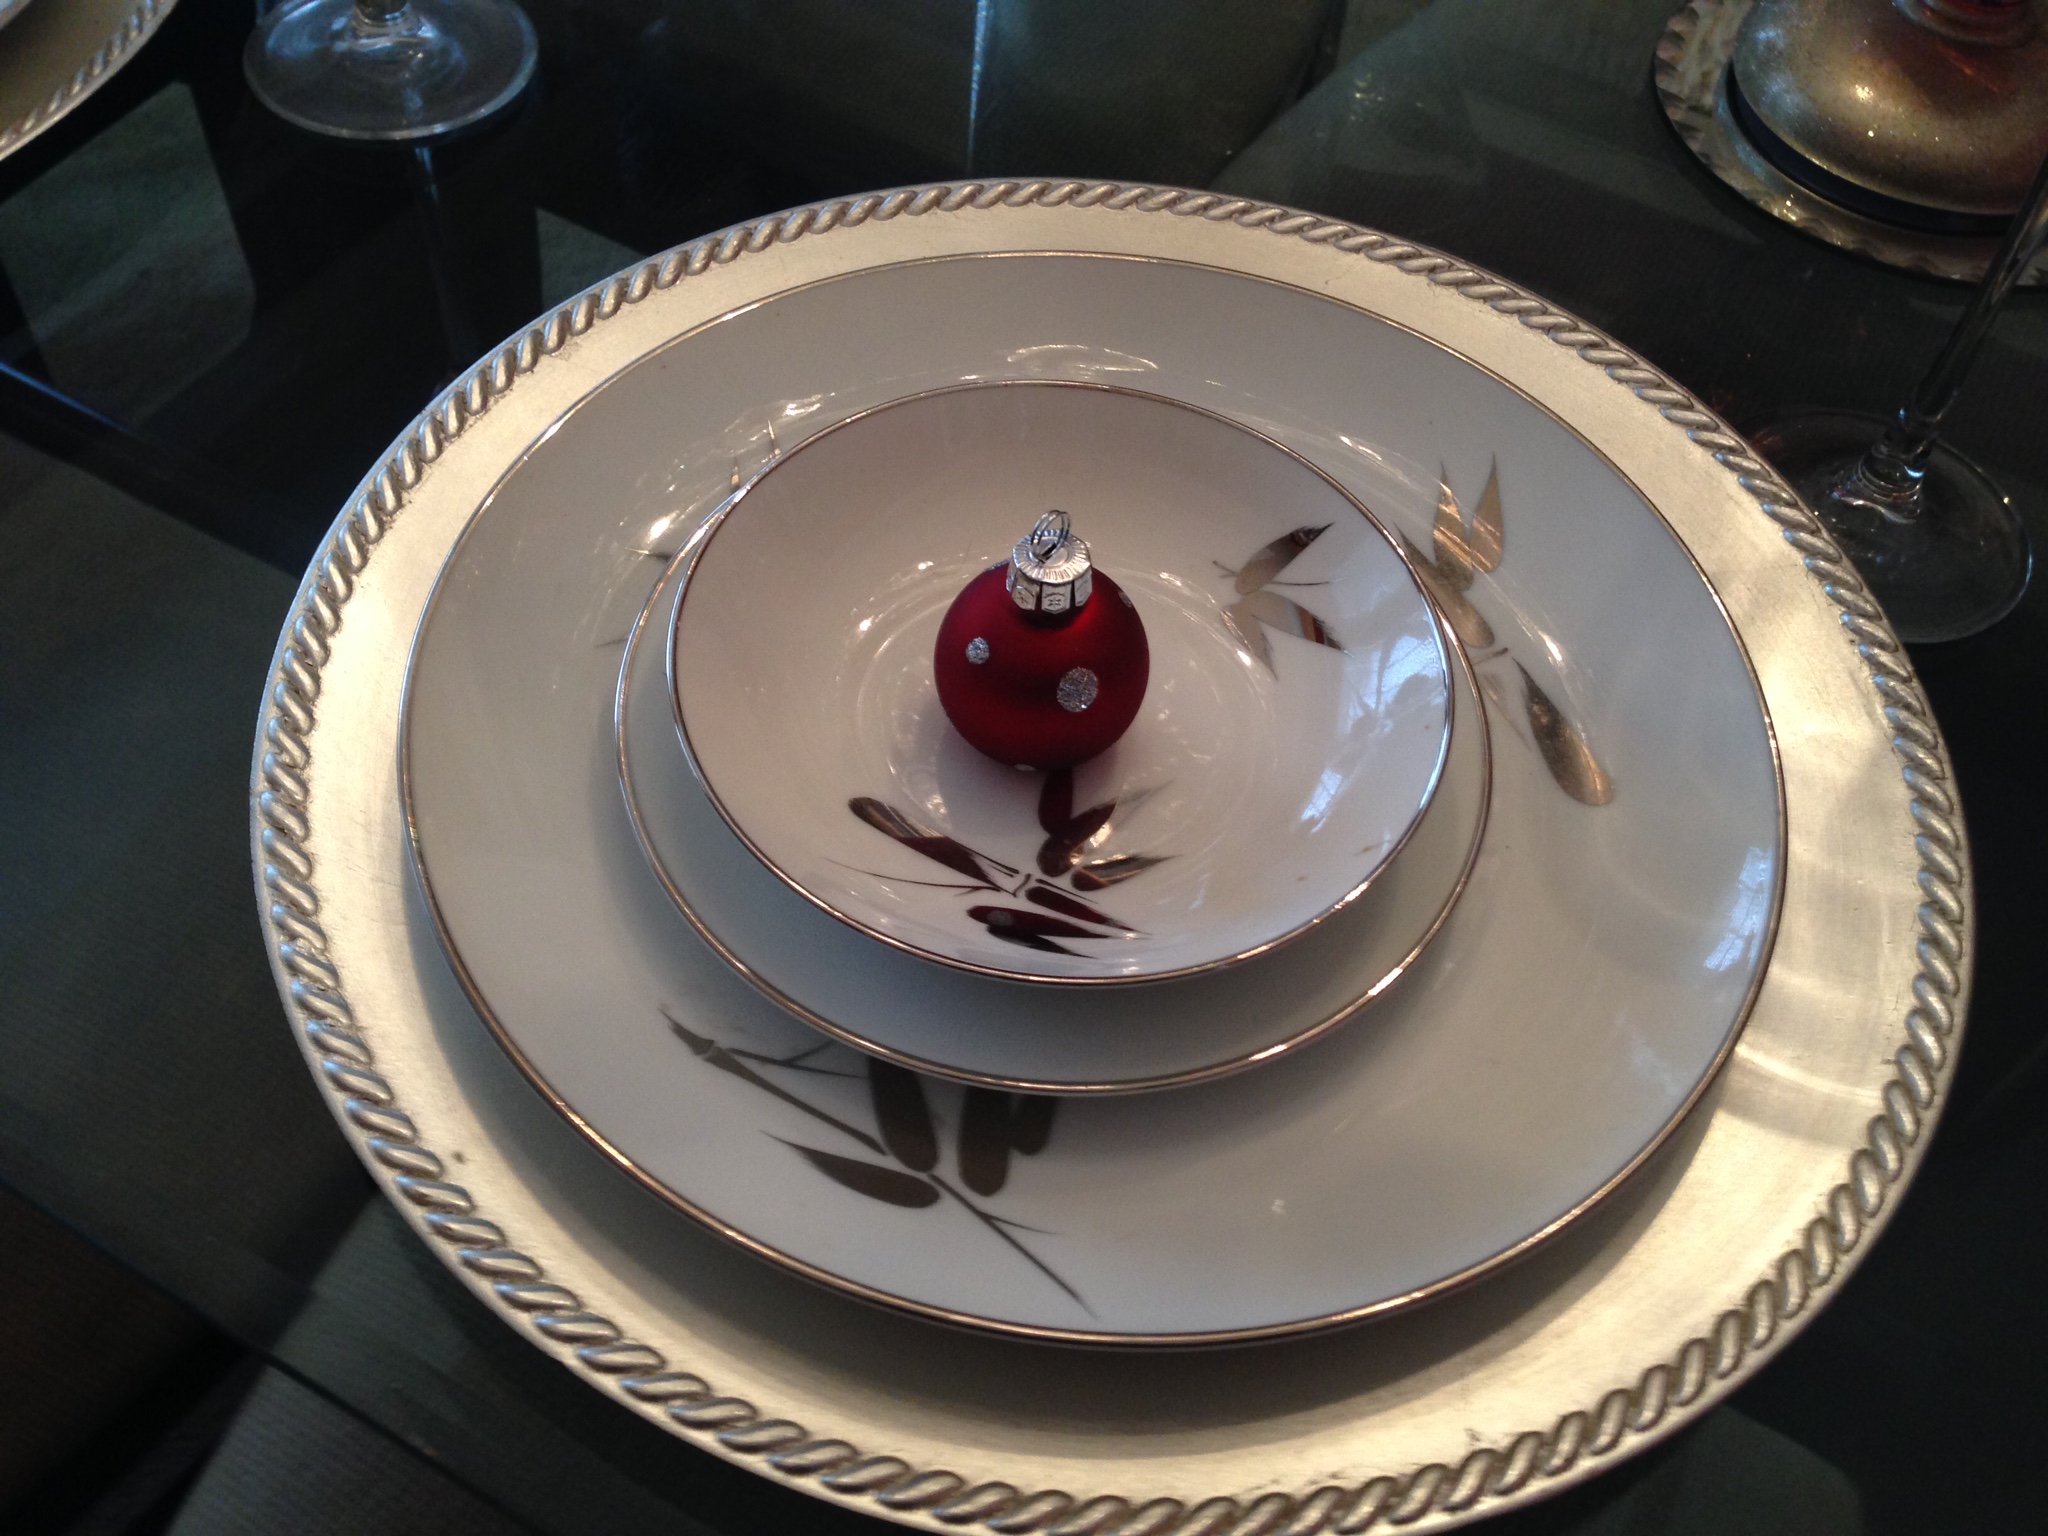
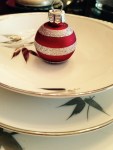
- Christmas Table
-

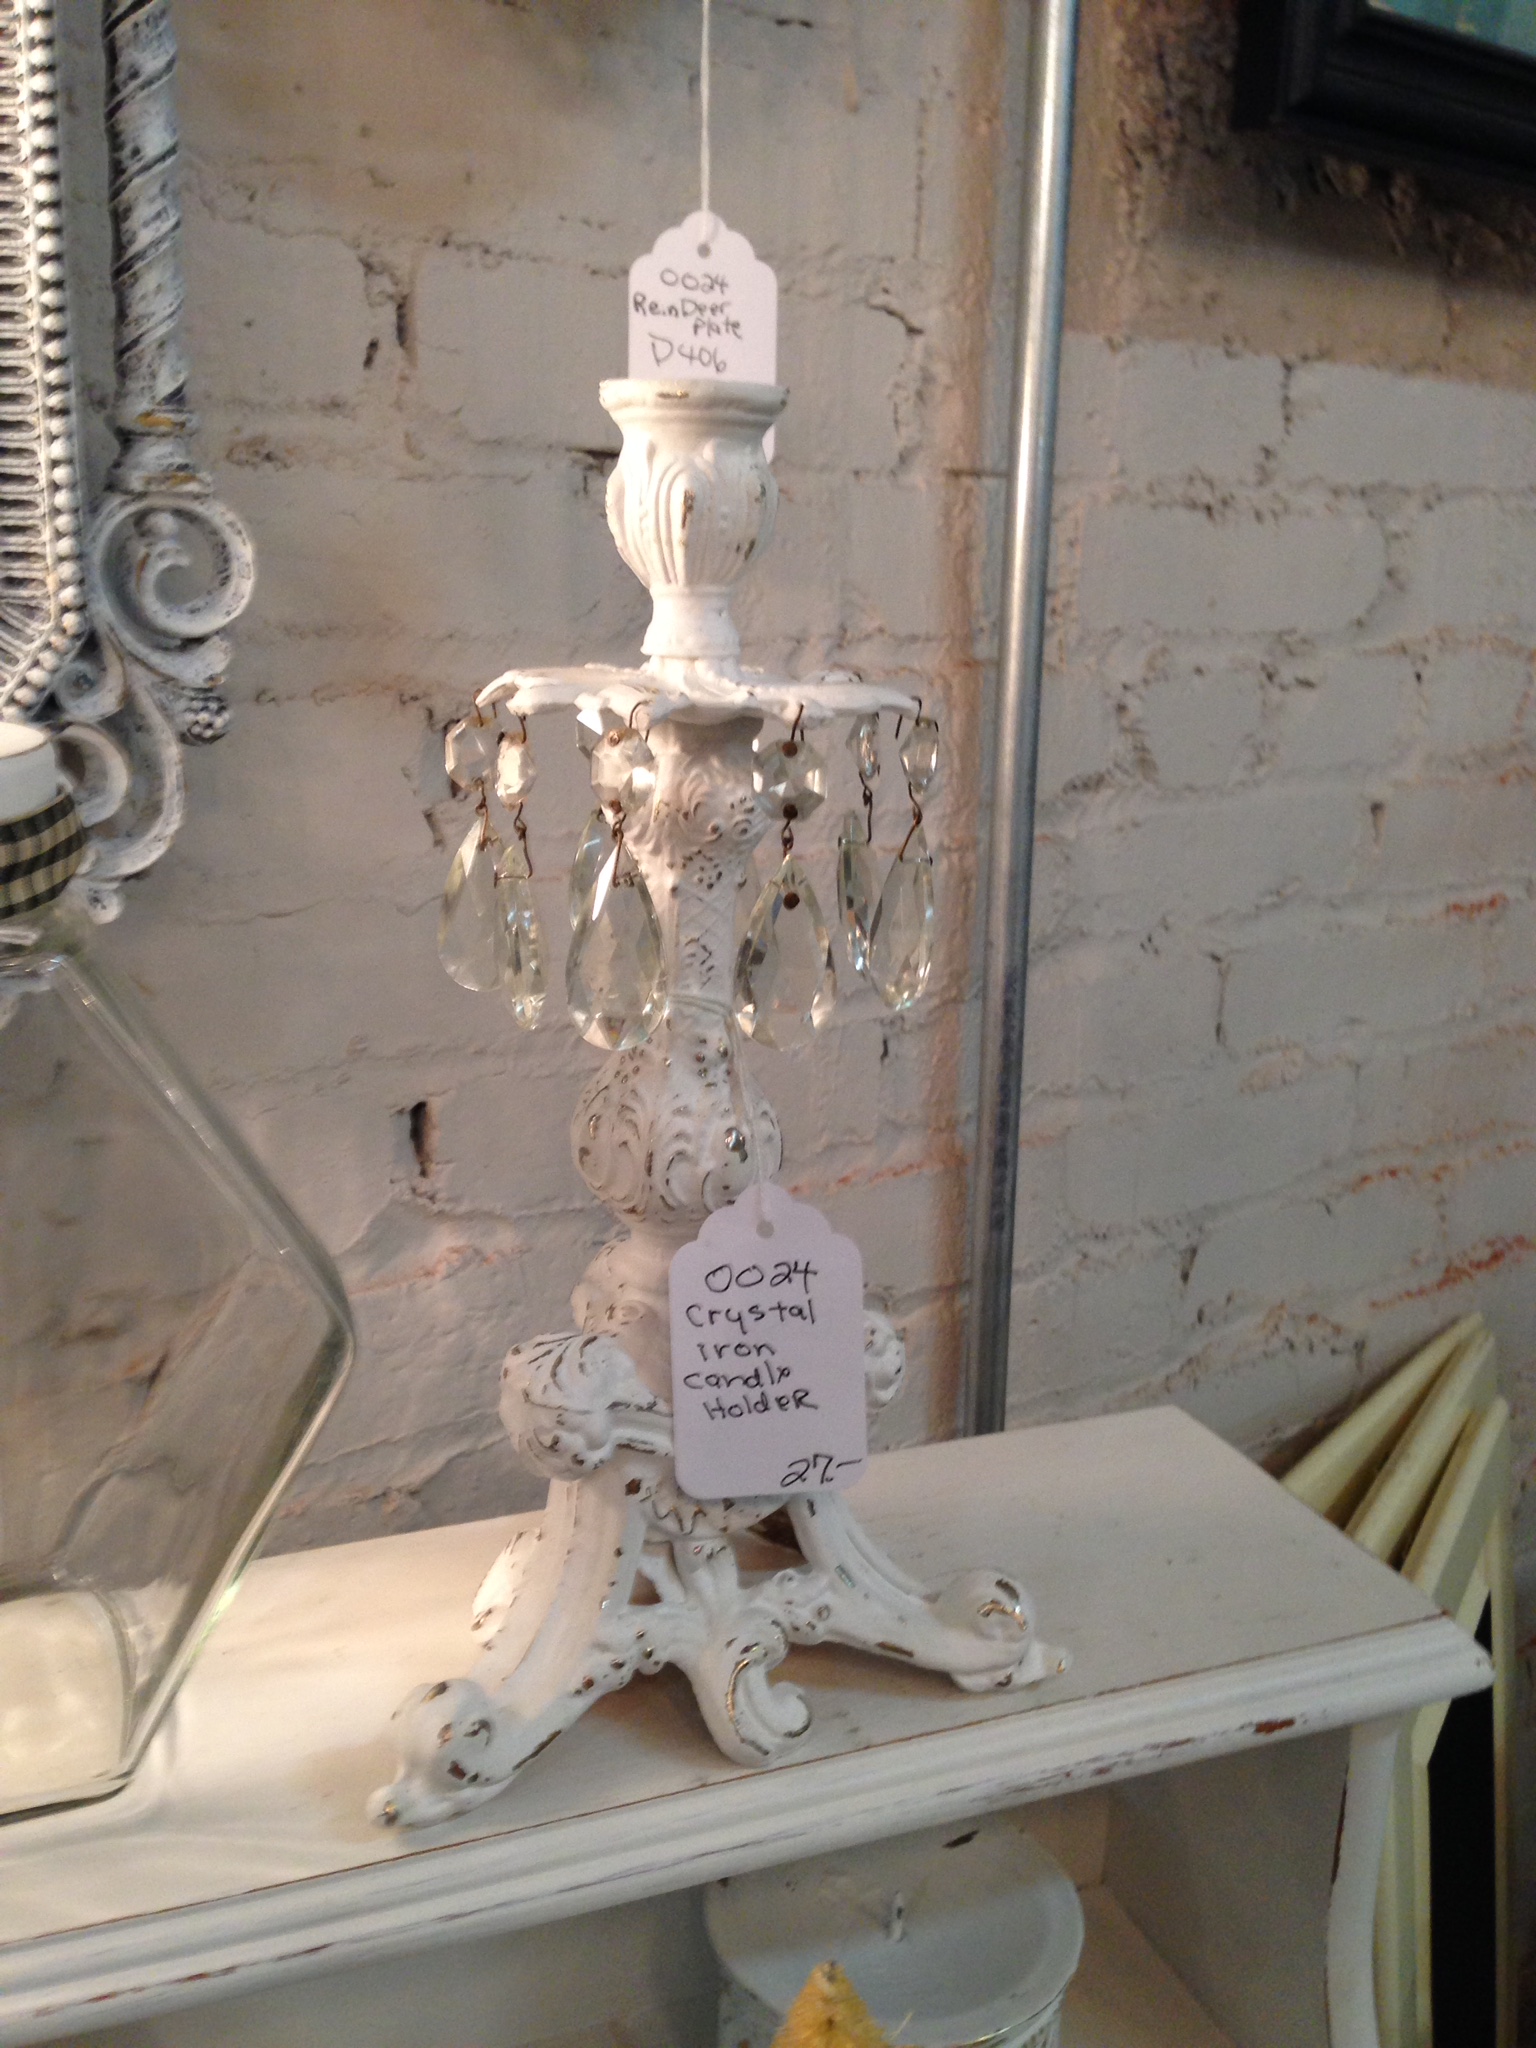
- Bling Bottle Stopper

-

- The One that Got Away
-

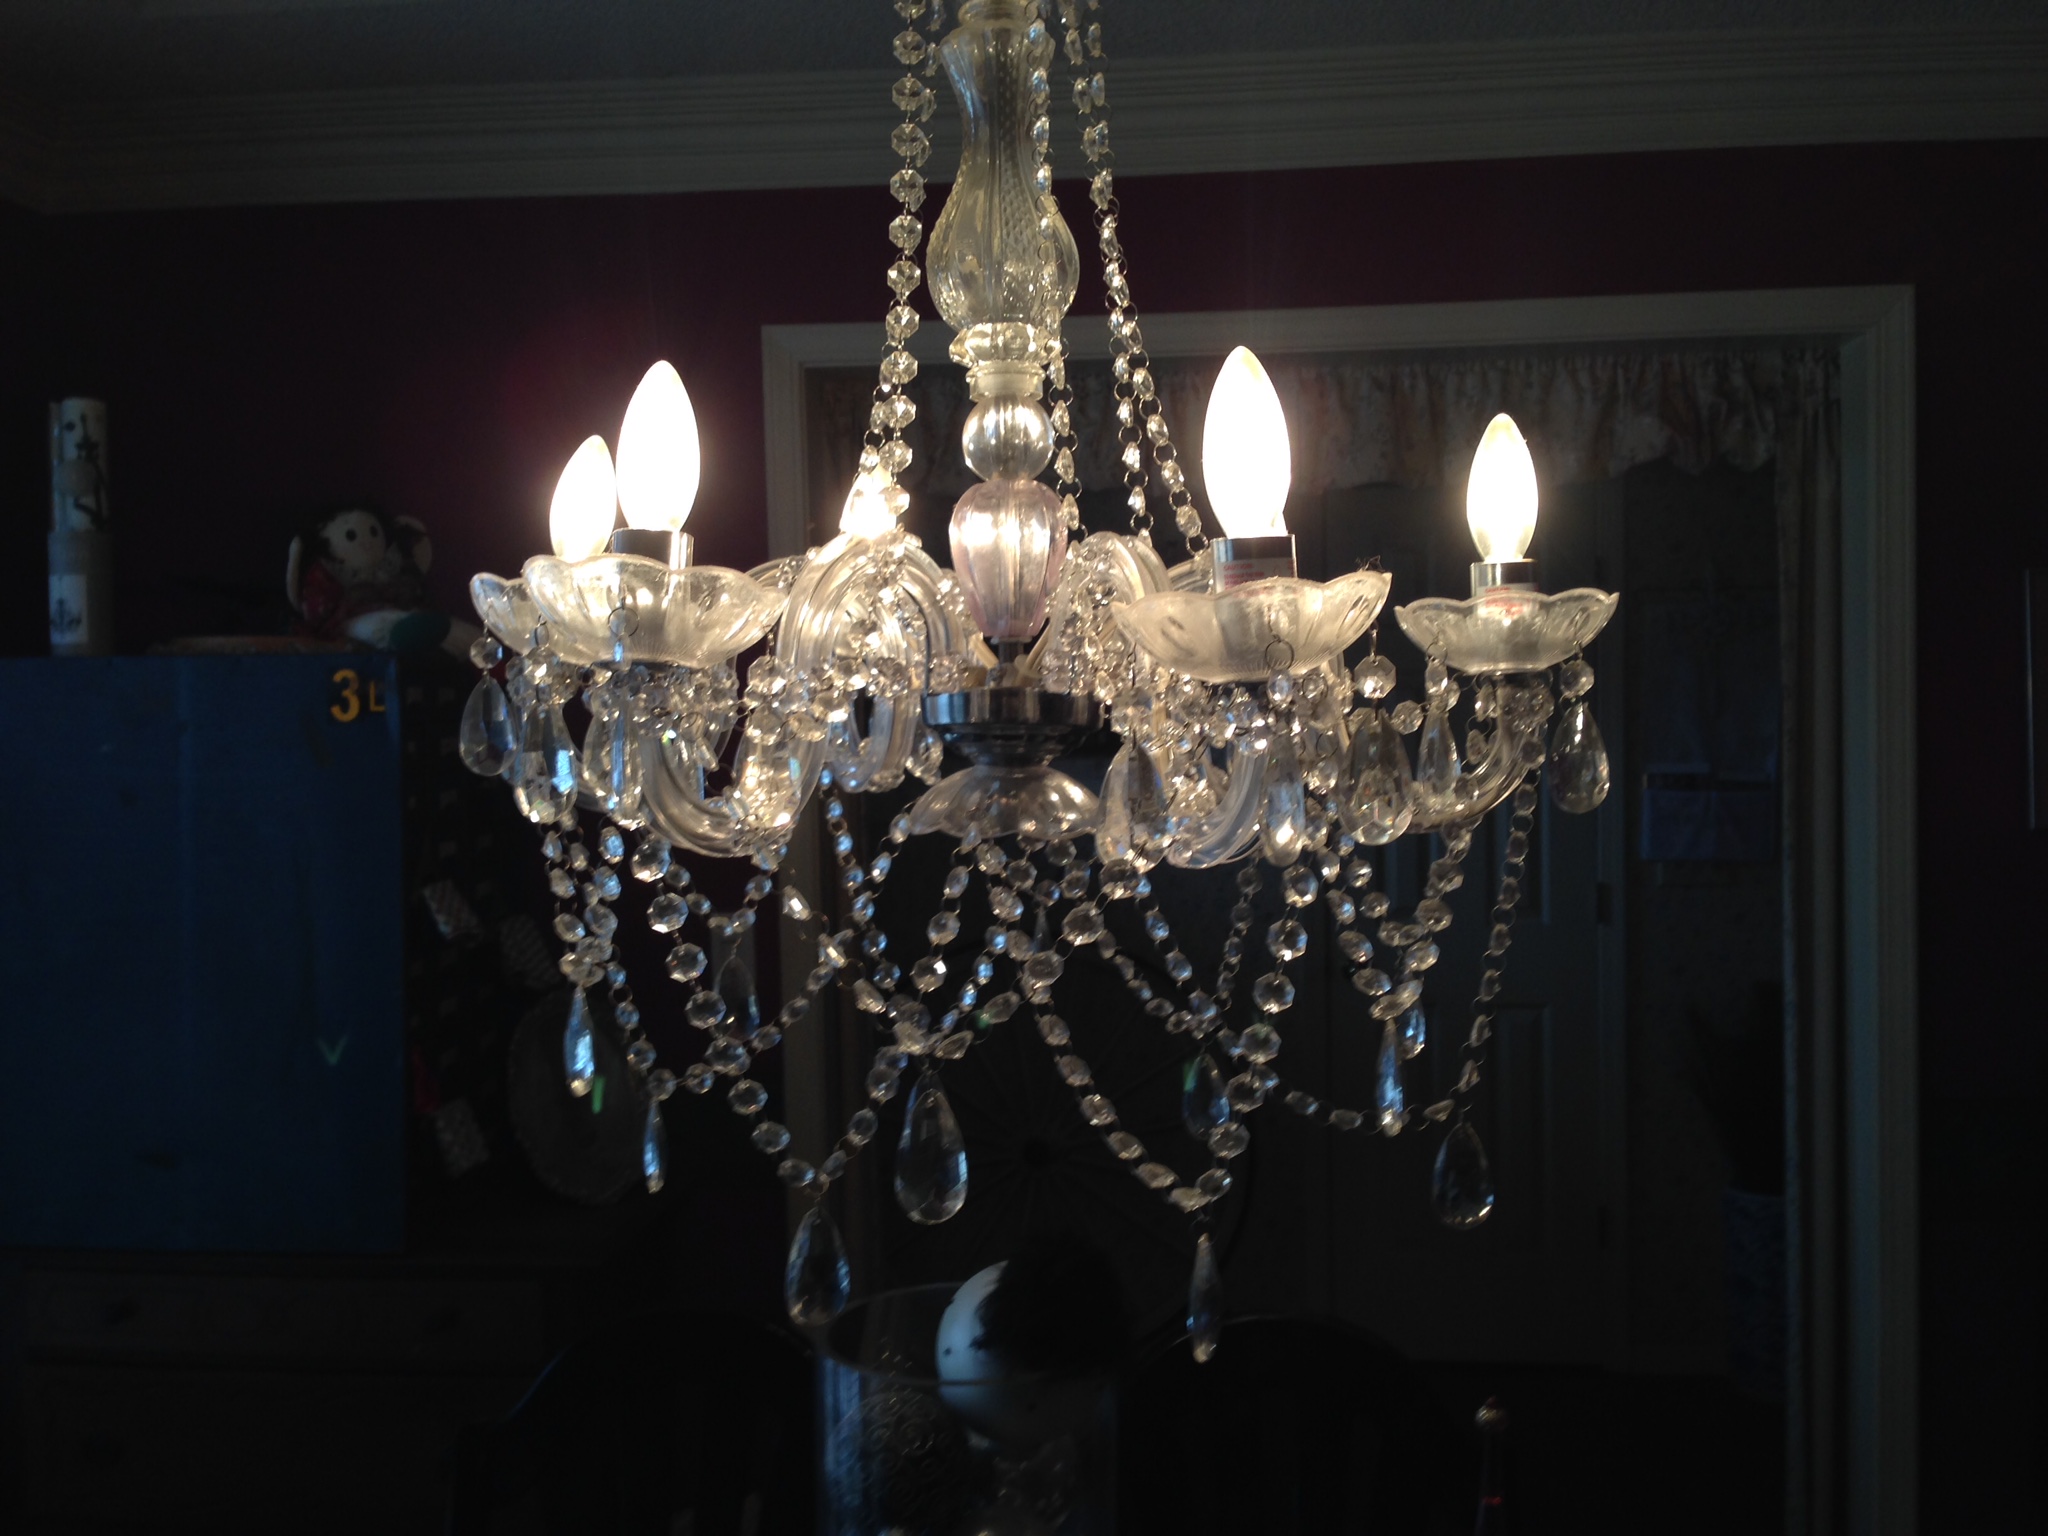
- My Chandy
-

- Love Christmas


-
- Mom’s China

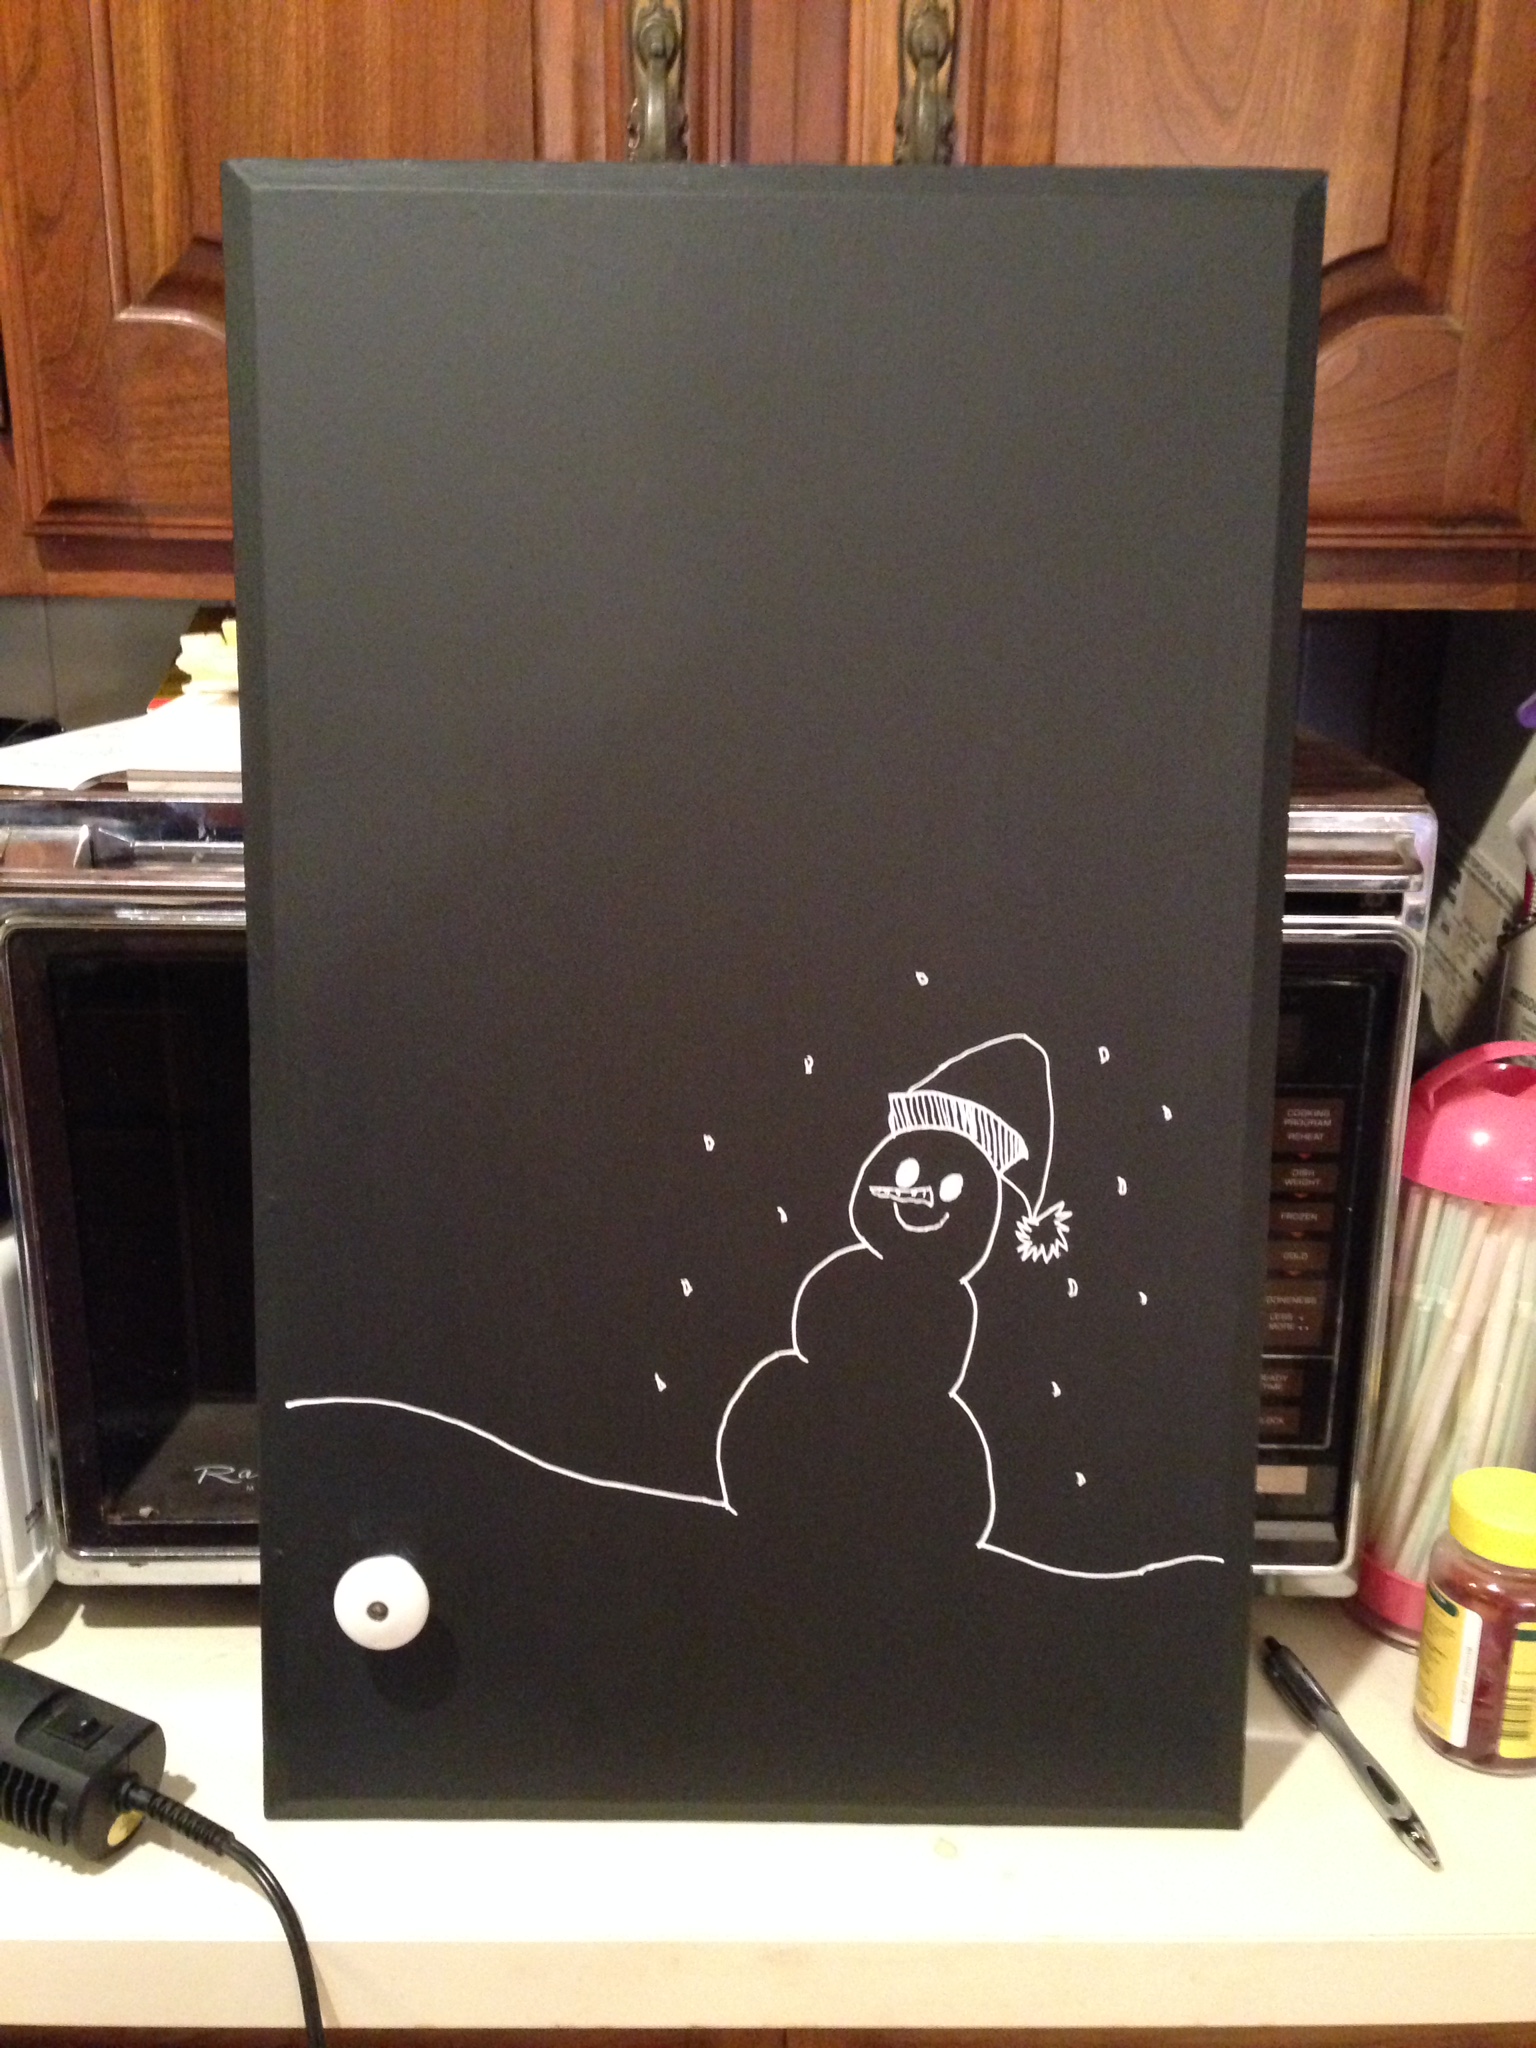
Flippin’ Cute Chalkboards
Here are some Flippin’ cute chalkboards that I created by repurposing two different styles of old cabinet doors. This is actually a pretty simple project. With just a few supplies, listed below, you can have a great addition to your décor. Chalkboards are all the rage right now, so go ahead and create your own. If you’re afraid of the lettering, I’ll have a few ready for sale in just a few days, so check back!
Supplies:
Cabinet door (of course)
Chalkboard paint – I recommend Rust Oleum
Small sander or sand paper
Secondary paint color, if you have a frame around your cabinet
Foam brushes
Chalk Ink pen
Simply sand the surface to prepare it for paint, and wipe clean of all sanding debris when done. If painting the chalkboard paint directly on a wood surface, I found that I only needed a couple of coats for a good coverage and writing surface. For the cabinet door with the glass or plexi interior, I taped off the glass edges while painting the frame with the secondary color, then painted the chalkboard paint afterward. On glass or plexi, it will take about 3 coats of the chalkboard paint to get a good coverage. I also recommend painting it on a level surface as opposed to standing it up to help avoid drips or thick spots in the paint. Using the foam brush also helps avoid any excess brush marks. When getting ready for your final coat of paint for glass or plexi I found that it was helpful to hold it up to the light as this will help you find any spots that might be a little thin on paint and you can be sure you get good coverage on your final coat. When your last coat is dry, then have fun creating your design! You can use the chalk ink for a fine lined design, or if you prefer the look of regular chalk you can go that route. Both are washable should you get tired of the design and want a change in the future, or want to update it with a holiday theme. If you need some inspiration, Pinterest is a great resource for many chalkboard ideas. I have a board created on my Pinterest page dedicated to just chalkboard ideas. Click on over using the link provided if you would like to see some more ideas. So don’t be afraid to try it, it’s a lot easier than you would think!


Welcome to Flippin’ Fabulous Finds!
Thanks for checking it out! I just wanted to write a short note today to get things rolling. I’m looking forward to this adventure. I have a lot of projects already completed that I can’t wait to share with you. Over the holidays I collected a lot of “junk” and found many “pinteresting” things to do so with my first few posts I’ll share some vintage finds as well as some repurposed projects. Also have a few of those “Dollar Store Delights” to share. Hope you have a great week and I’ll chat with you soon.
